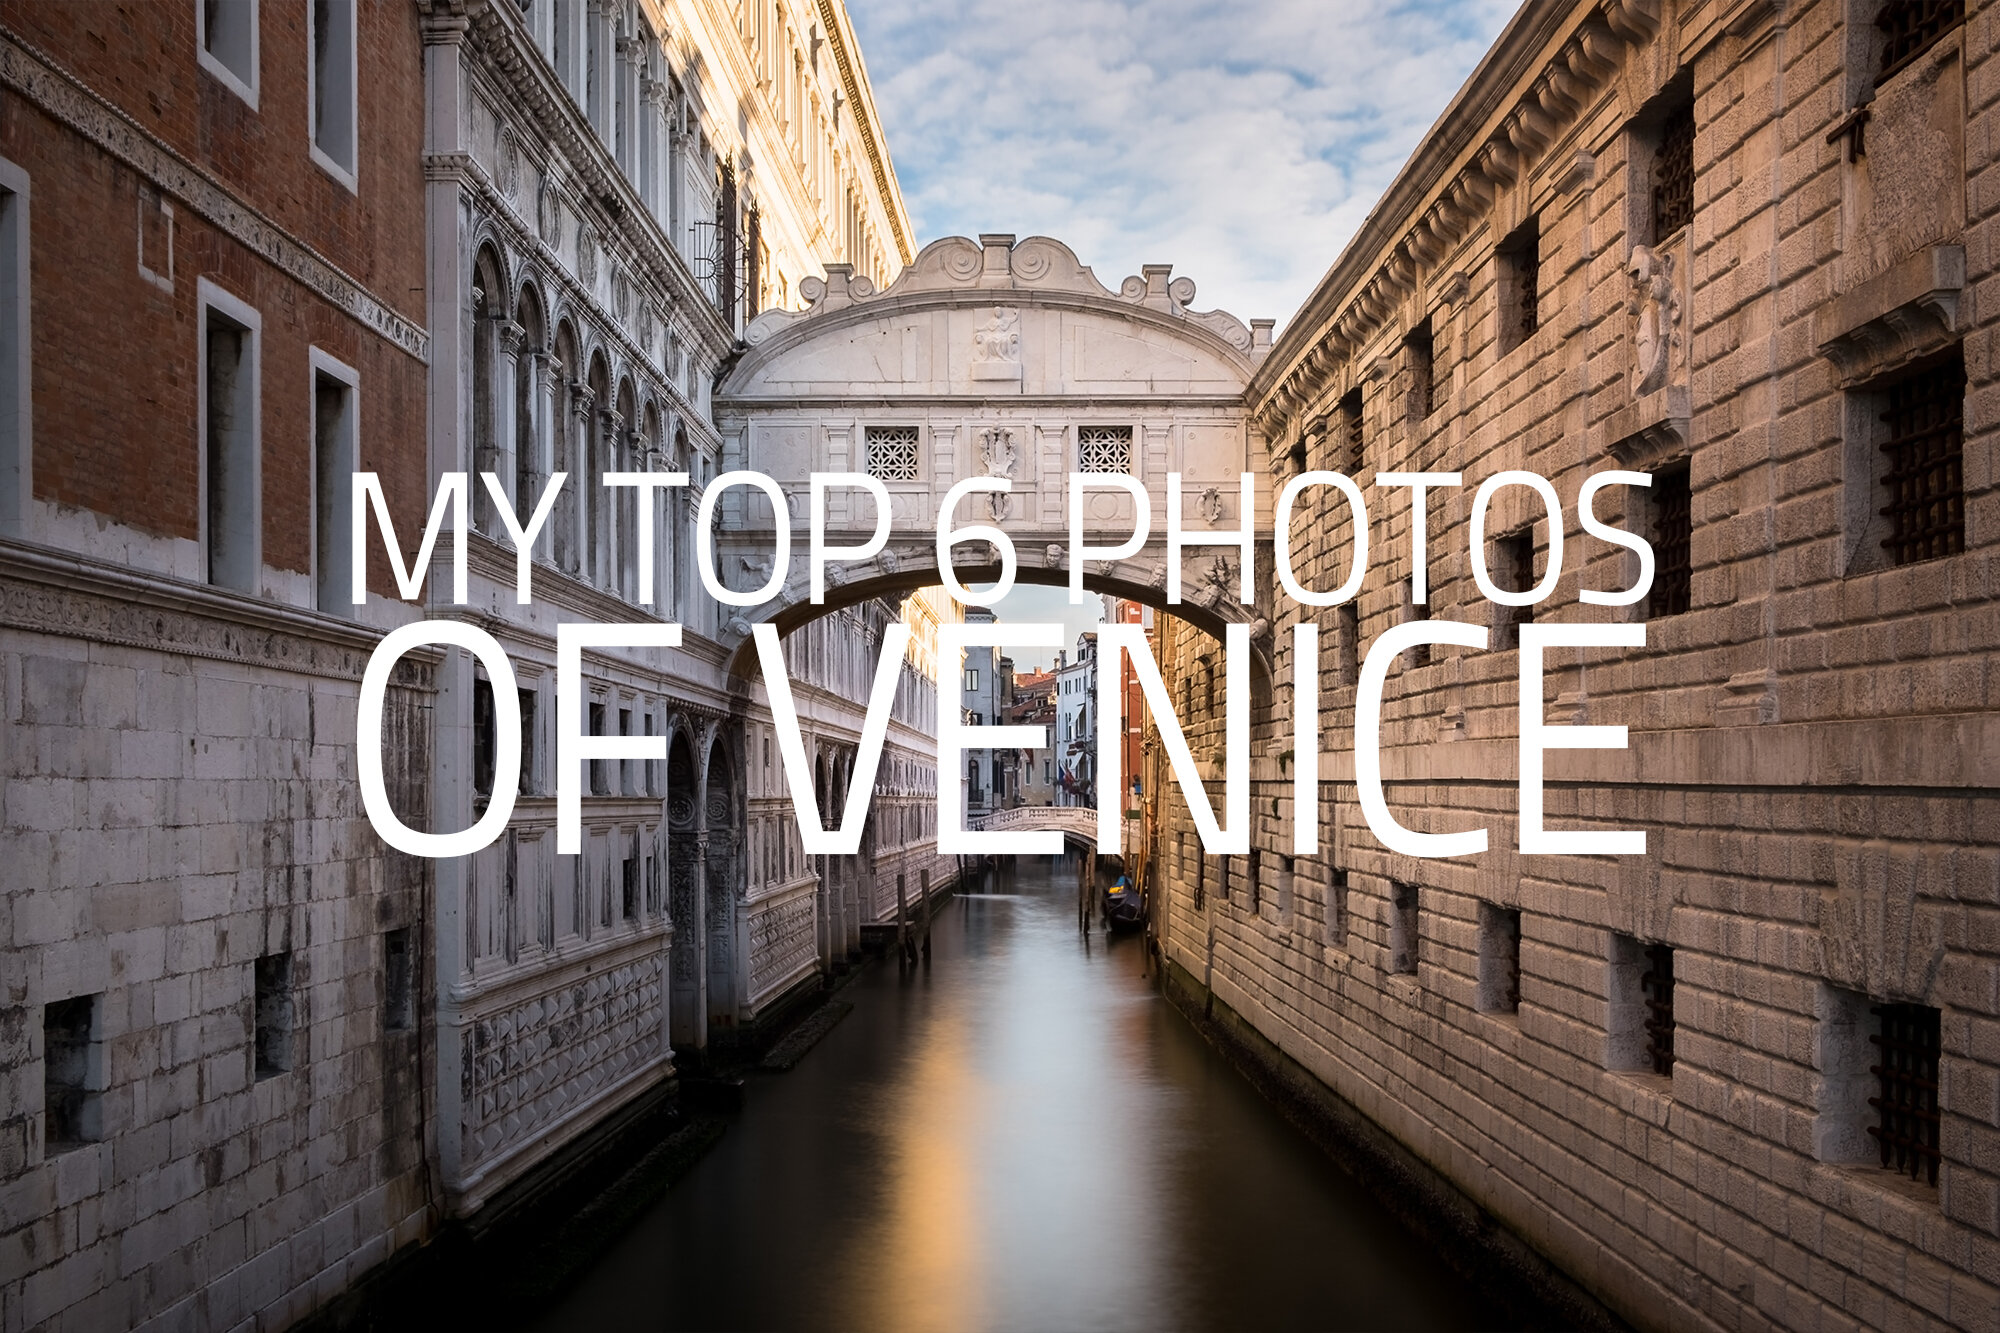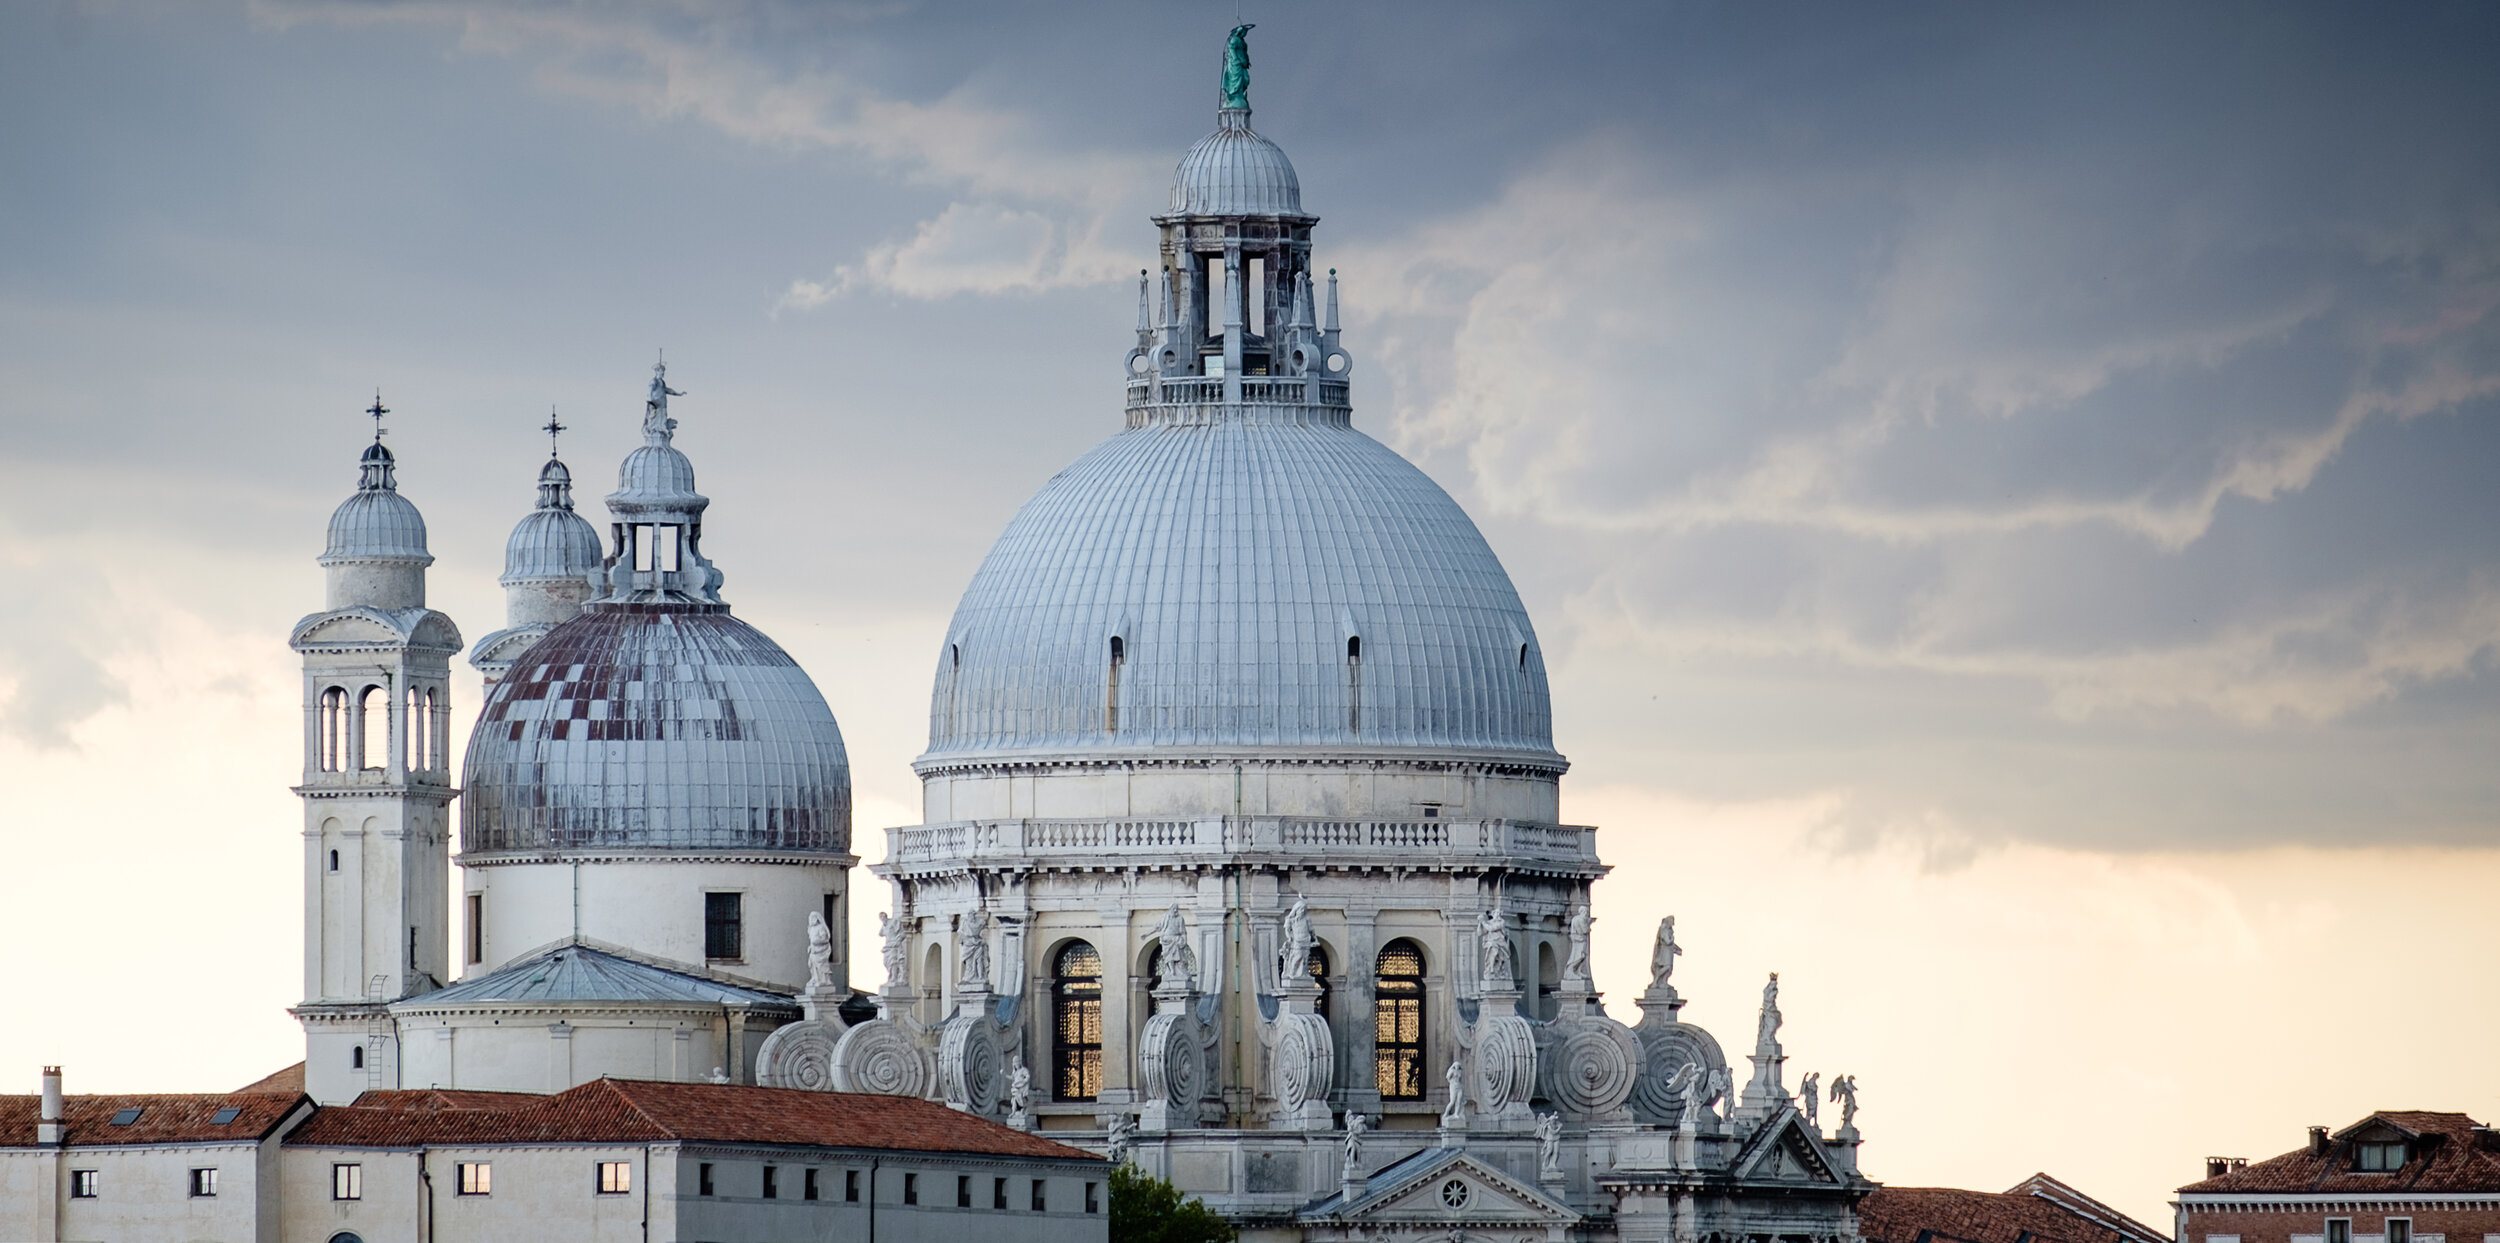
A WEEKEND IN VENICE
In July 2017, I spent 4 nights in Venice. Before I went, I knew I would struggle with my usual style of photography with long exposures and tripods as the days would be long and sunny and the huge number of tourists meant setting up a tripod to capture those epic landscapes/cityscape shots would be almost impossible. So I decided to head out there with the following couple of objectives in mind:
Try to capture the architecture and unique style of the city and bring home a set of images that wen I view them, it takes me right back to where I took them. Trying not to take the “run and gun” approach but to try and be more selective and deliberate.
Try to capture the tranquil side of the city by getting out at least once at the break of dawn while the city sleeps and photograph it without the hustle and bustle.
In each post, I talk about the camera gear I used and the settings for each photo I feature.Adding narrative to the images I have taken help me tell the story and by adding local information and places I took the shots, the articles can also act as a bit of a guide for people looking to visit this beautifully ornate city.
A WEEKEND IN VENICE GALLERY
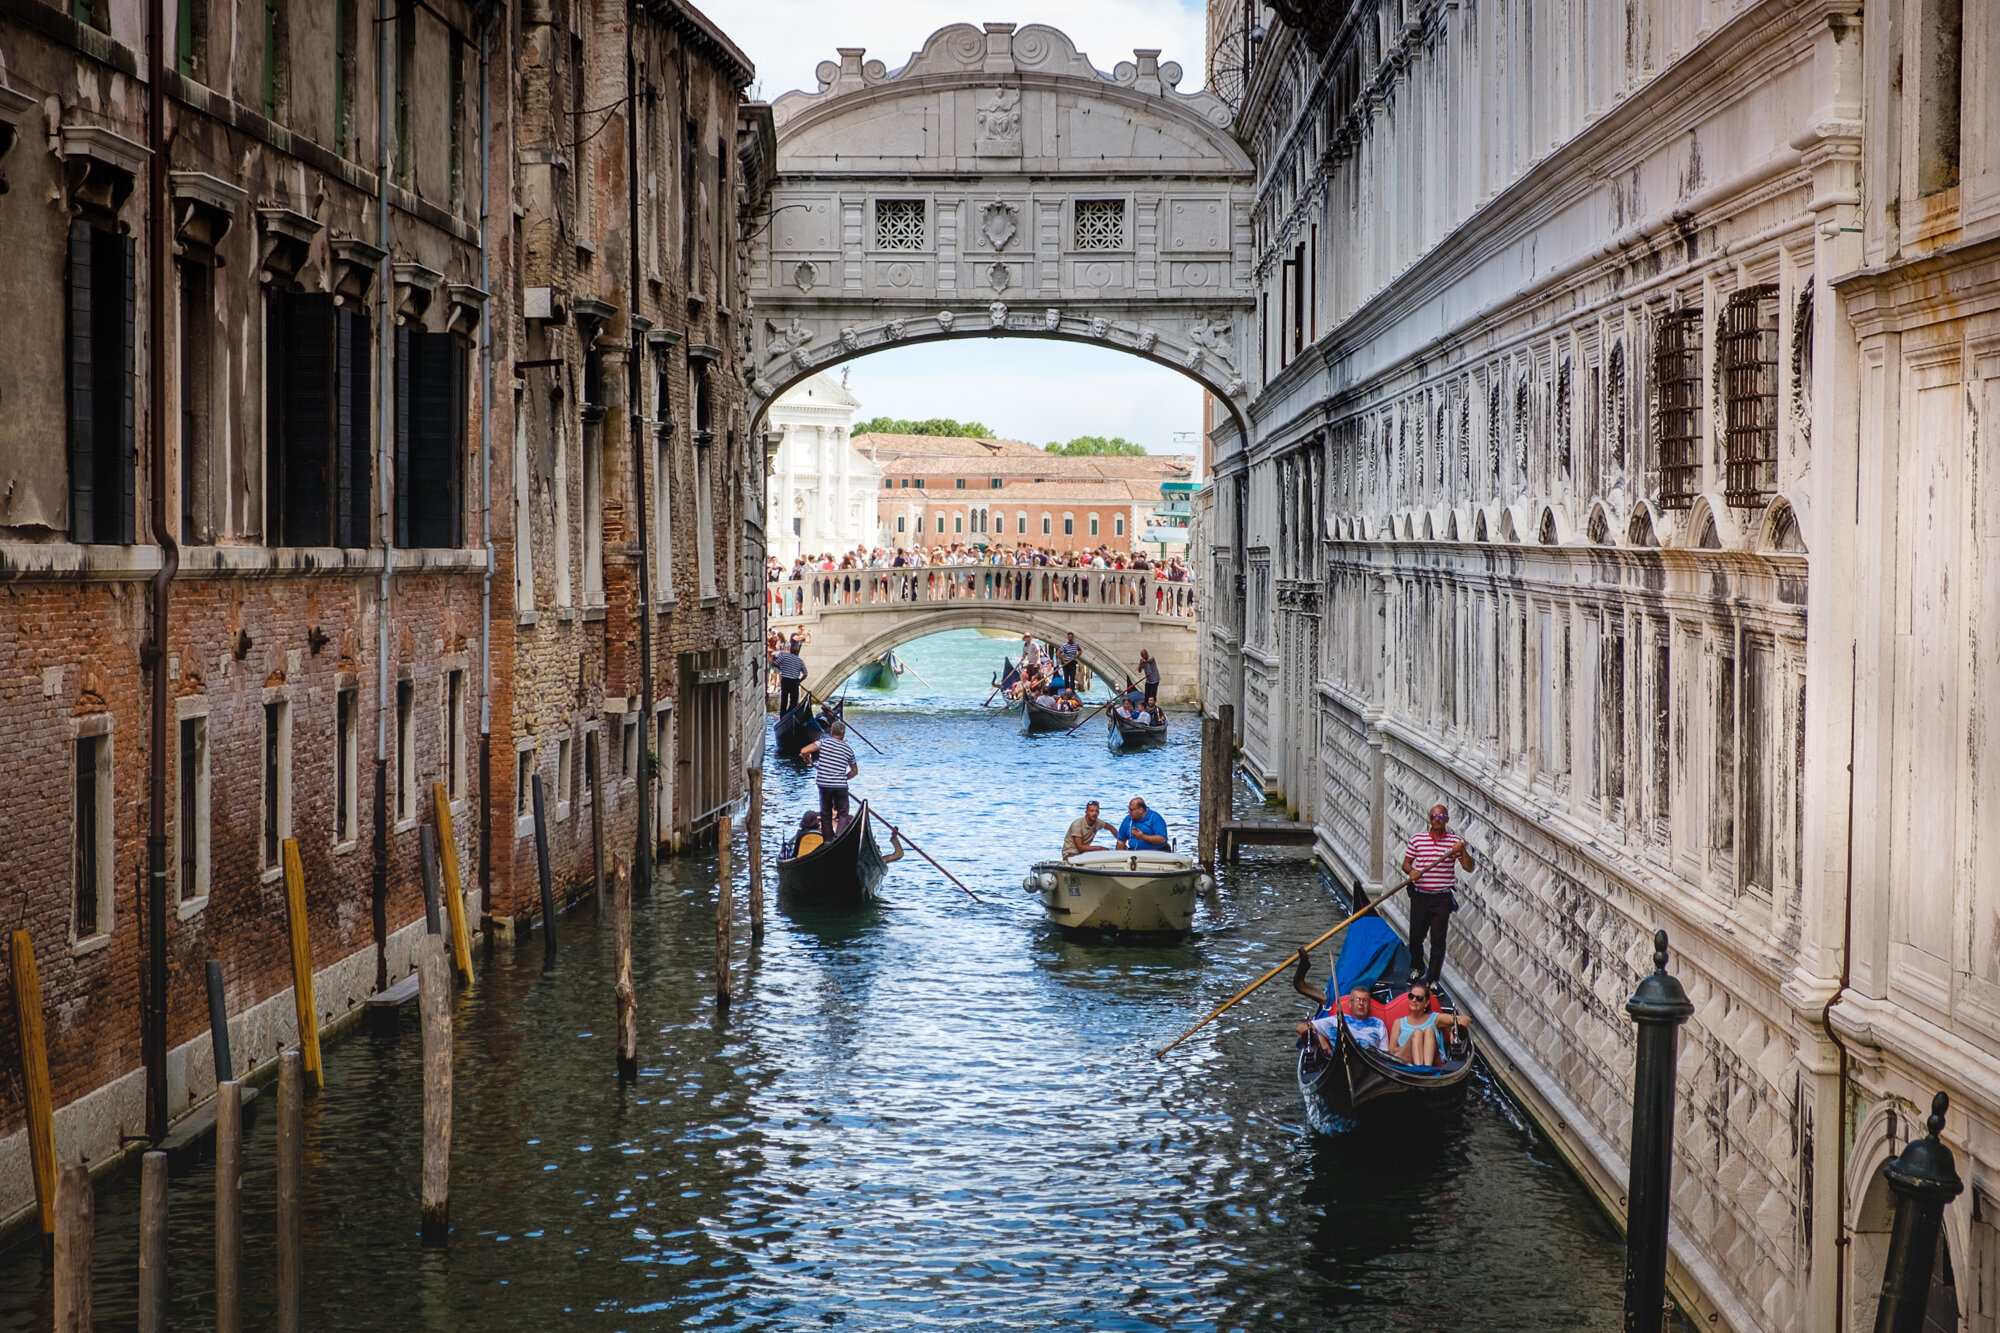
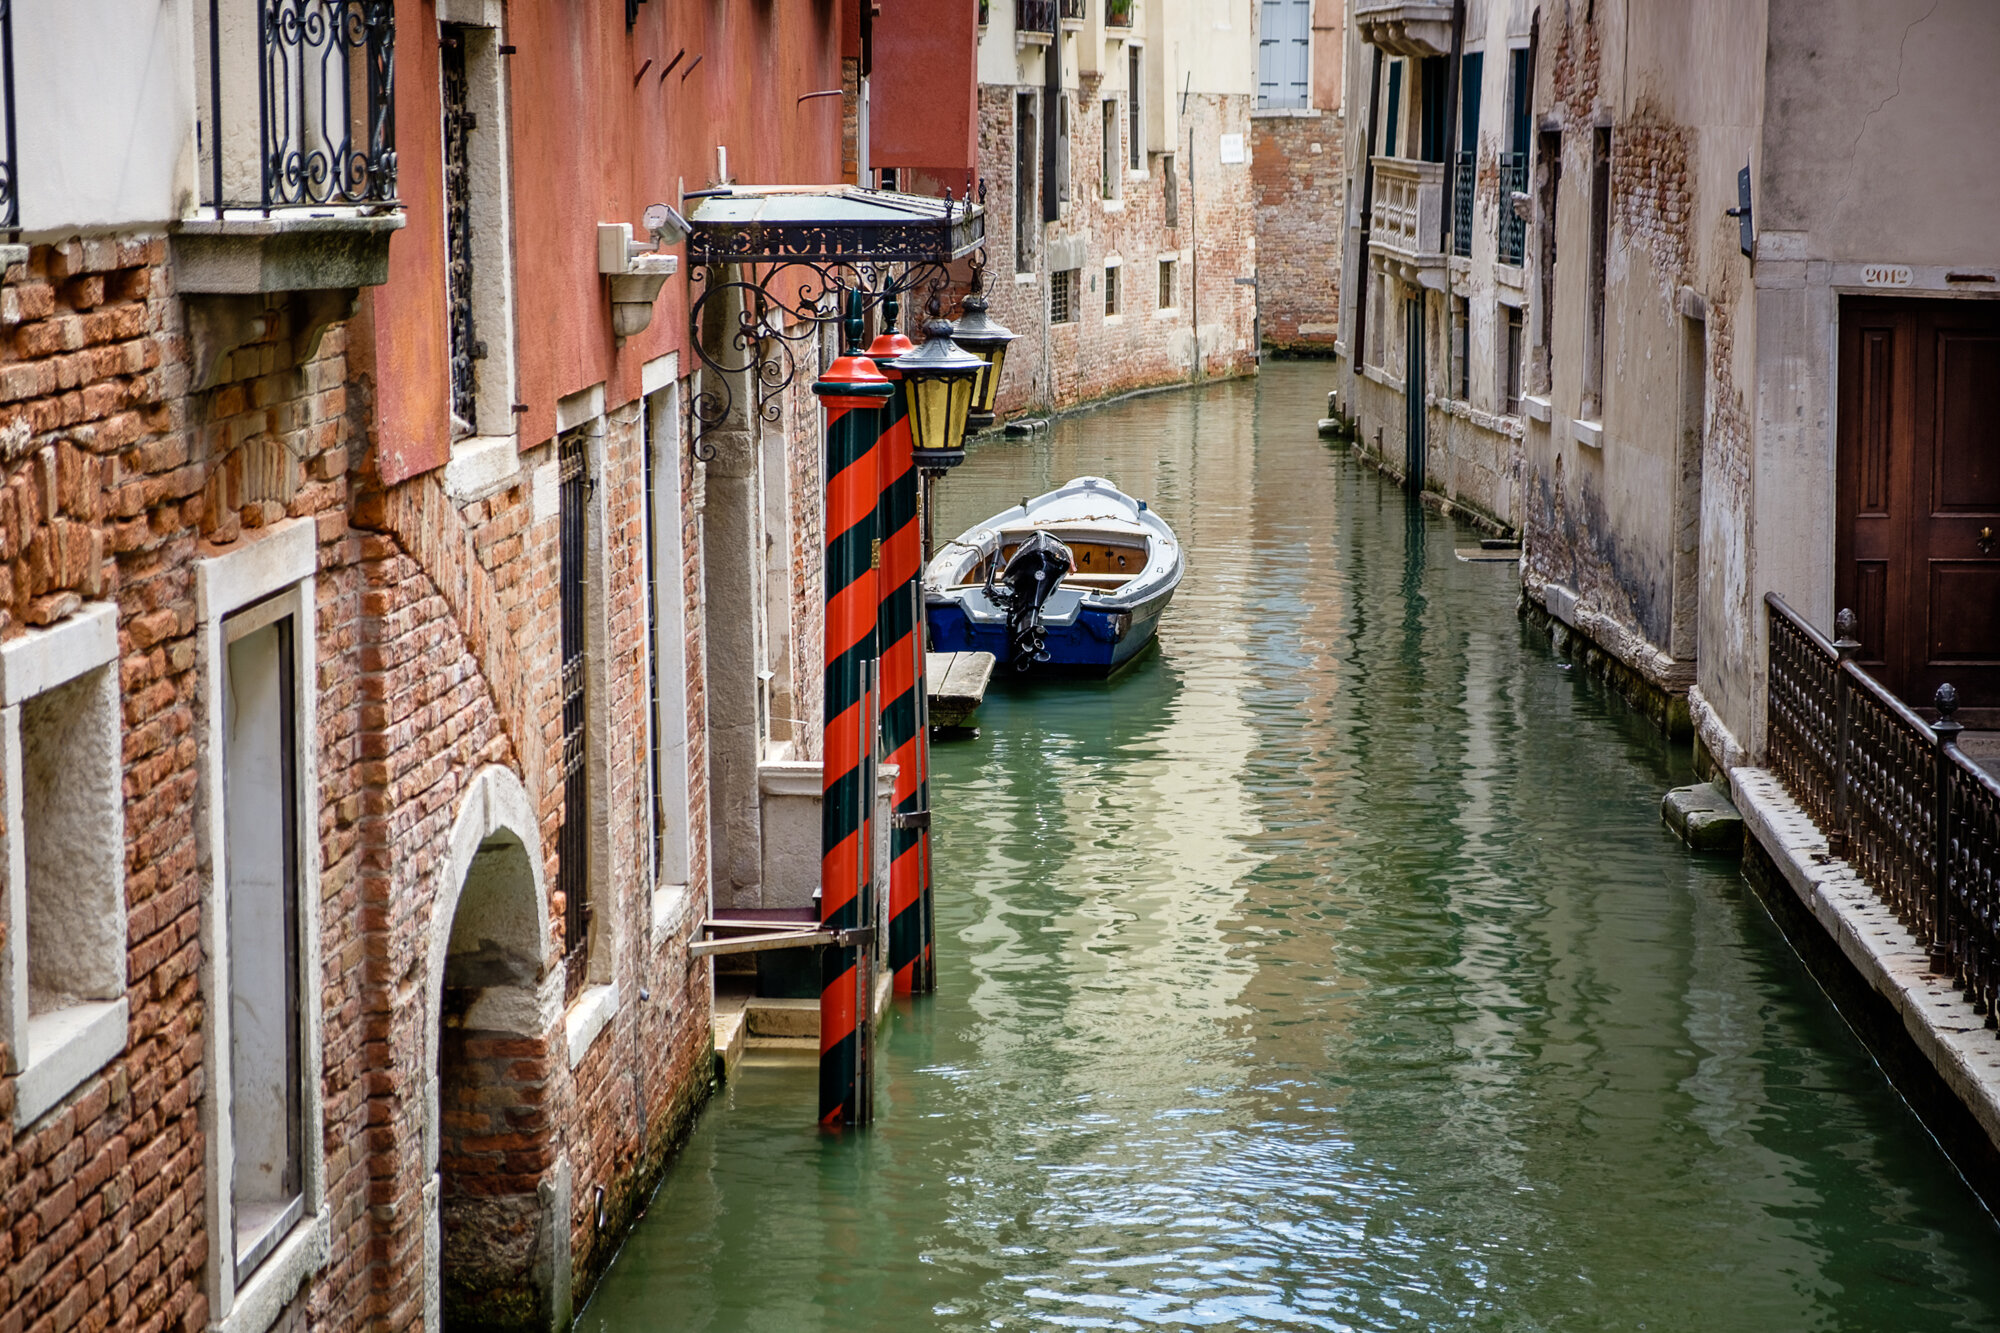
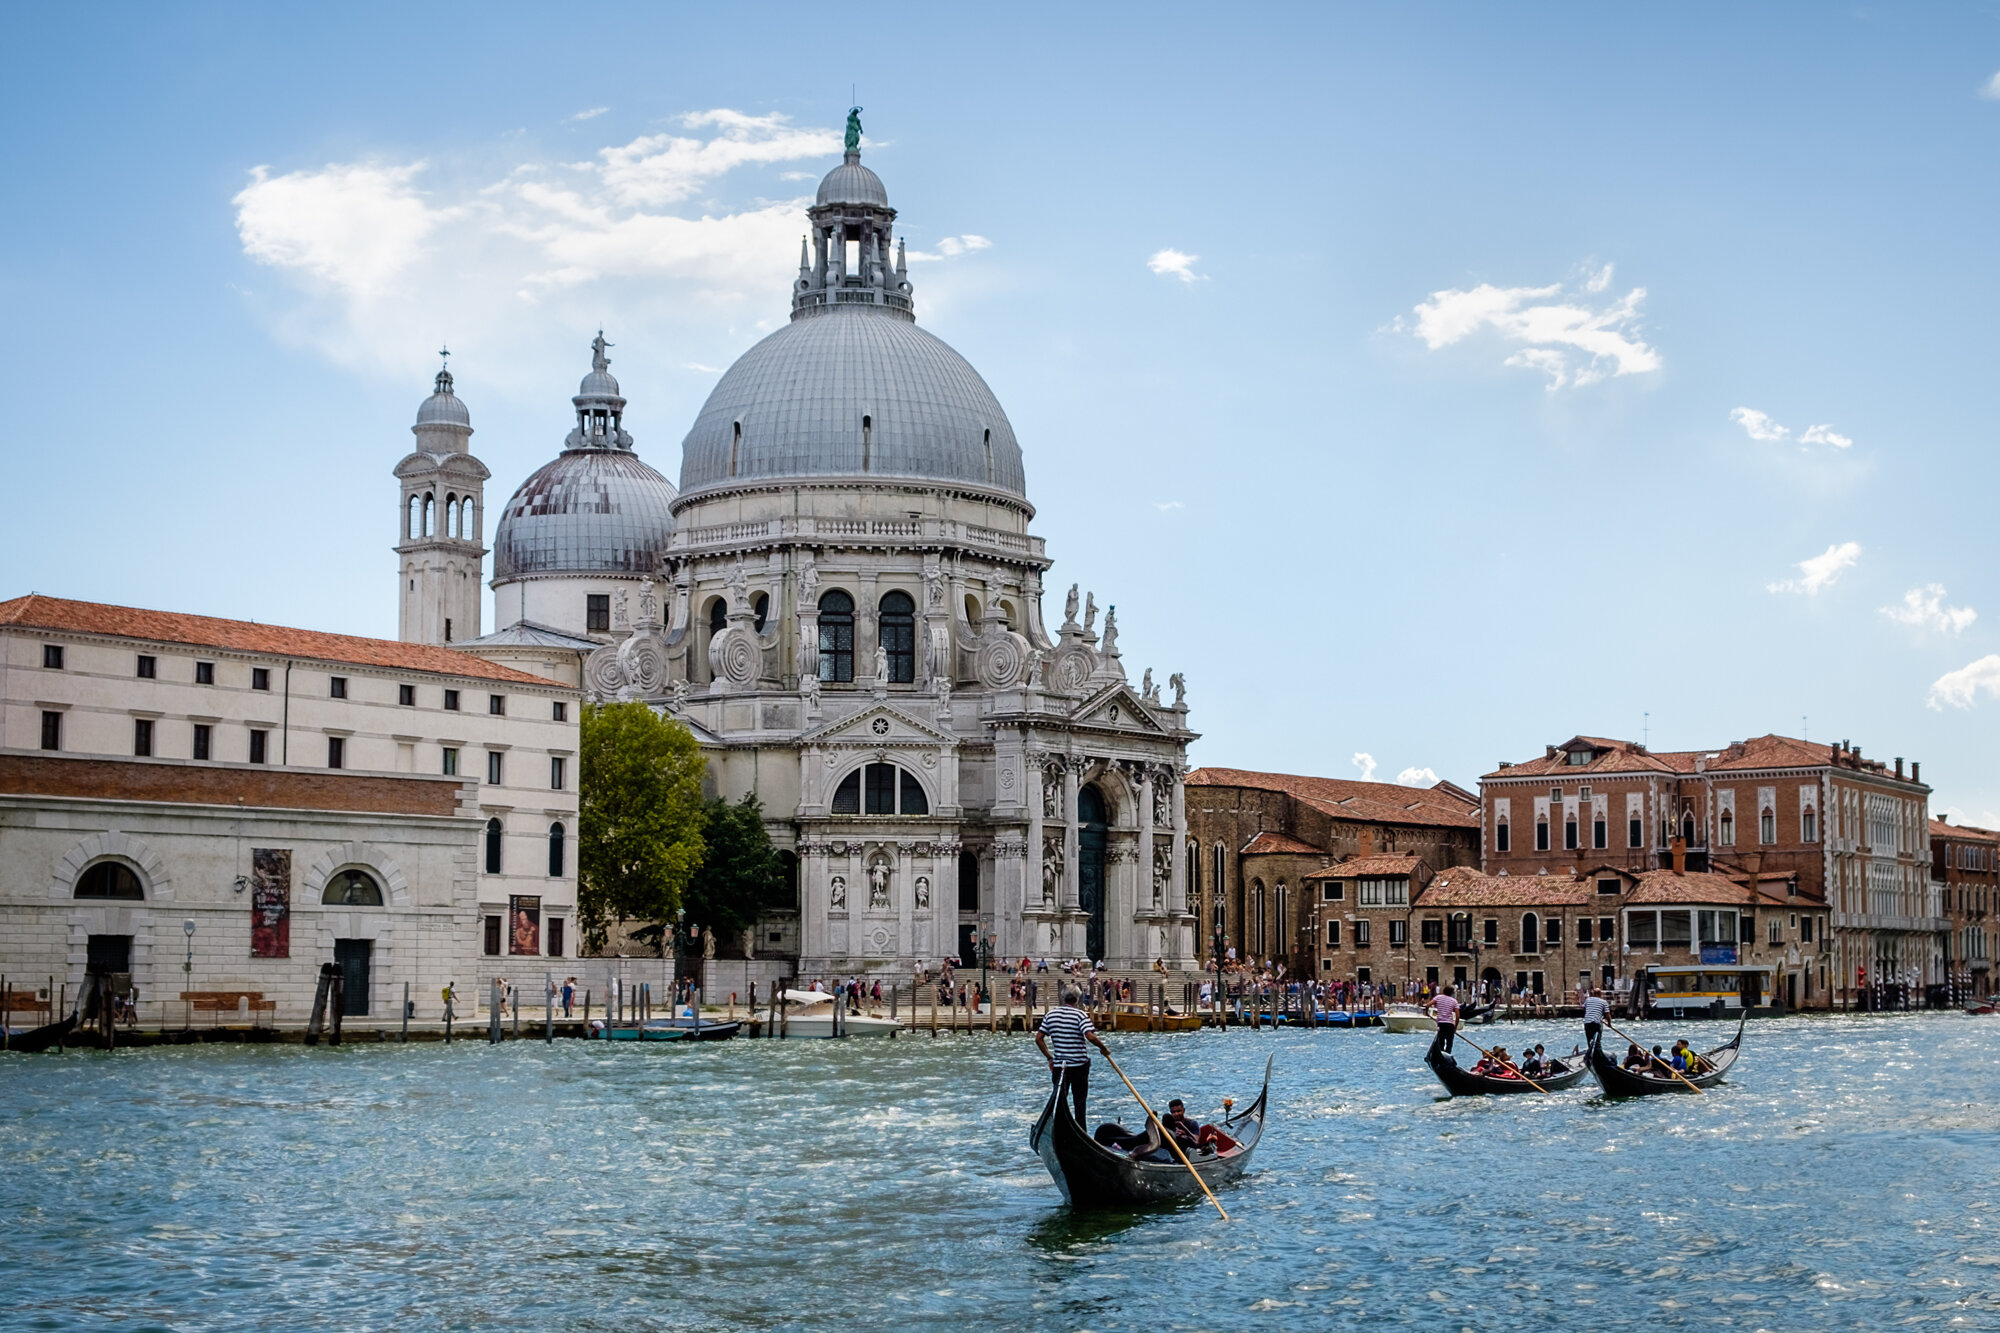

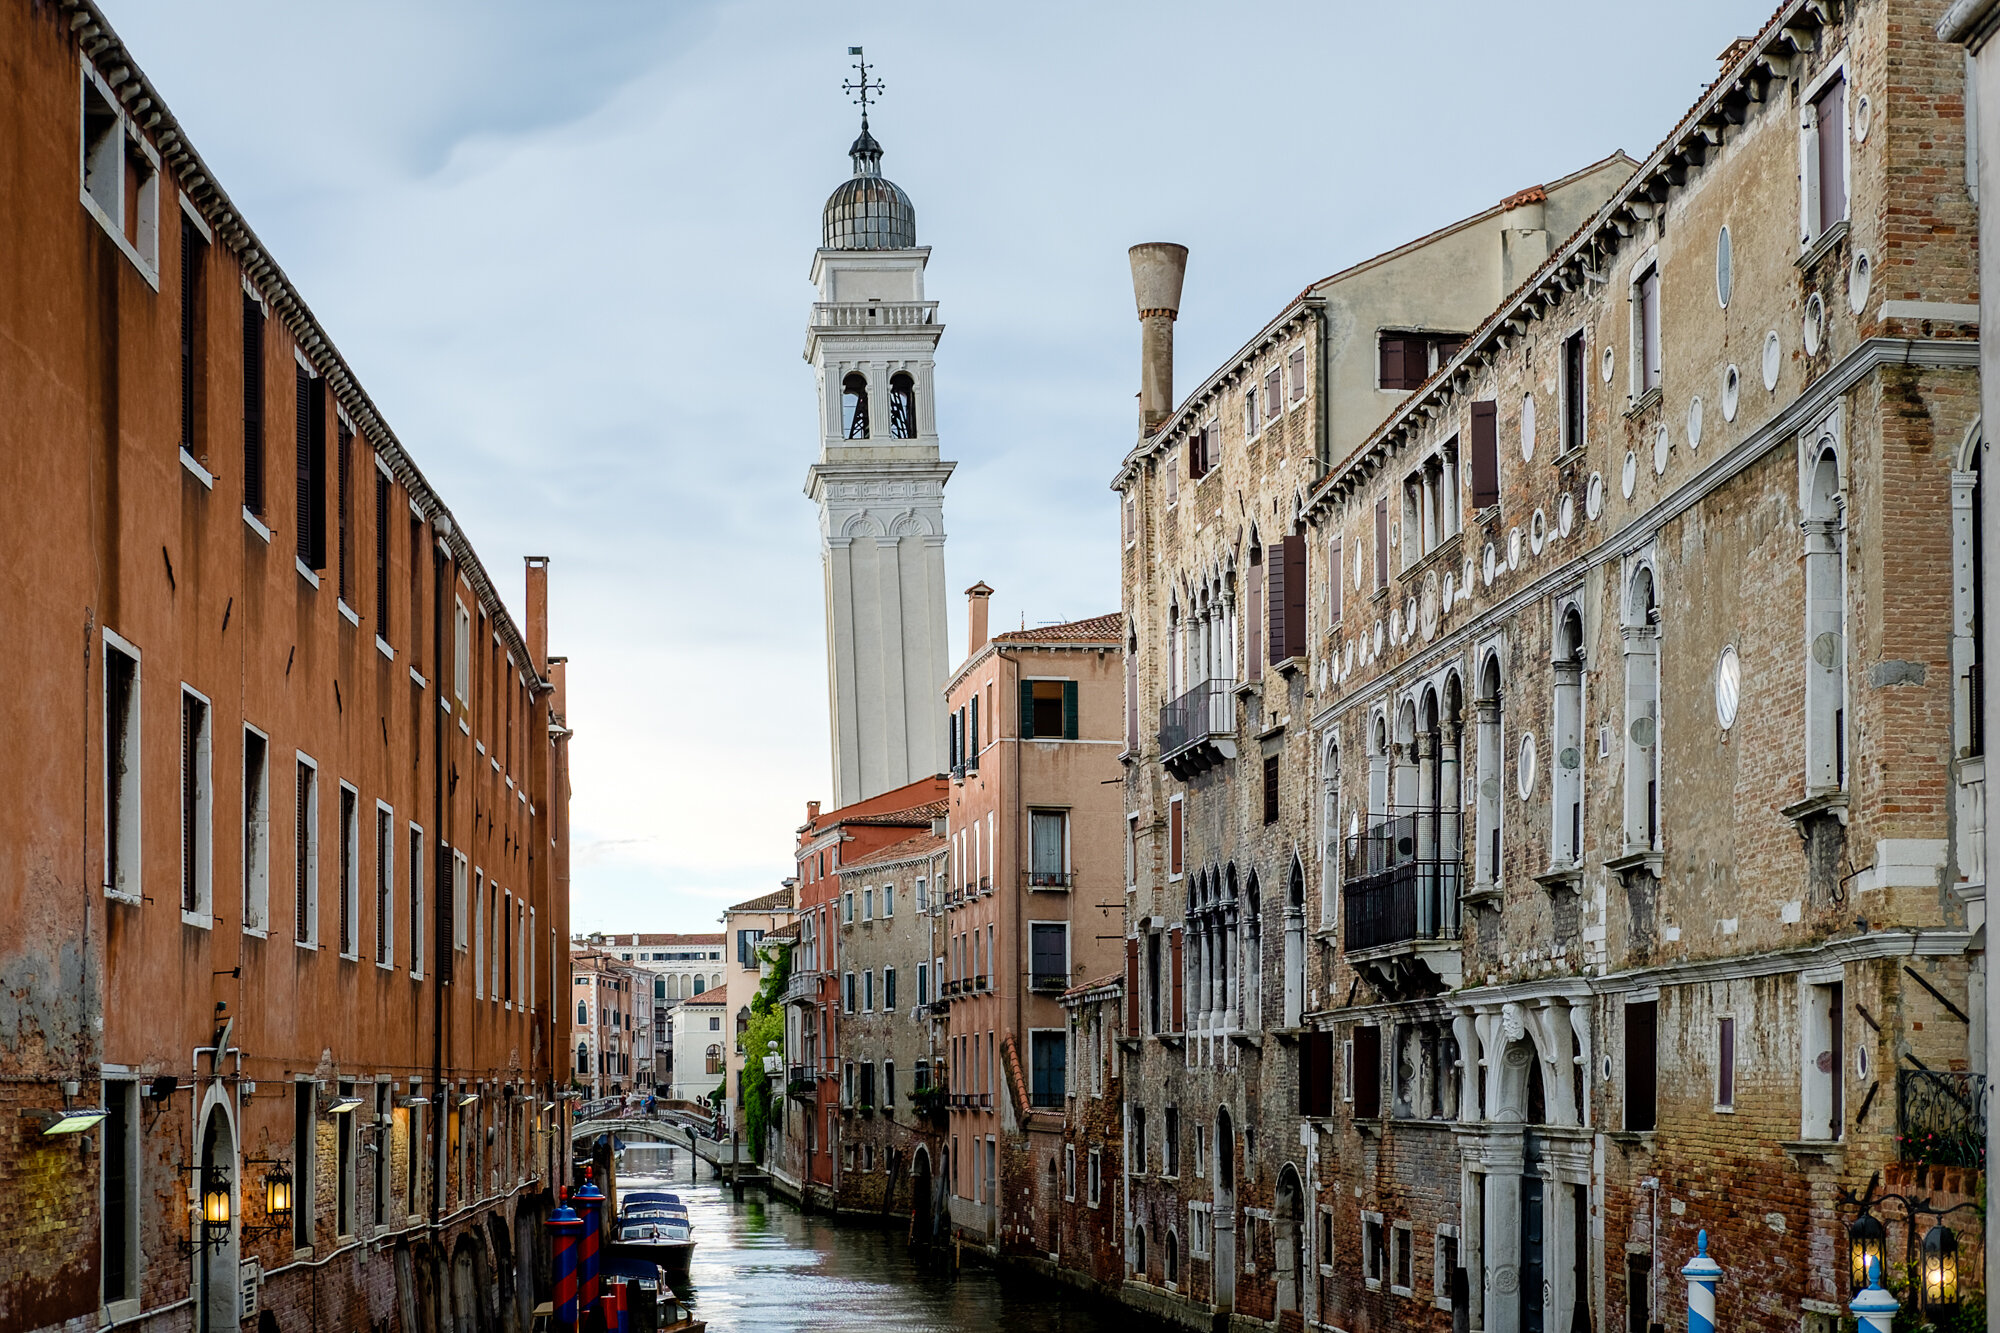
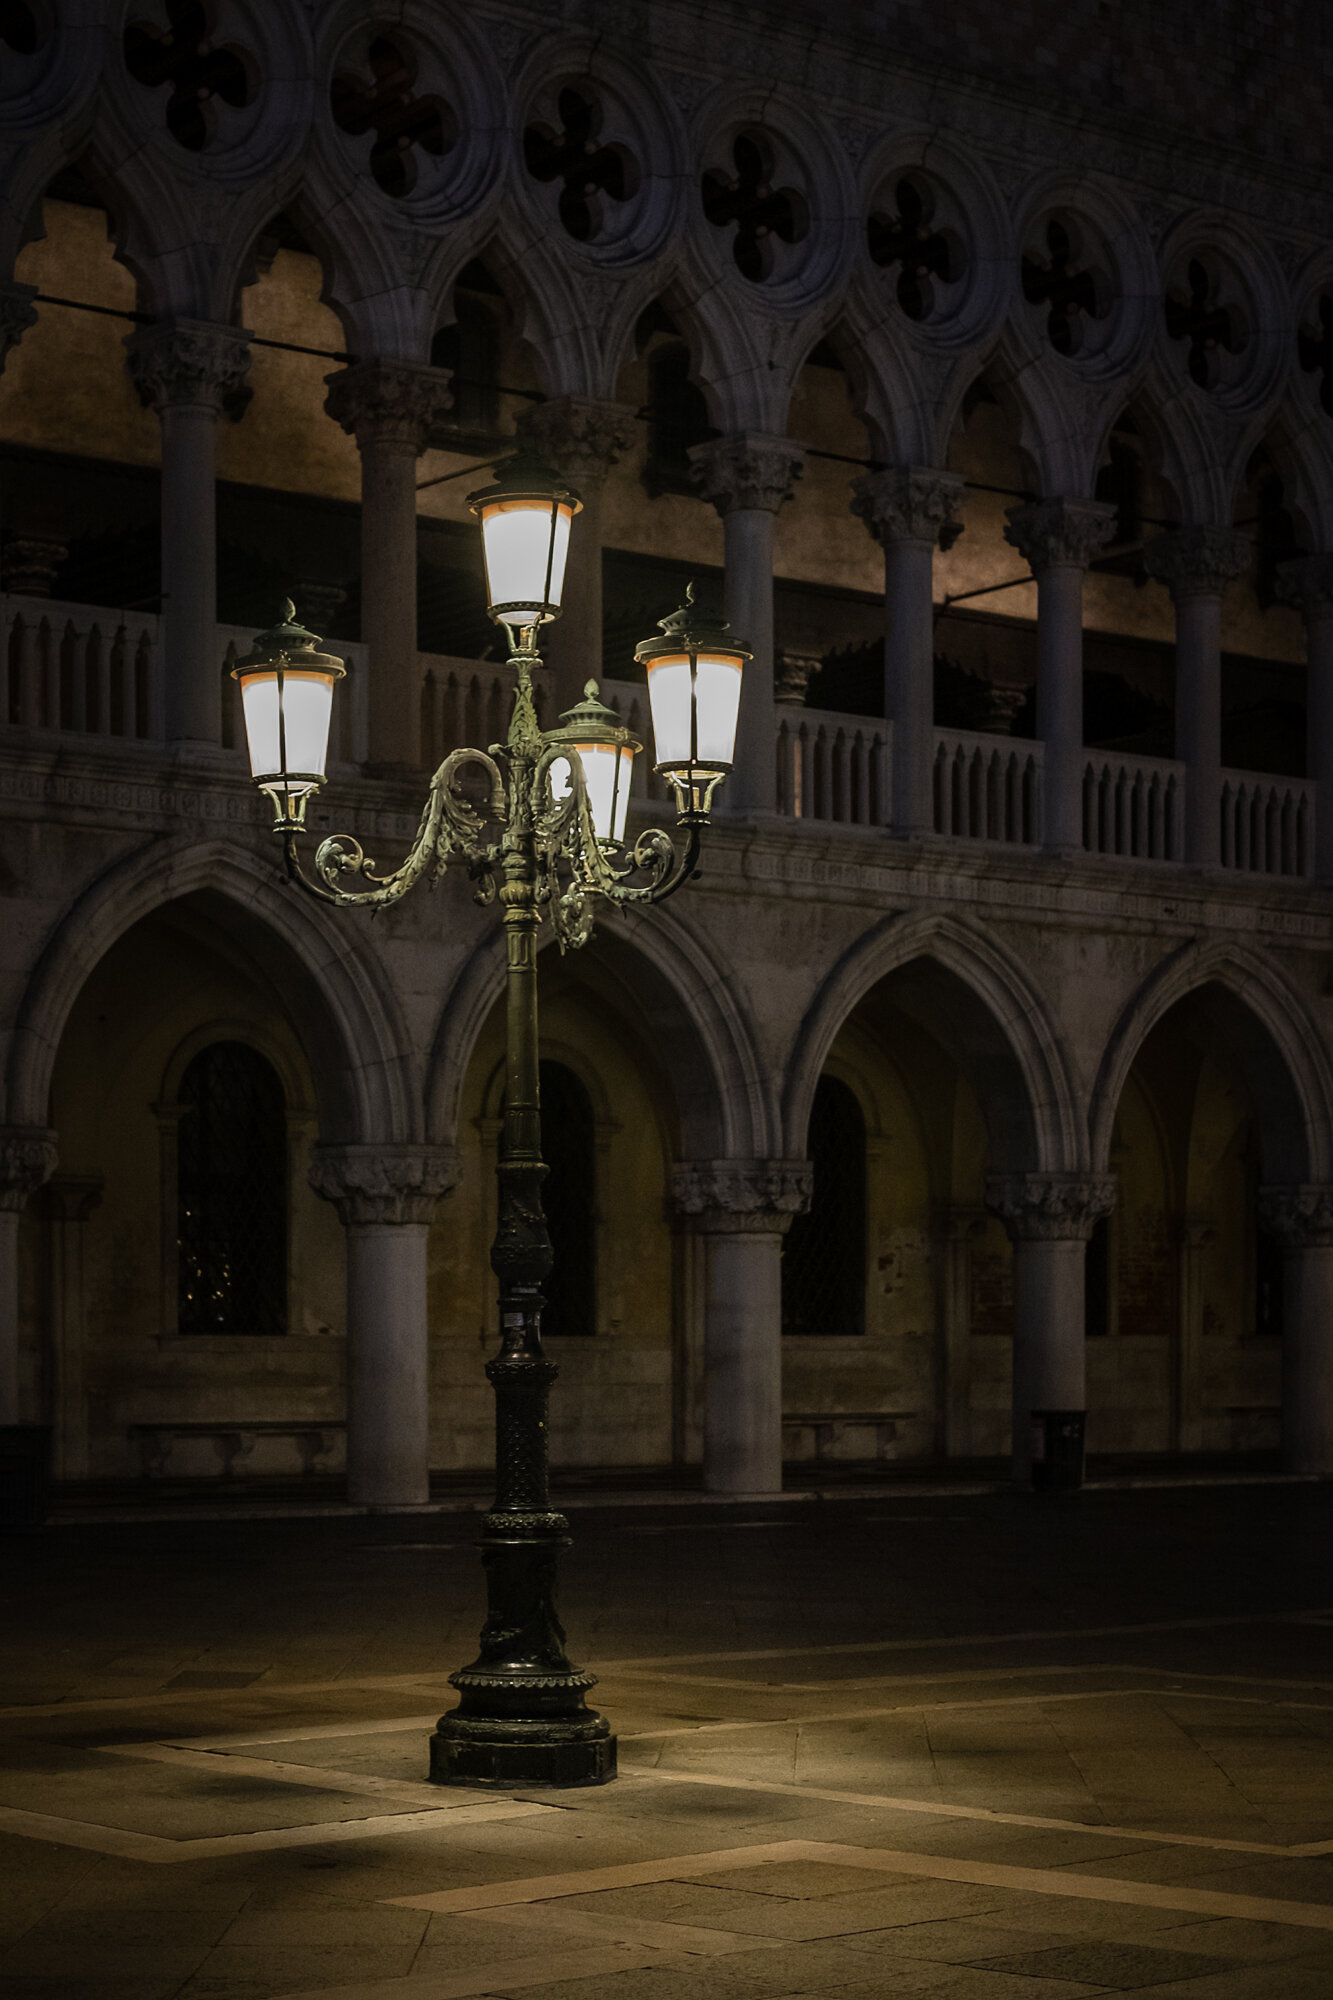
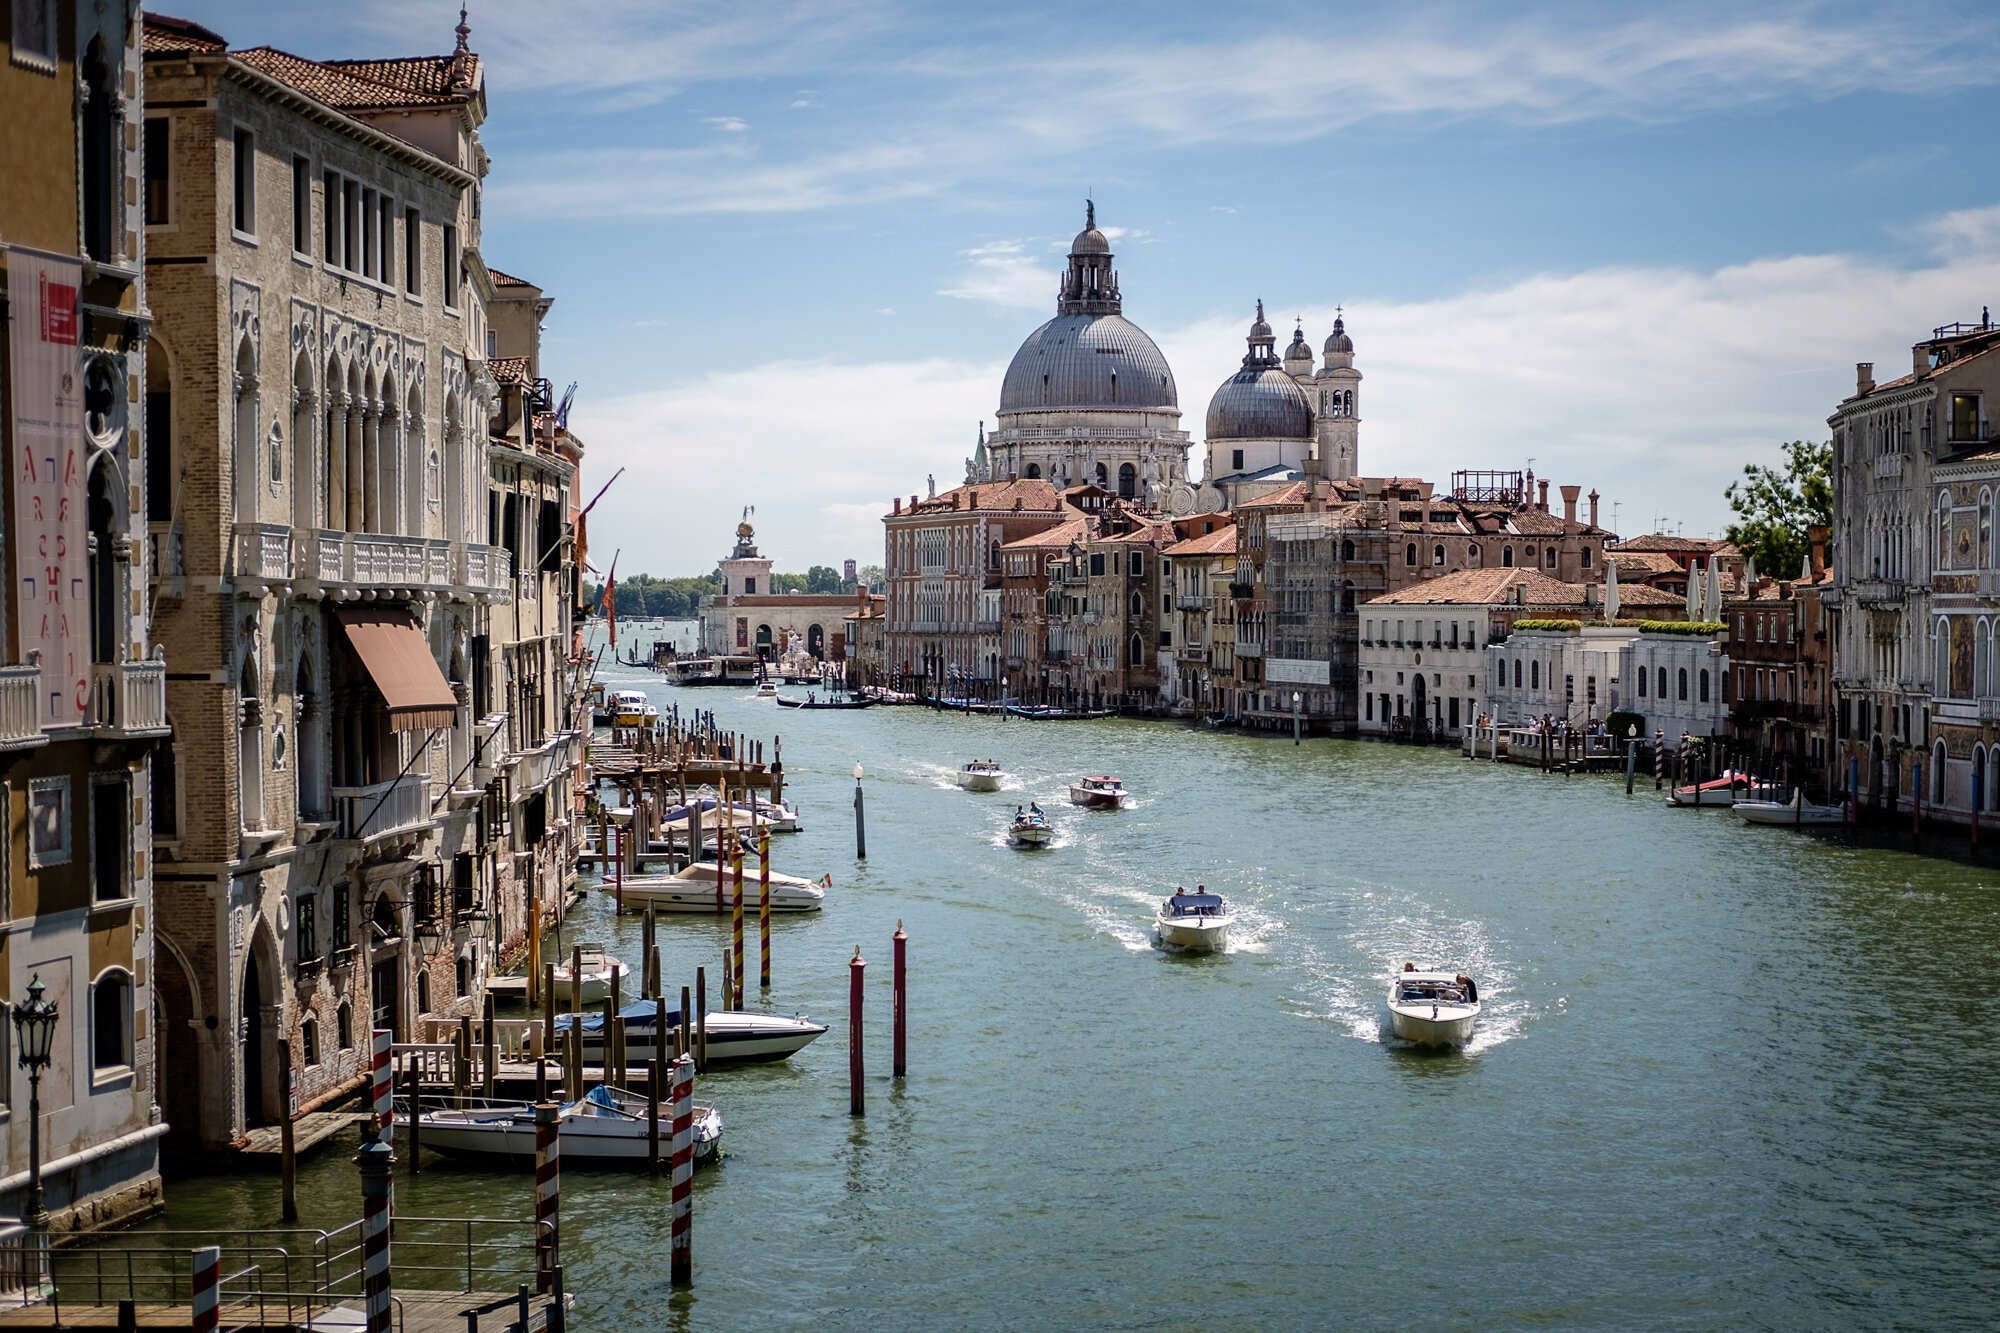
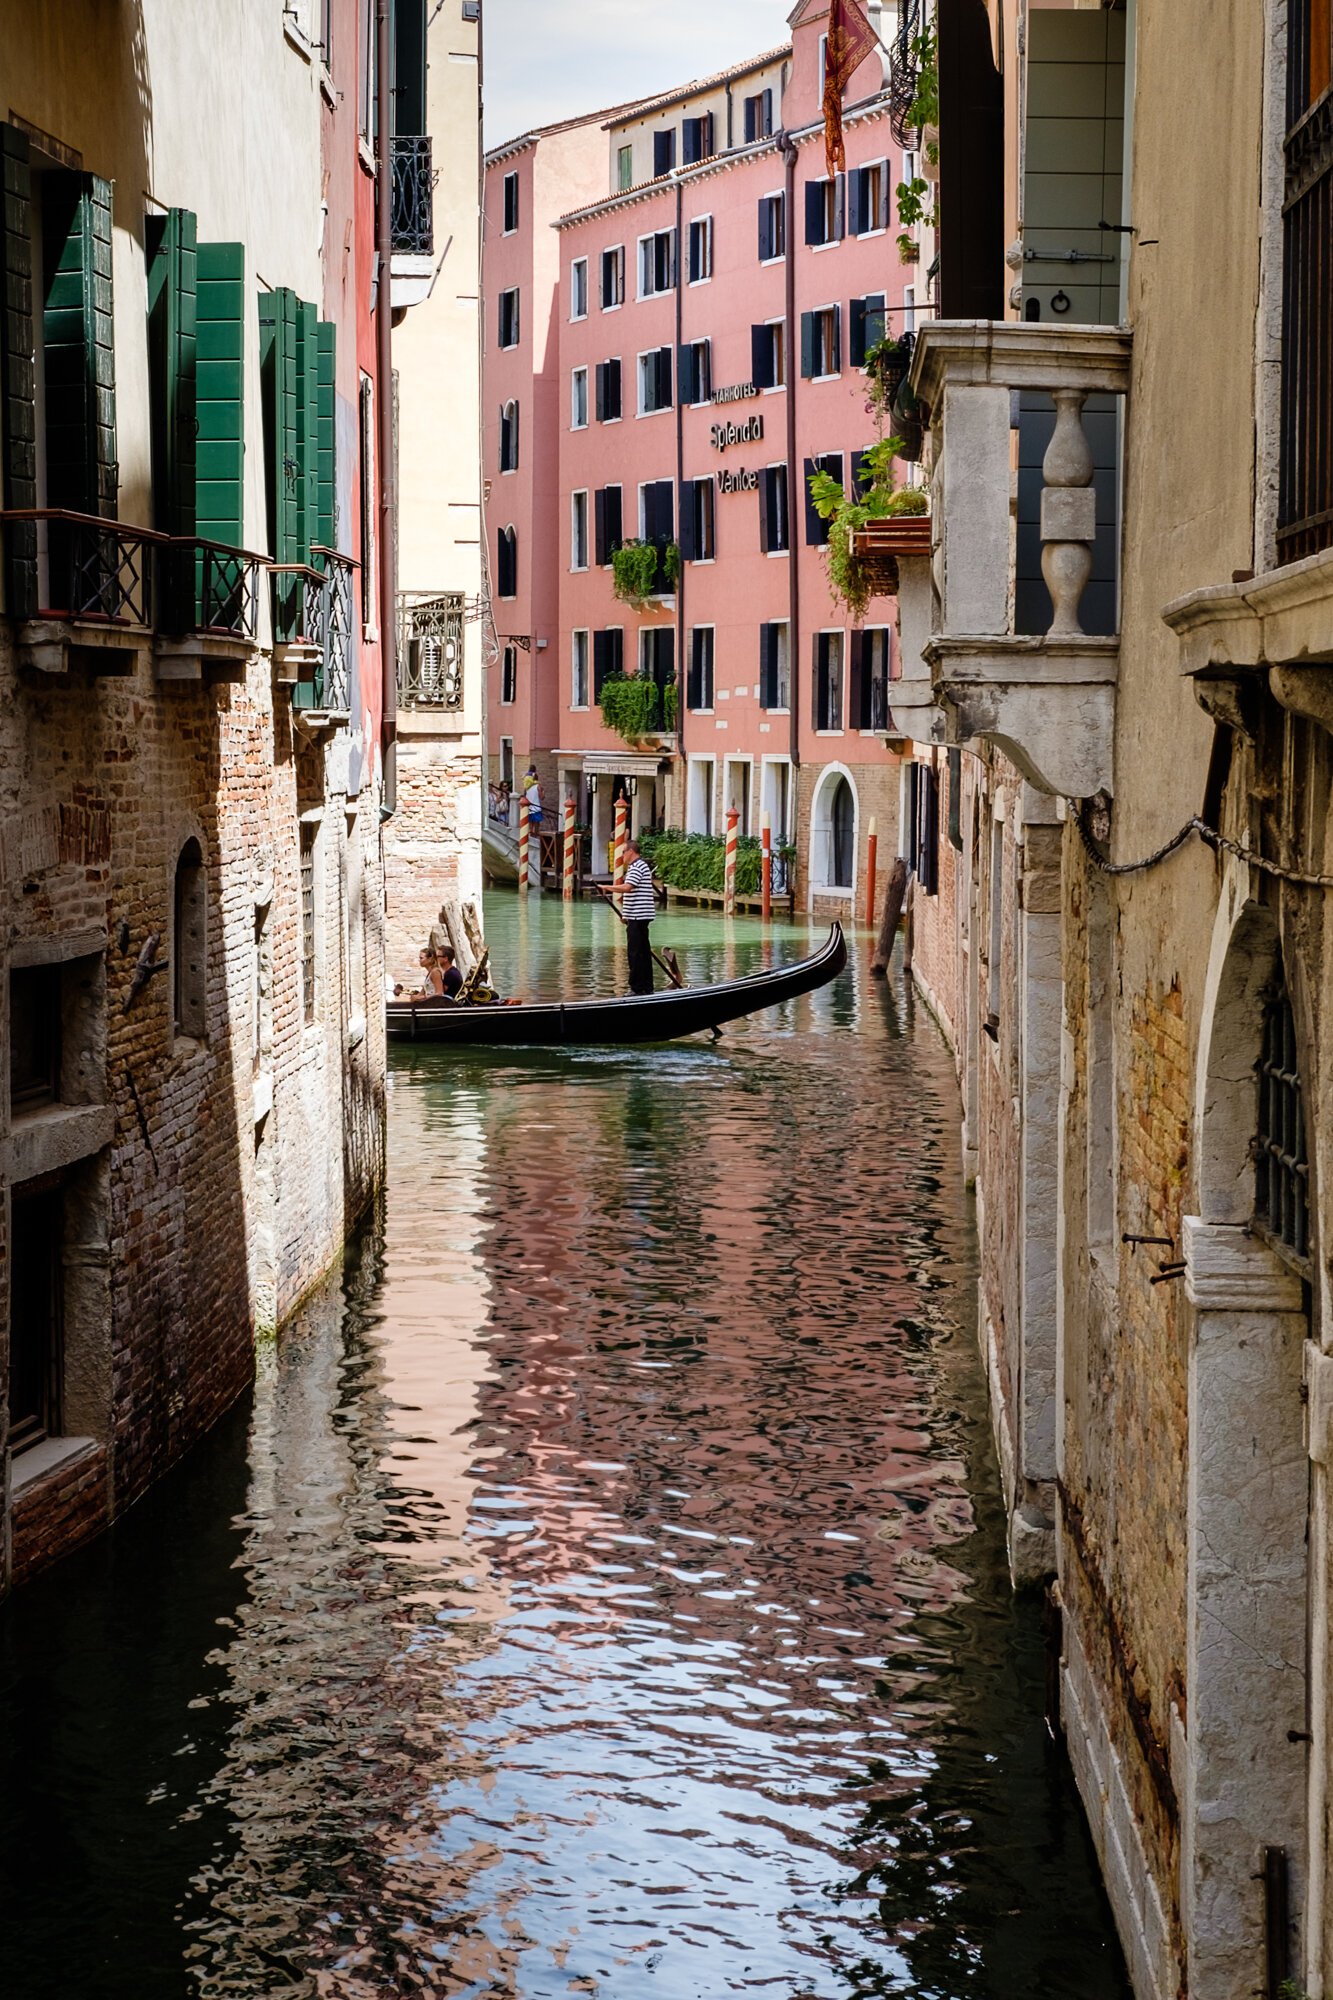
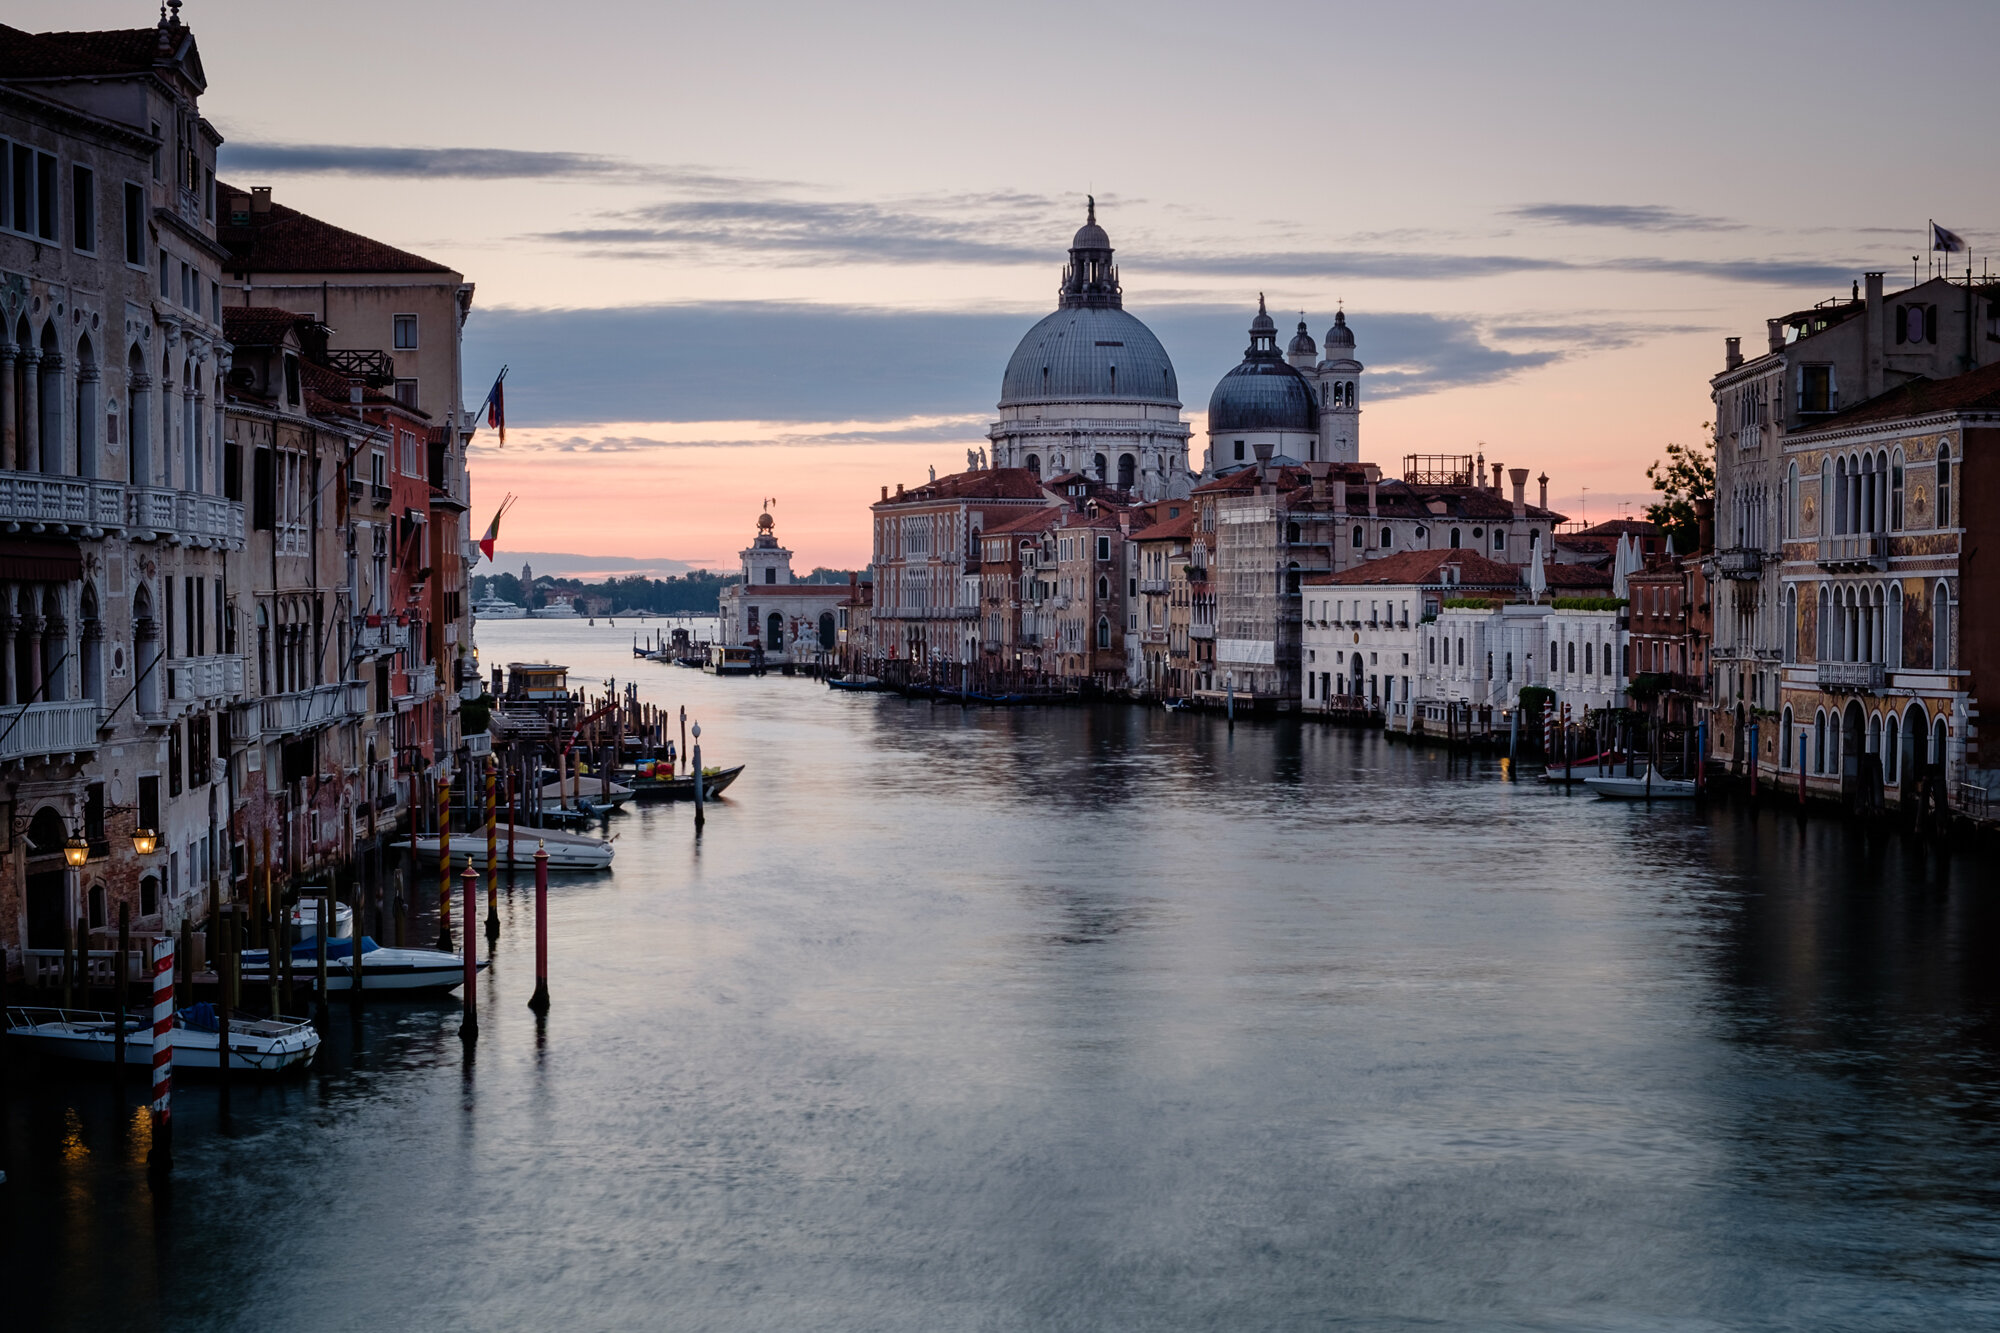
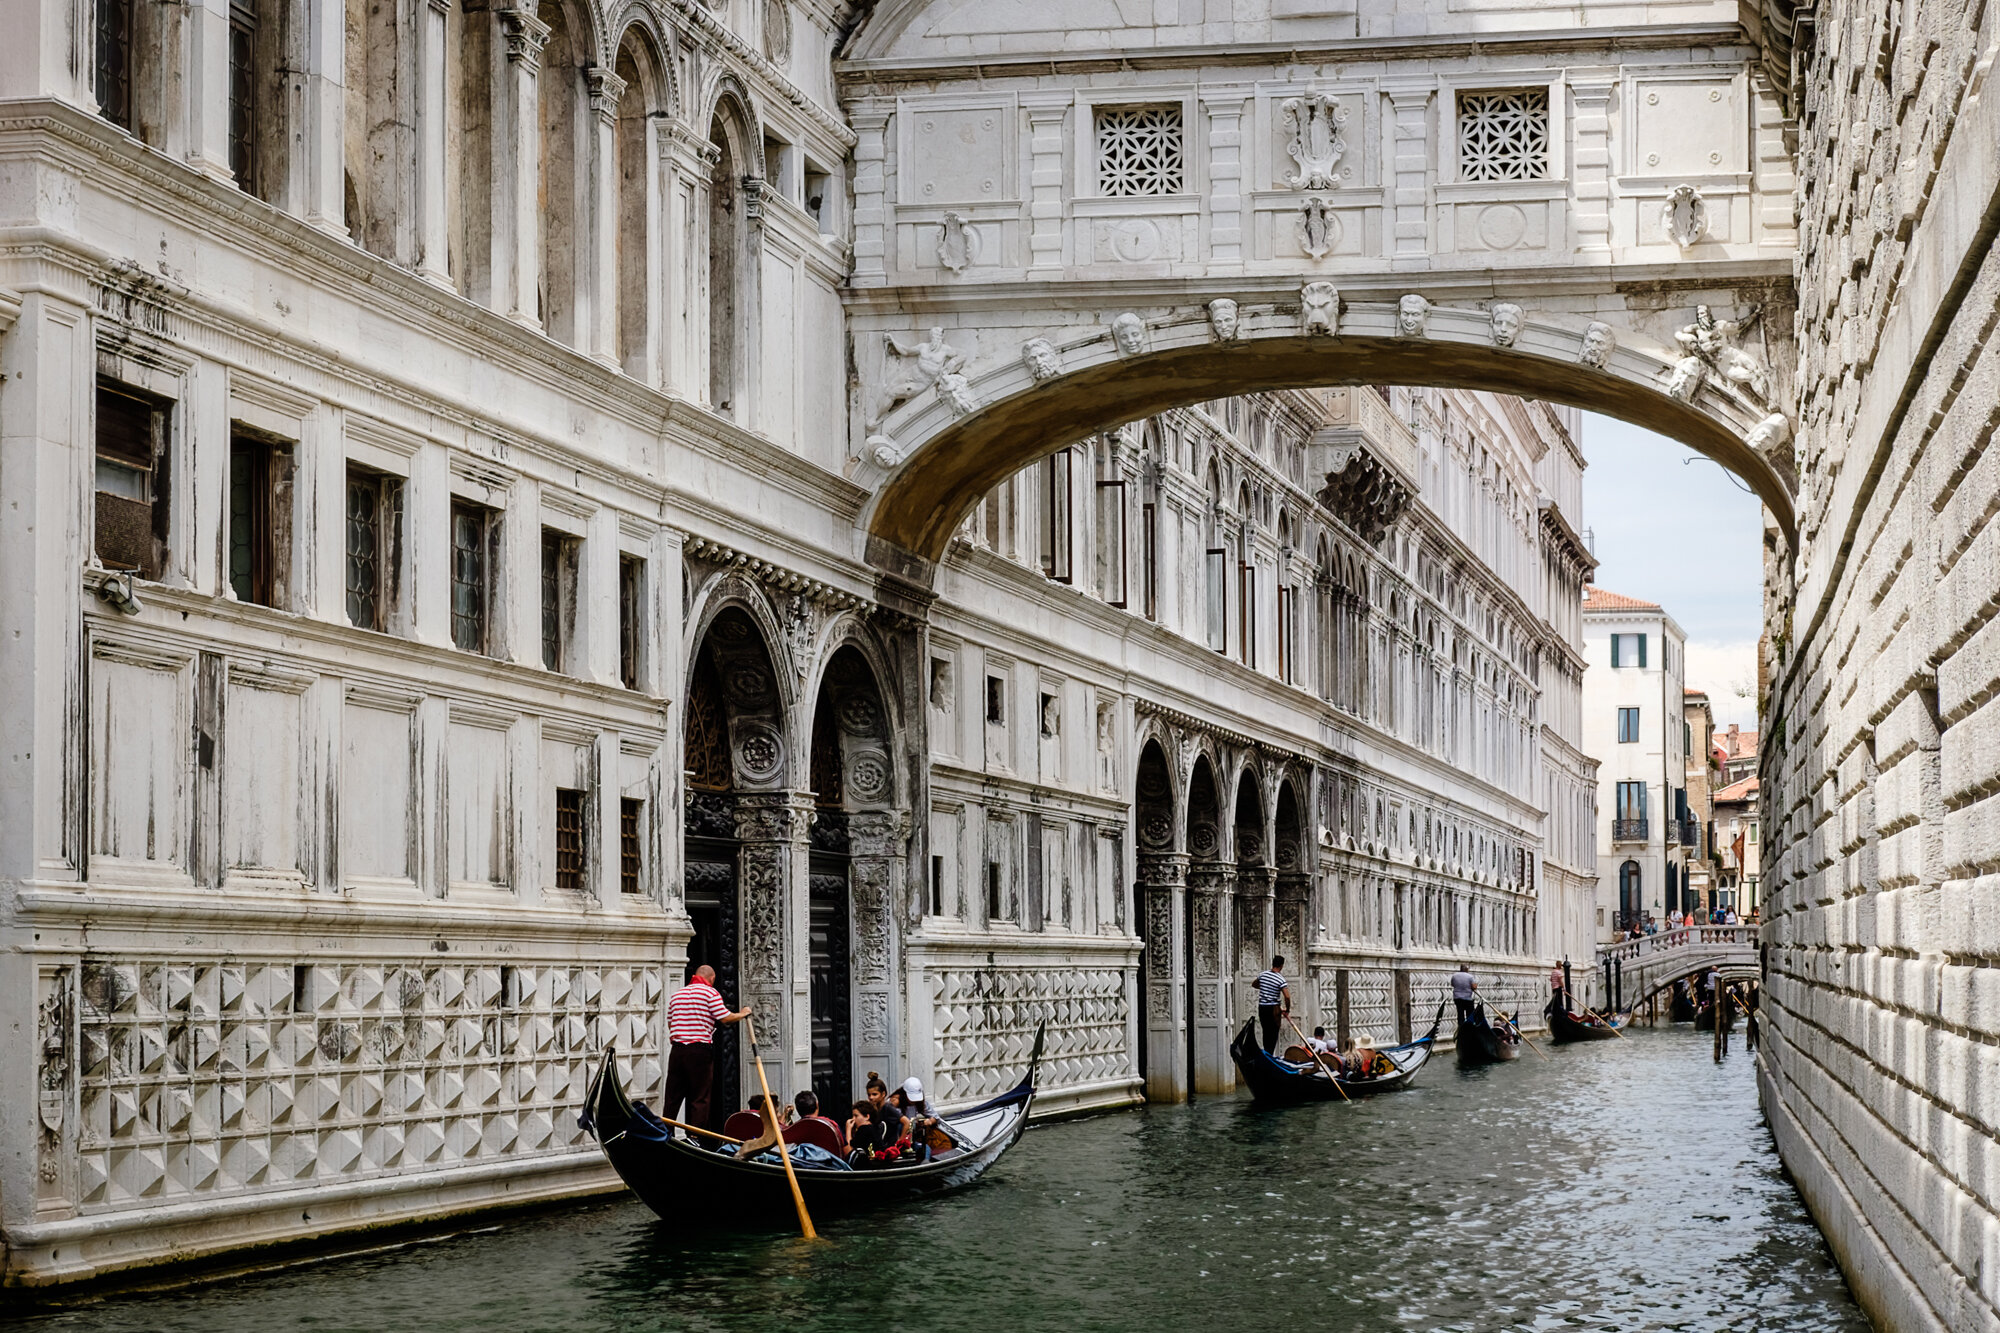
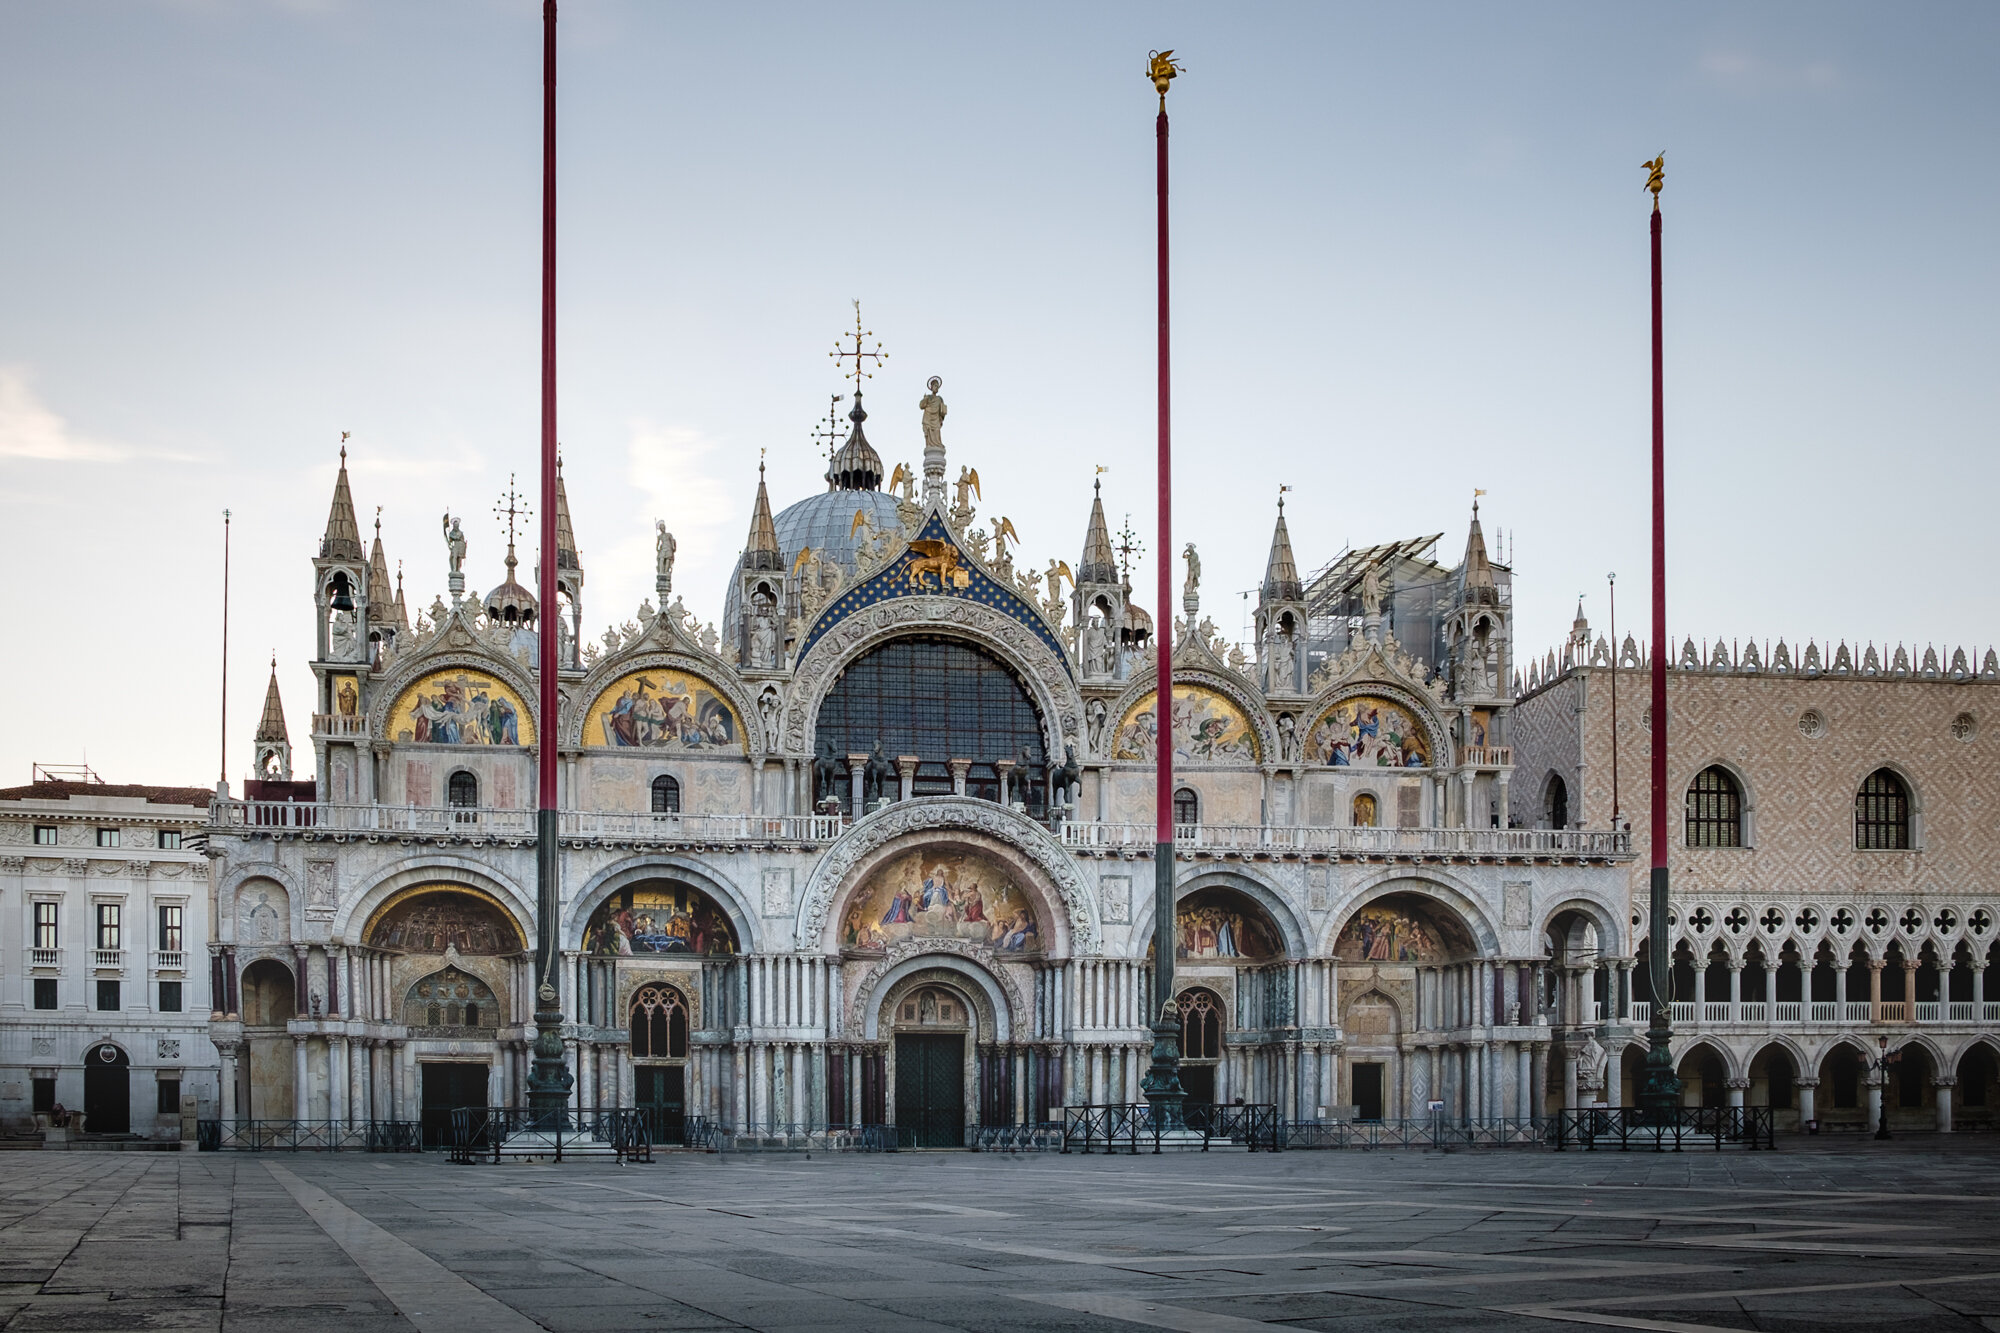
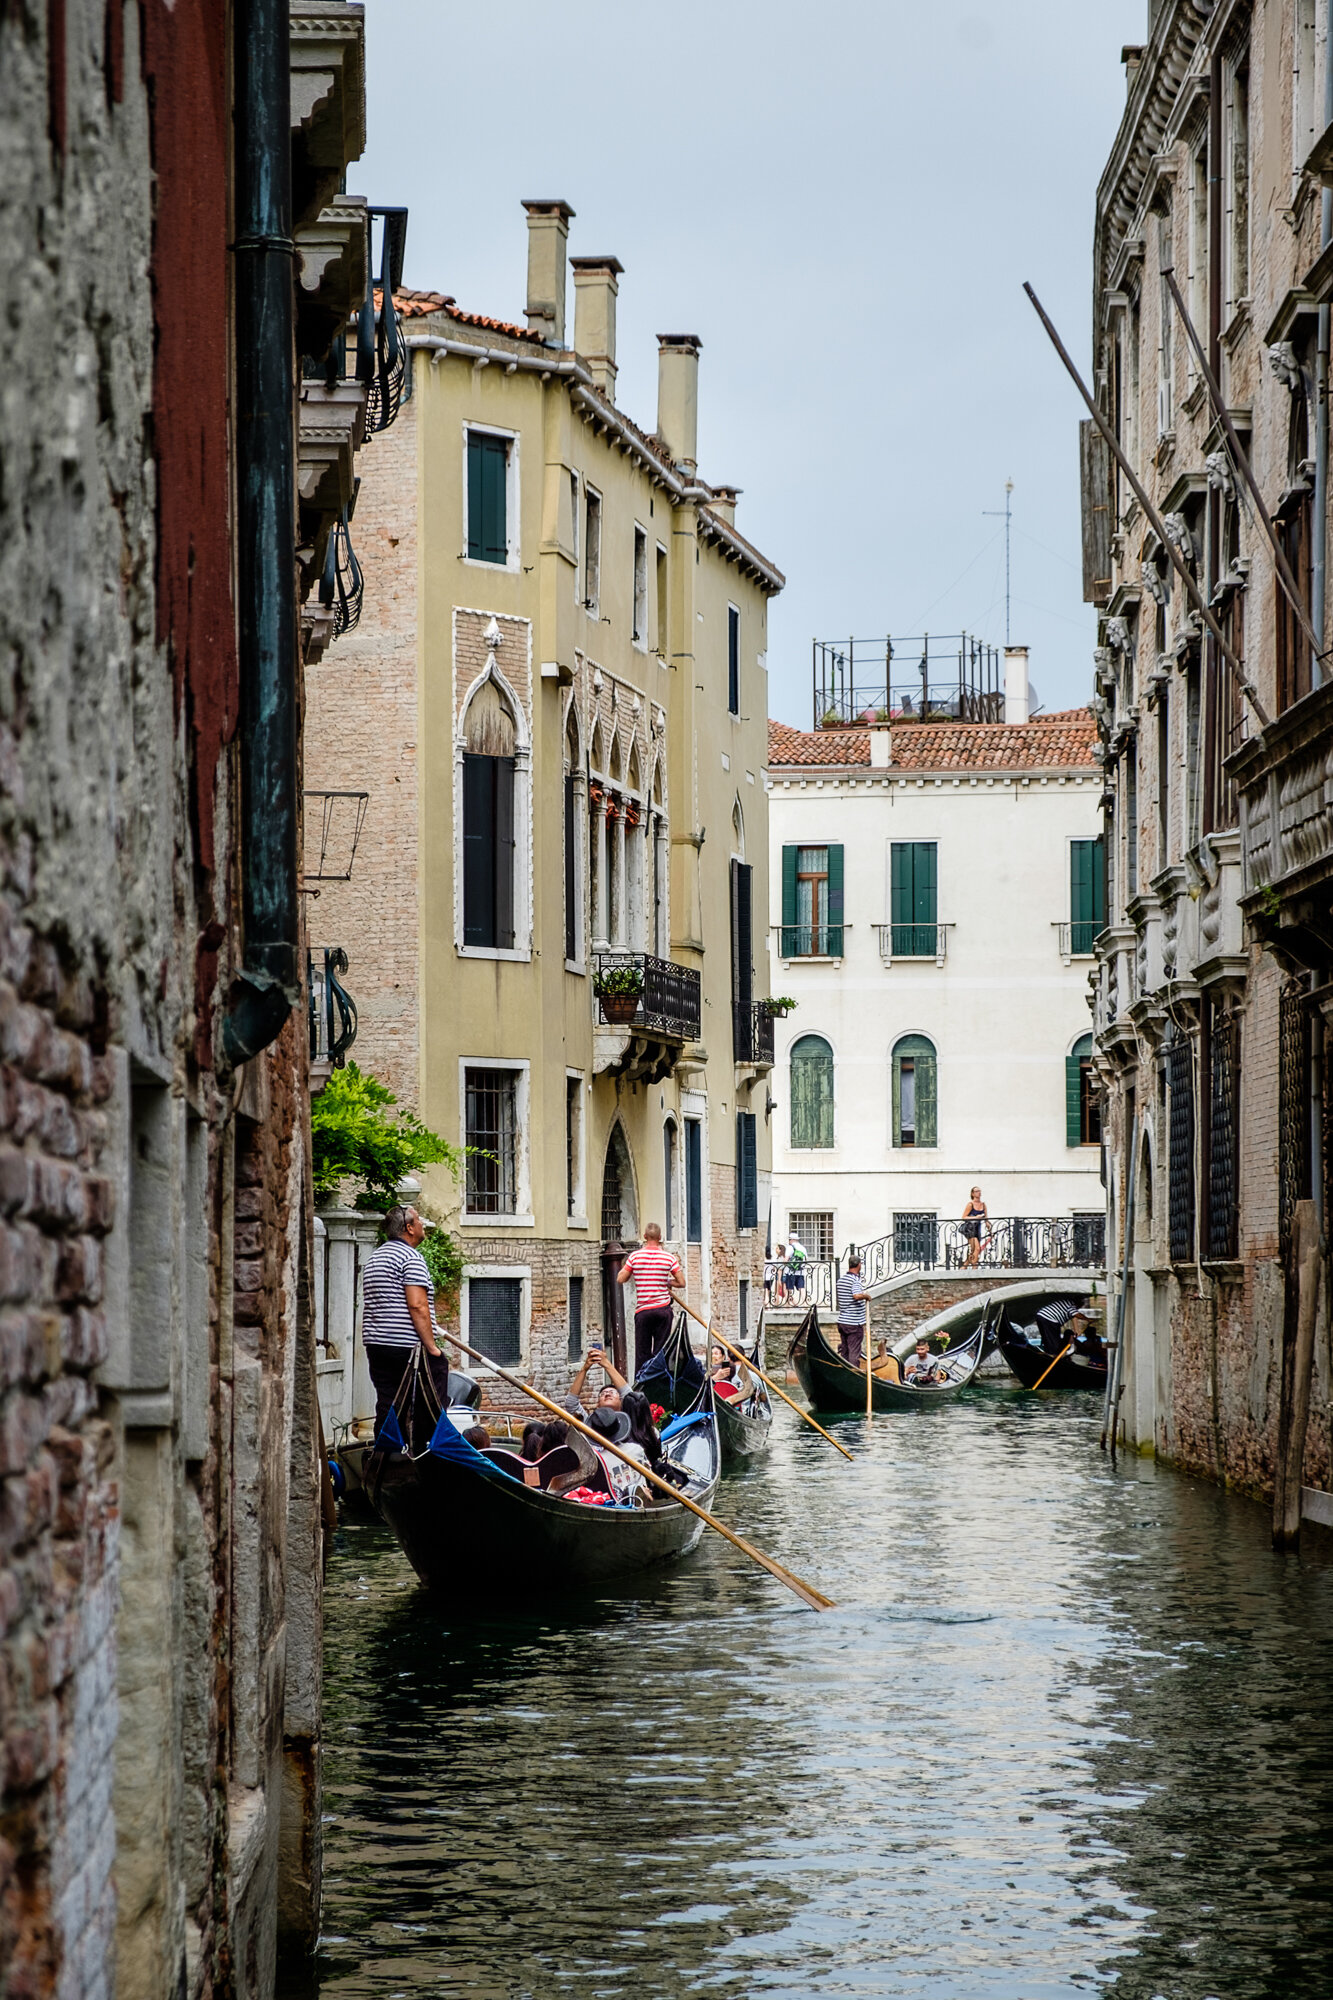
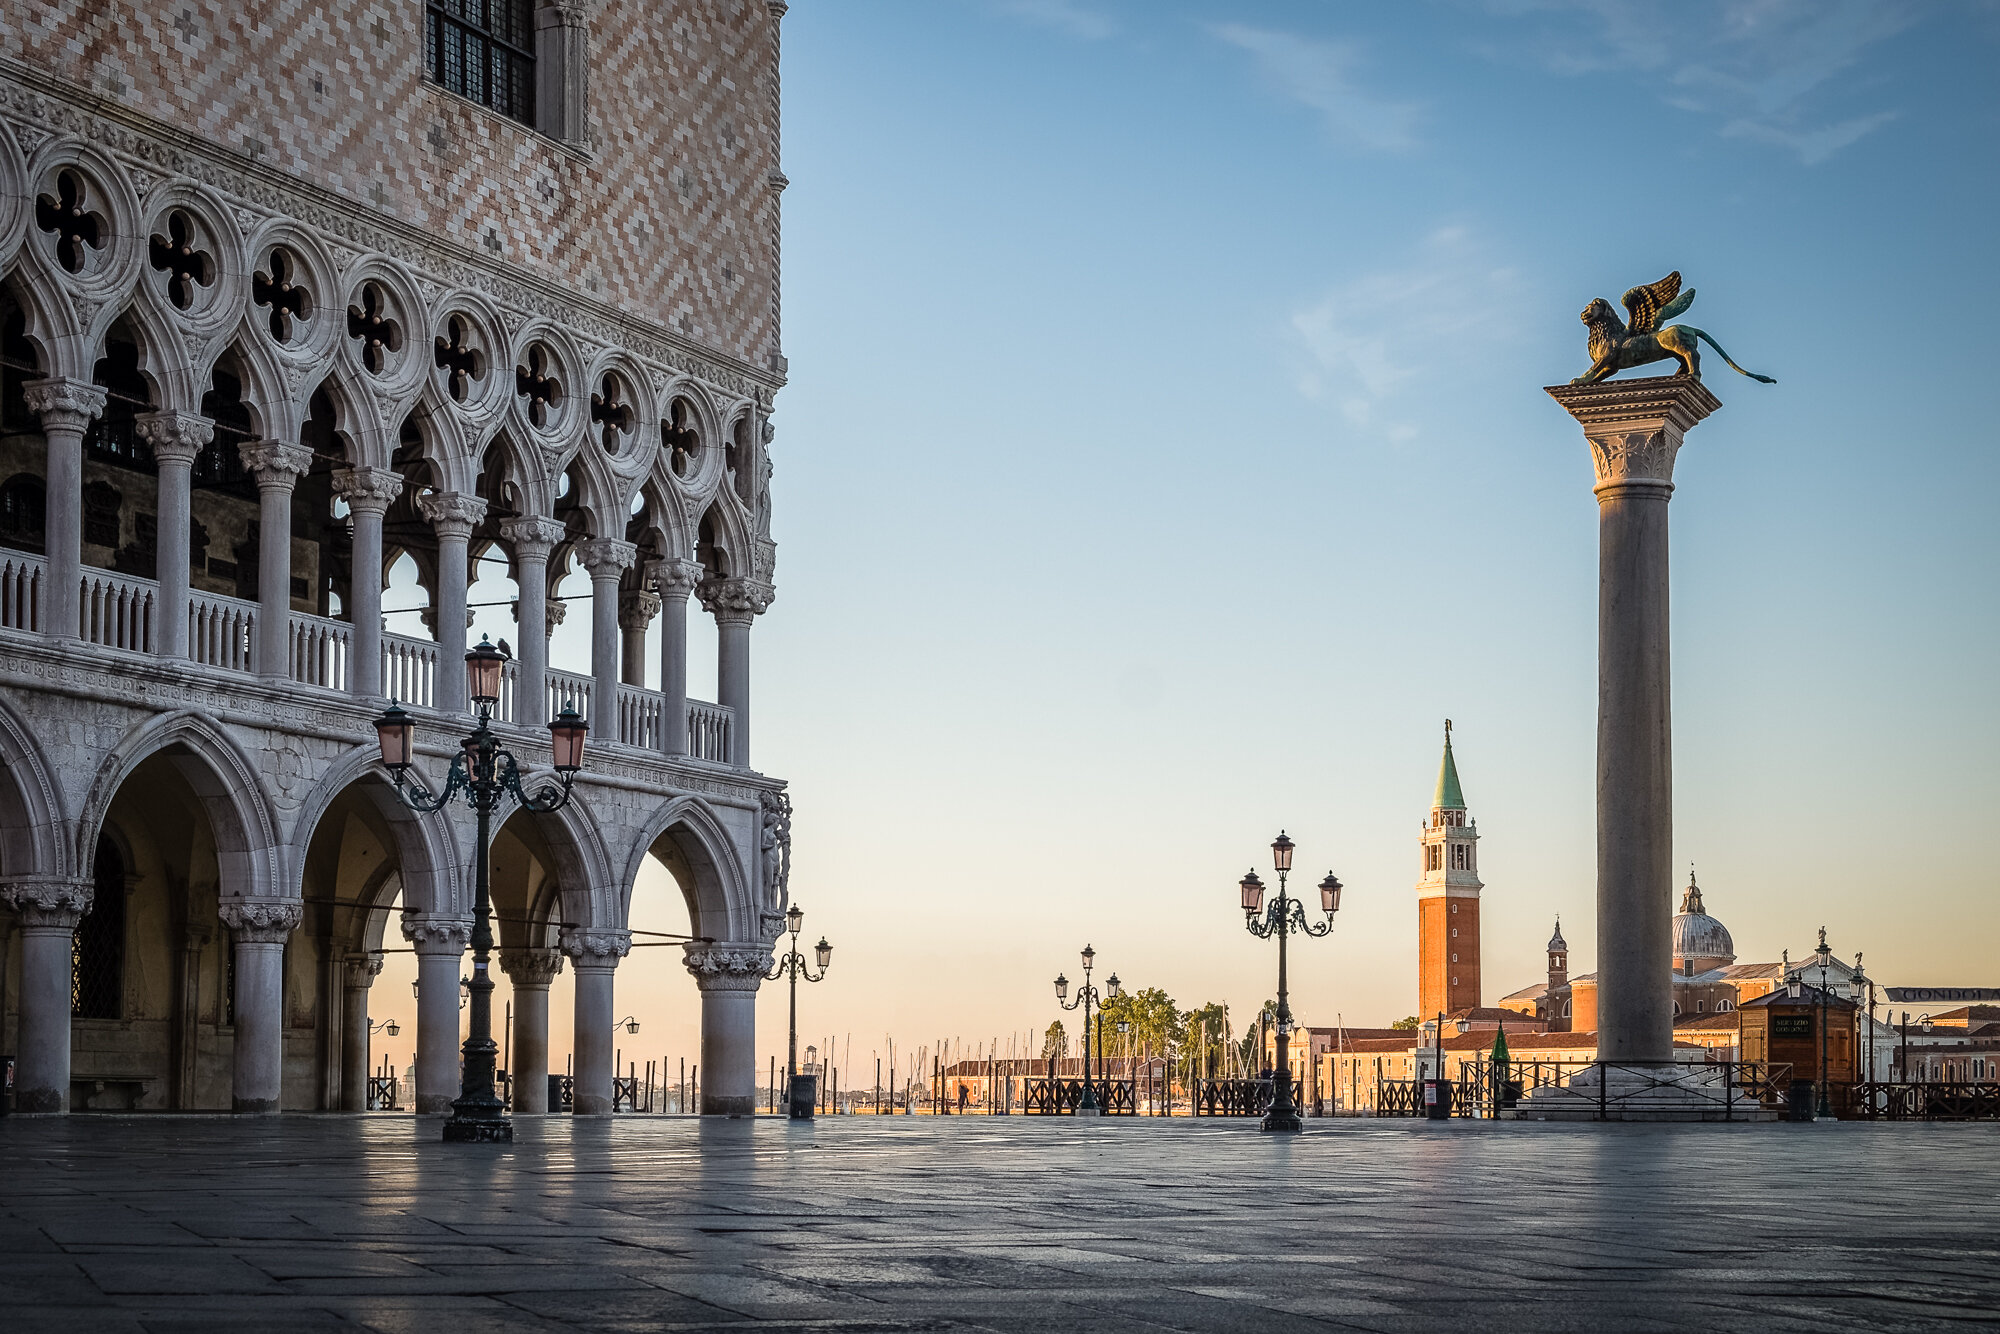
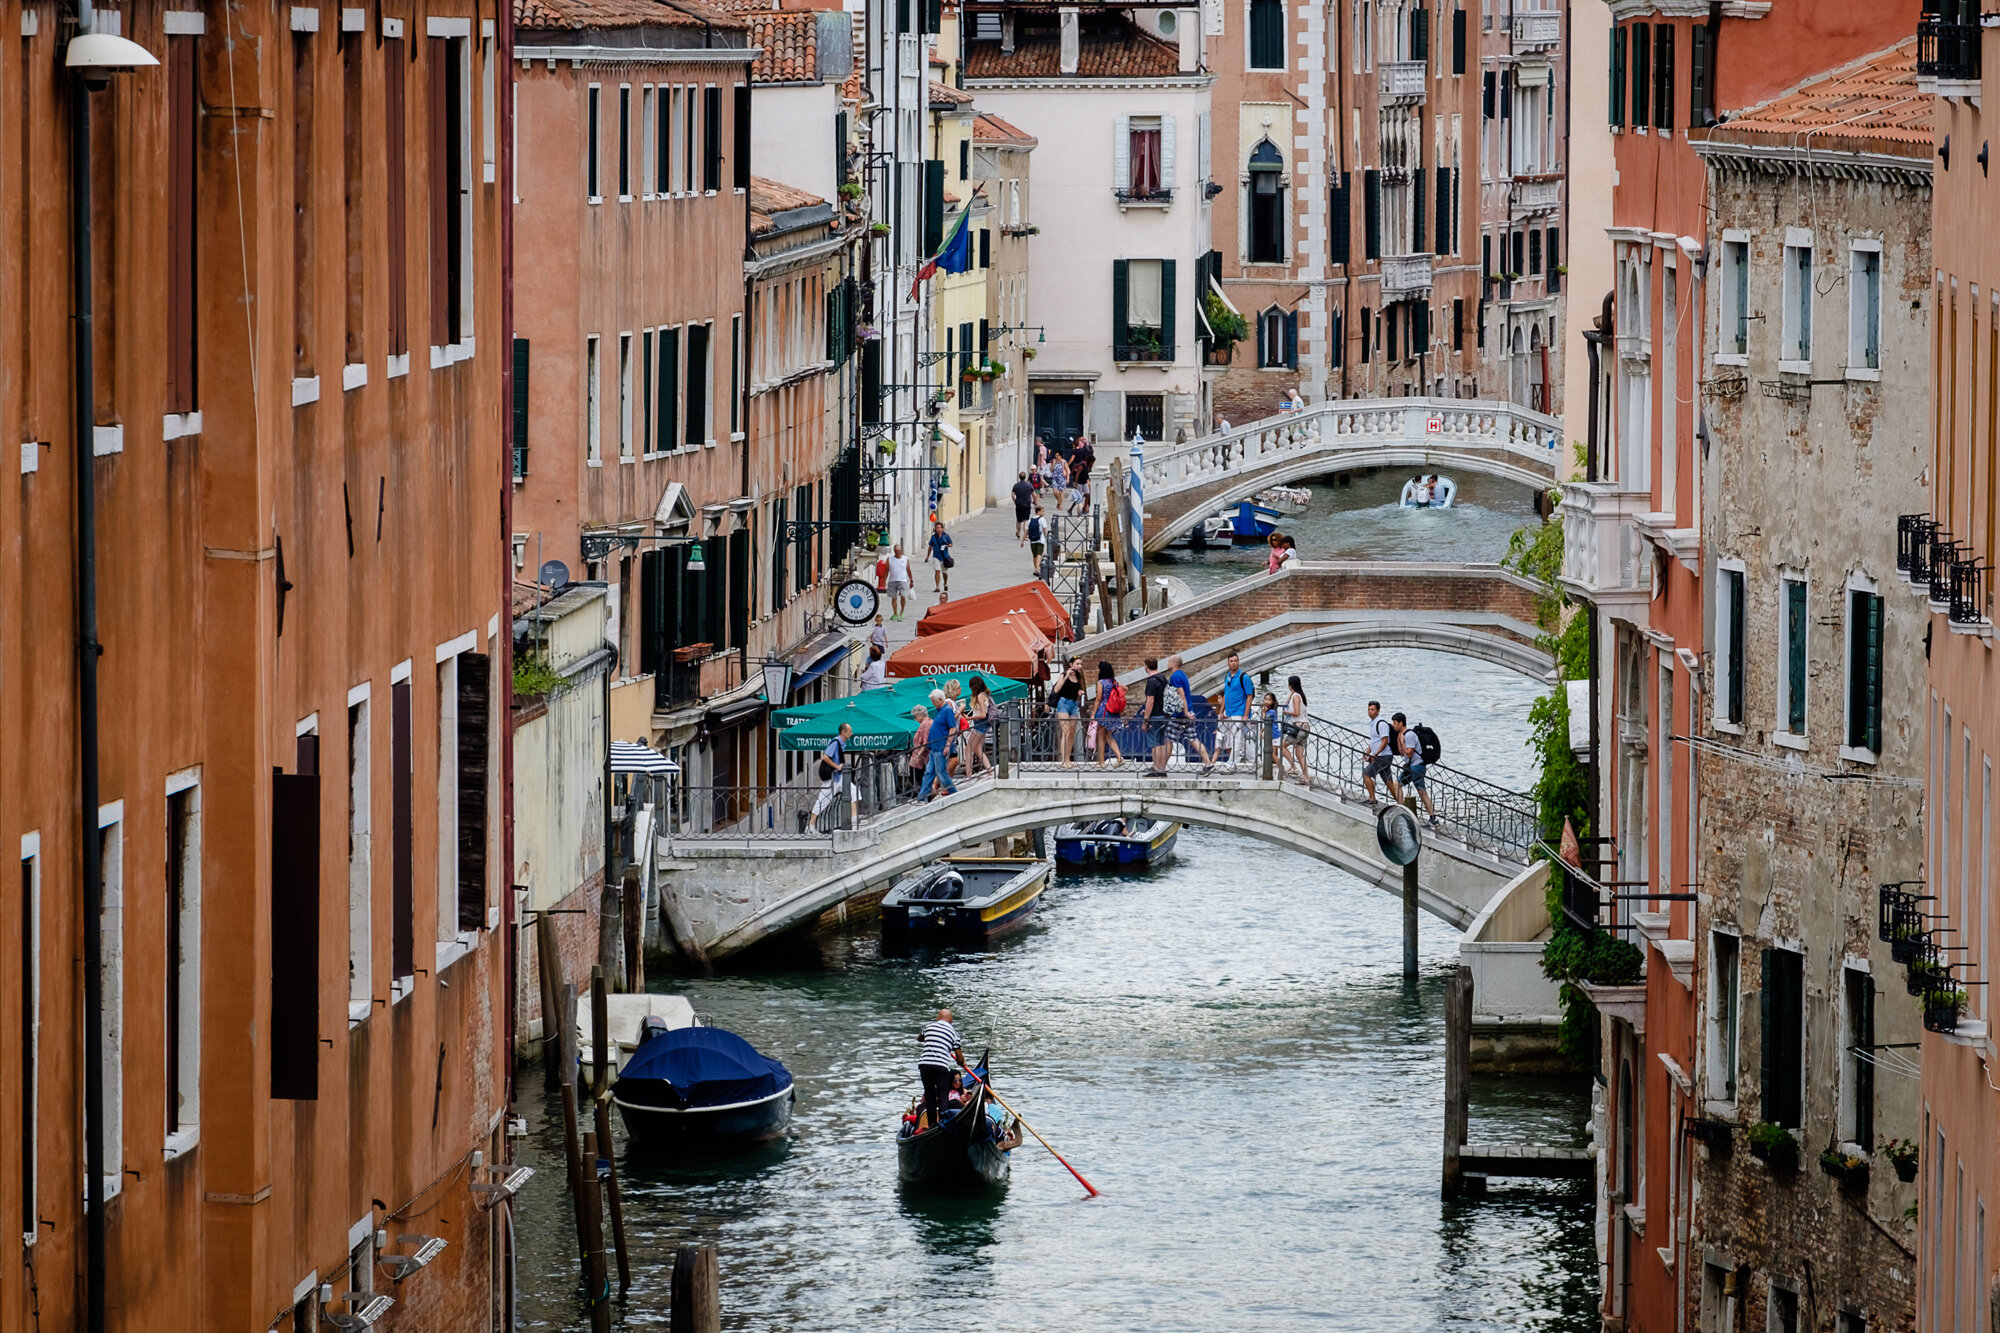
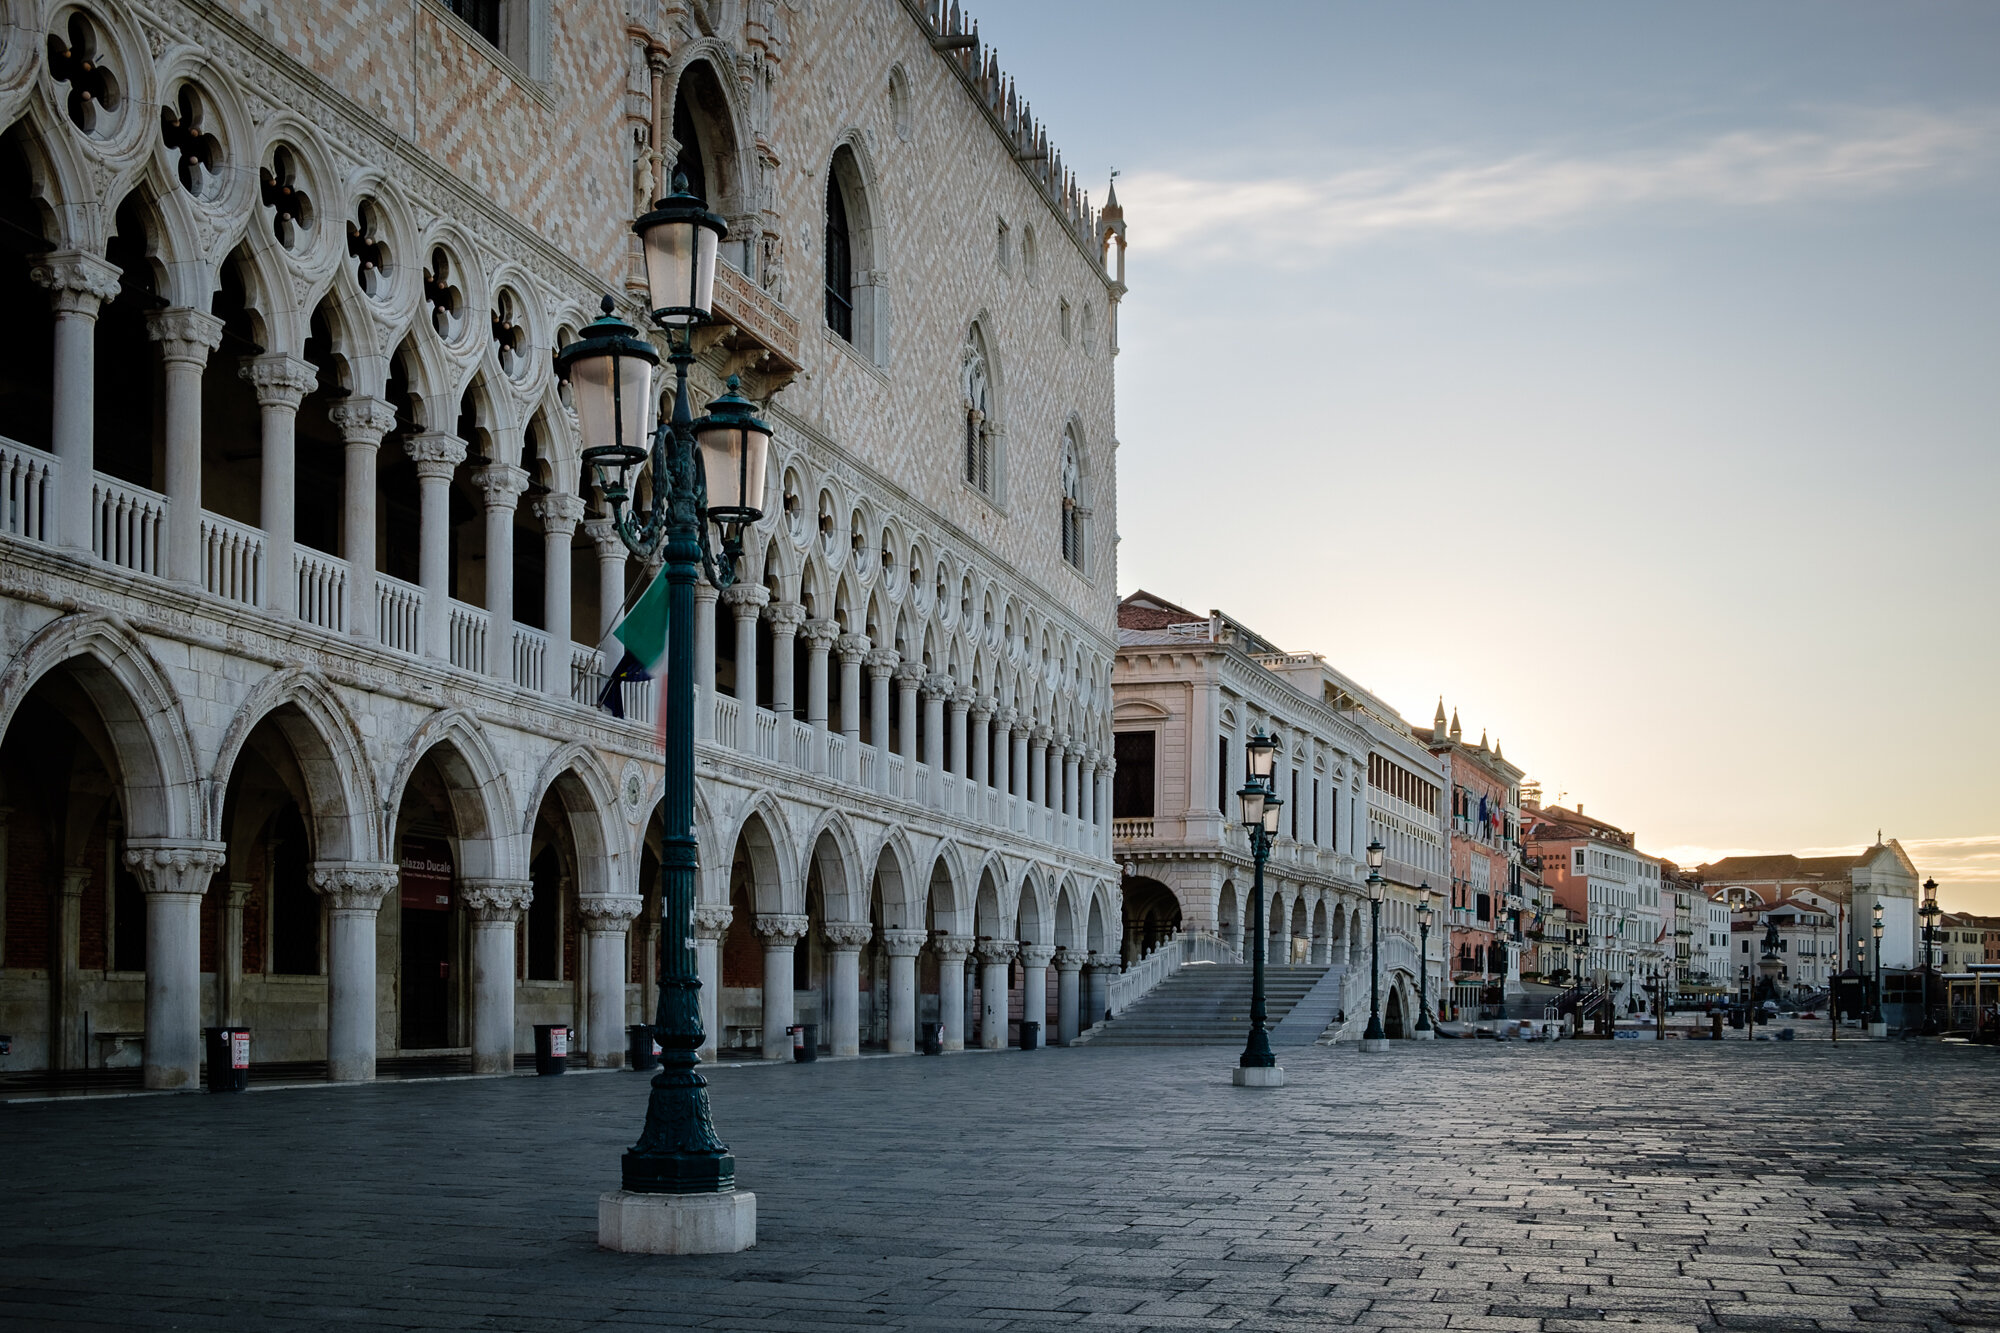
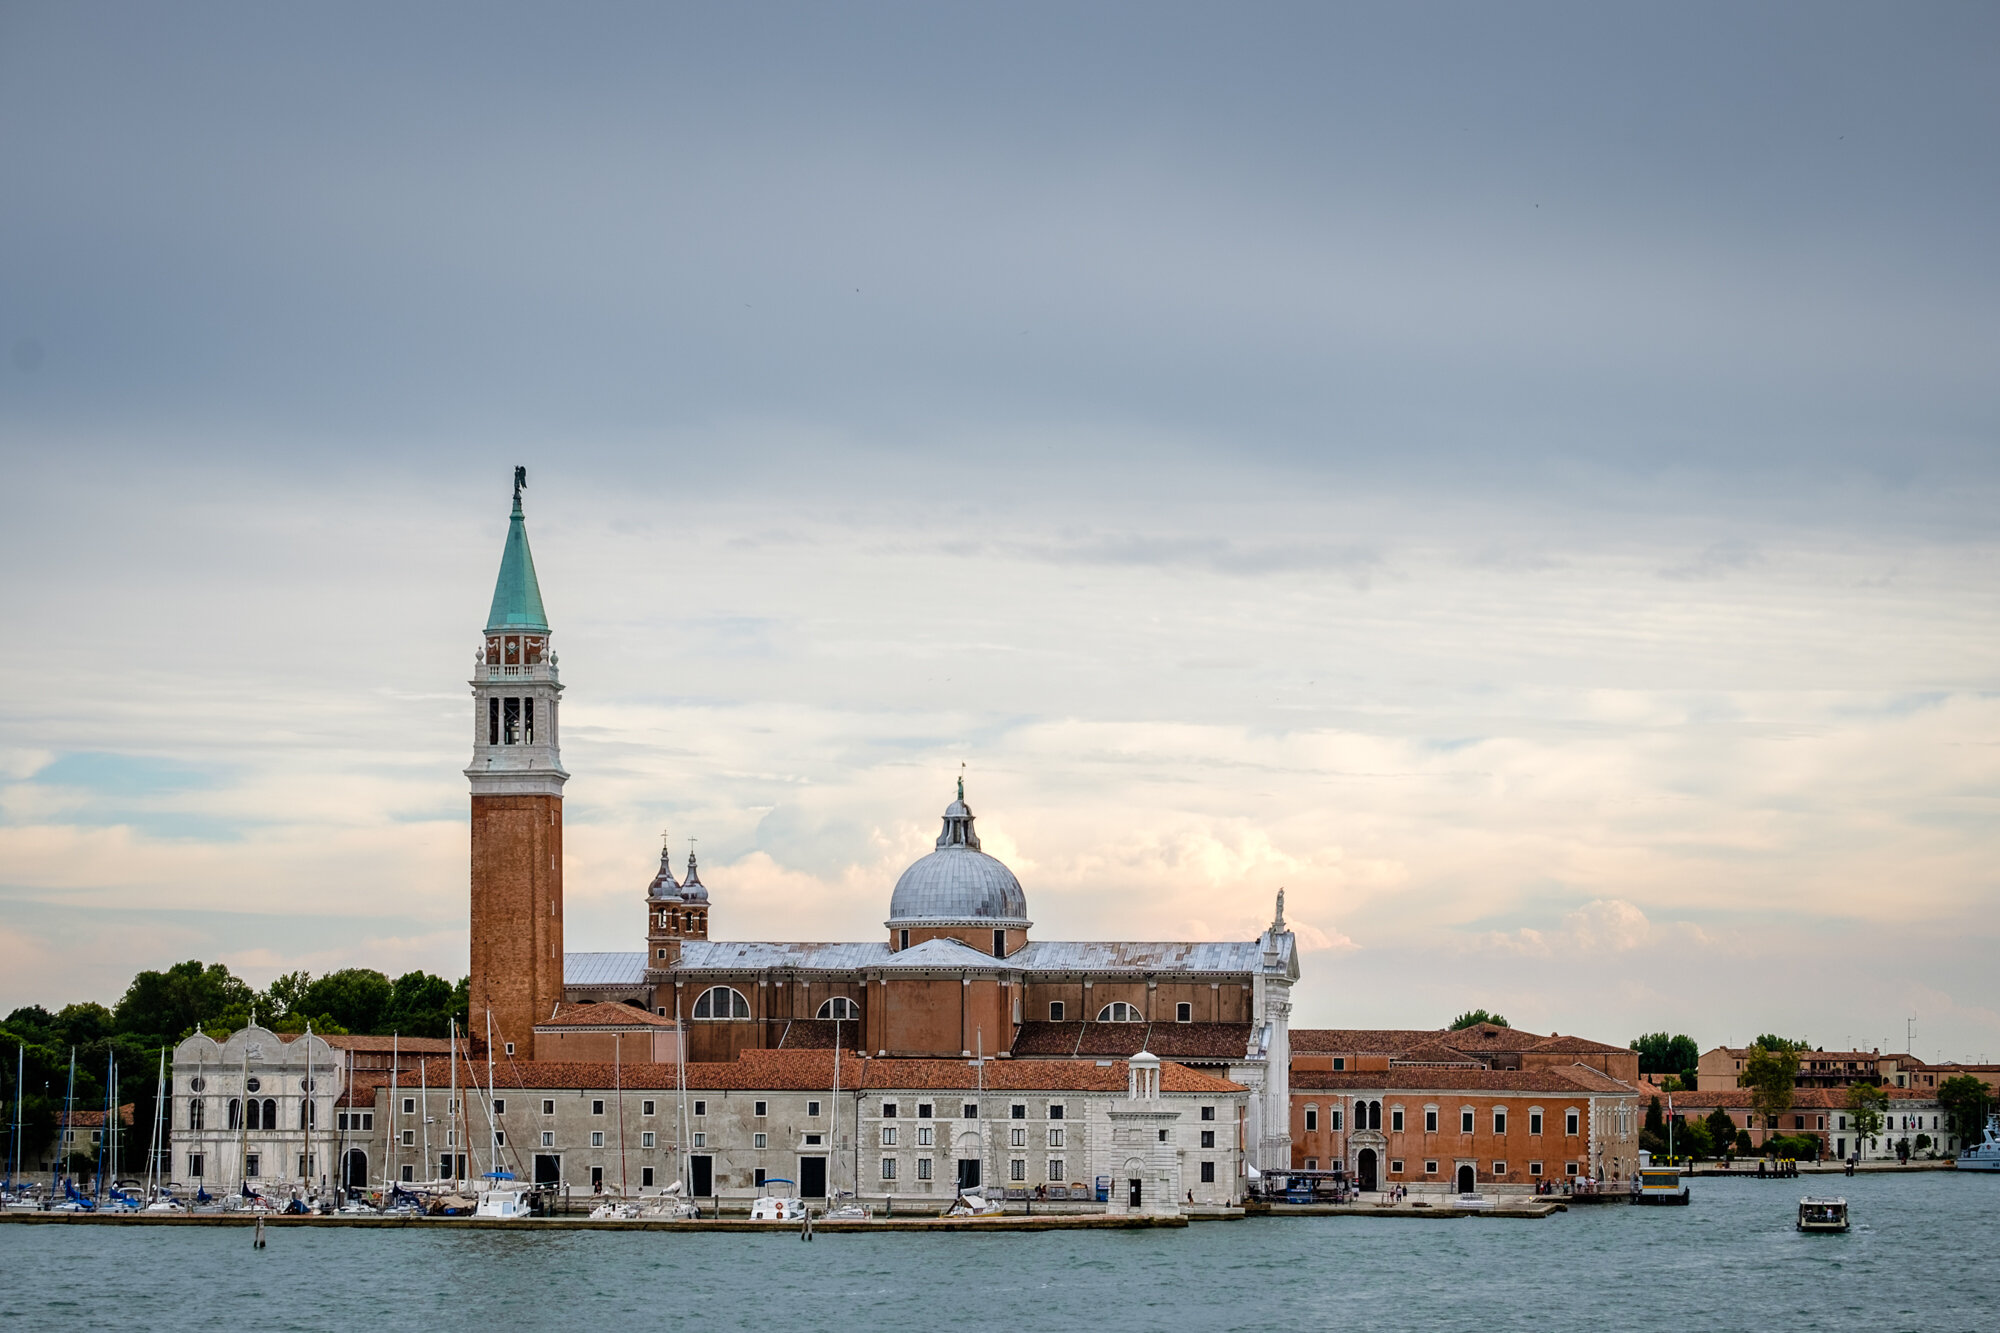
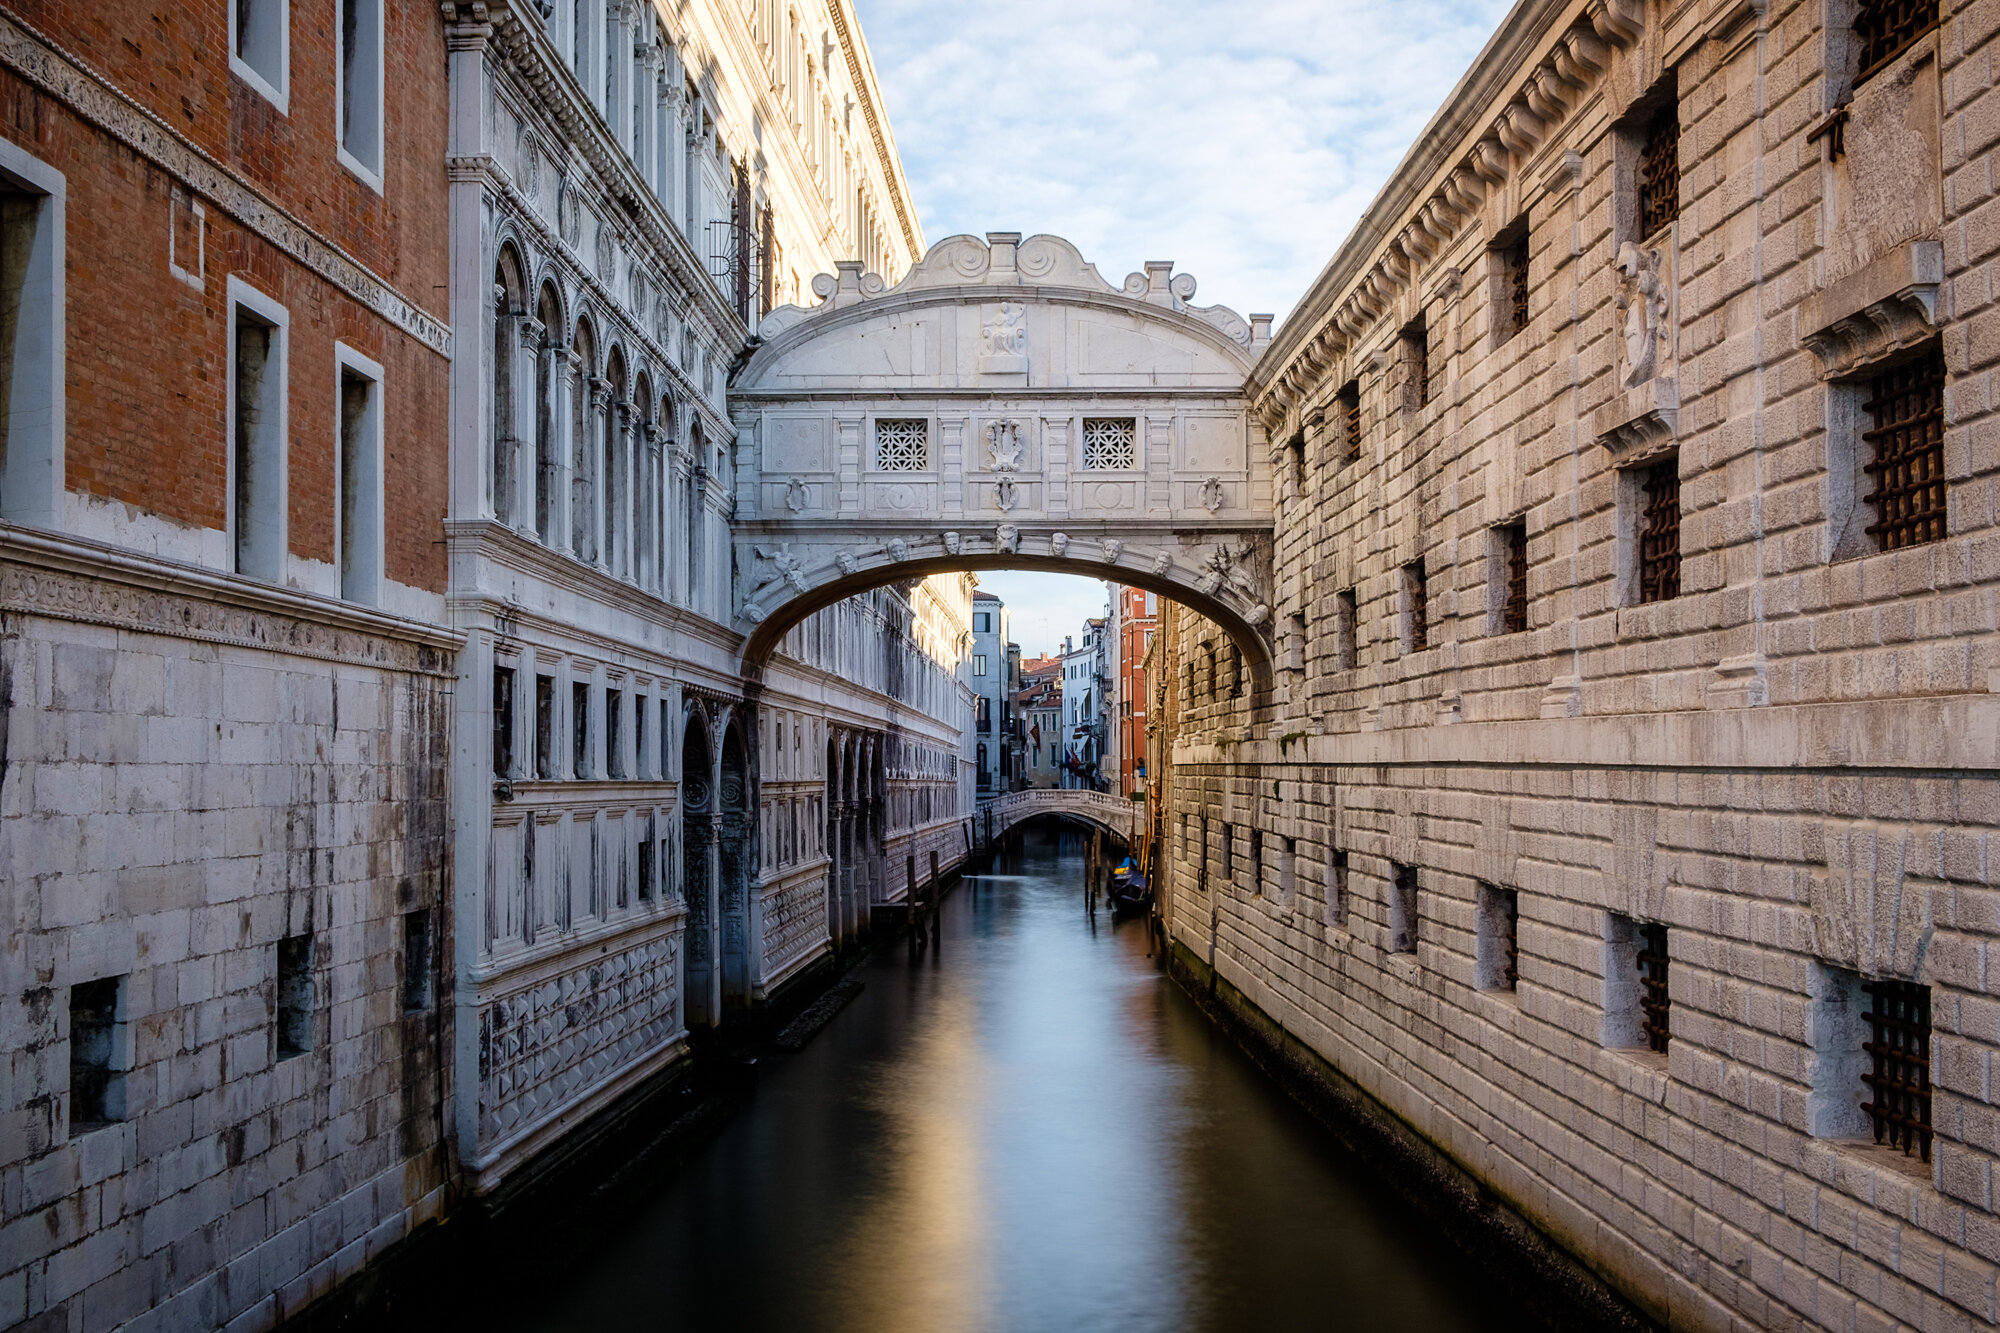
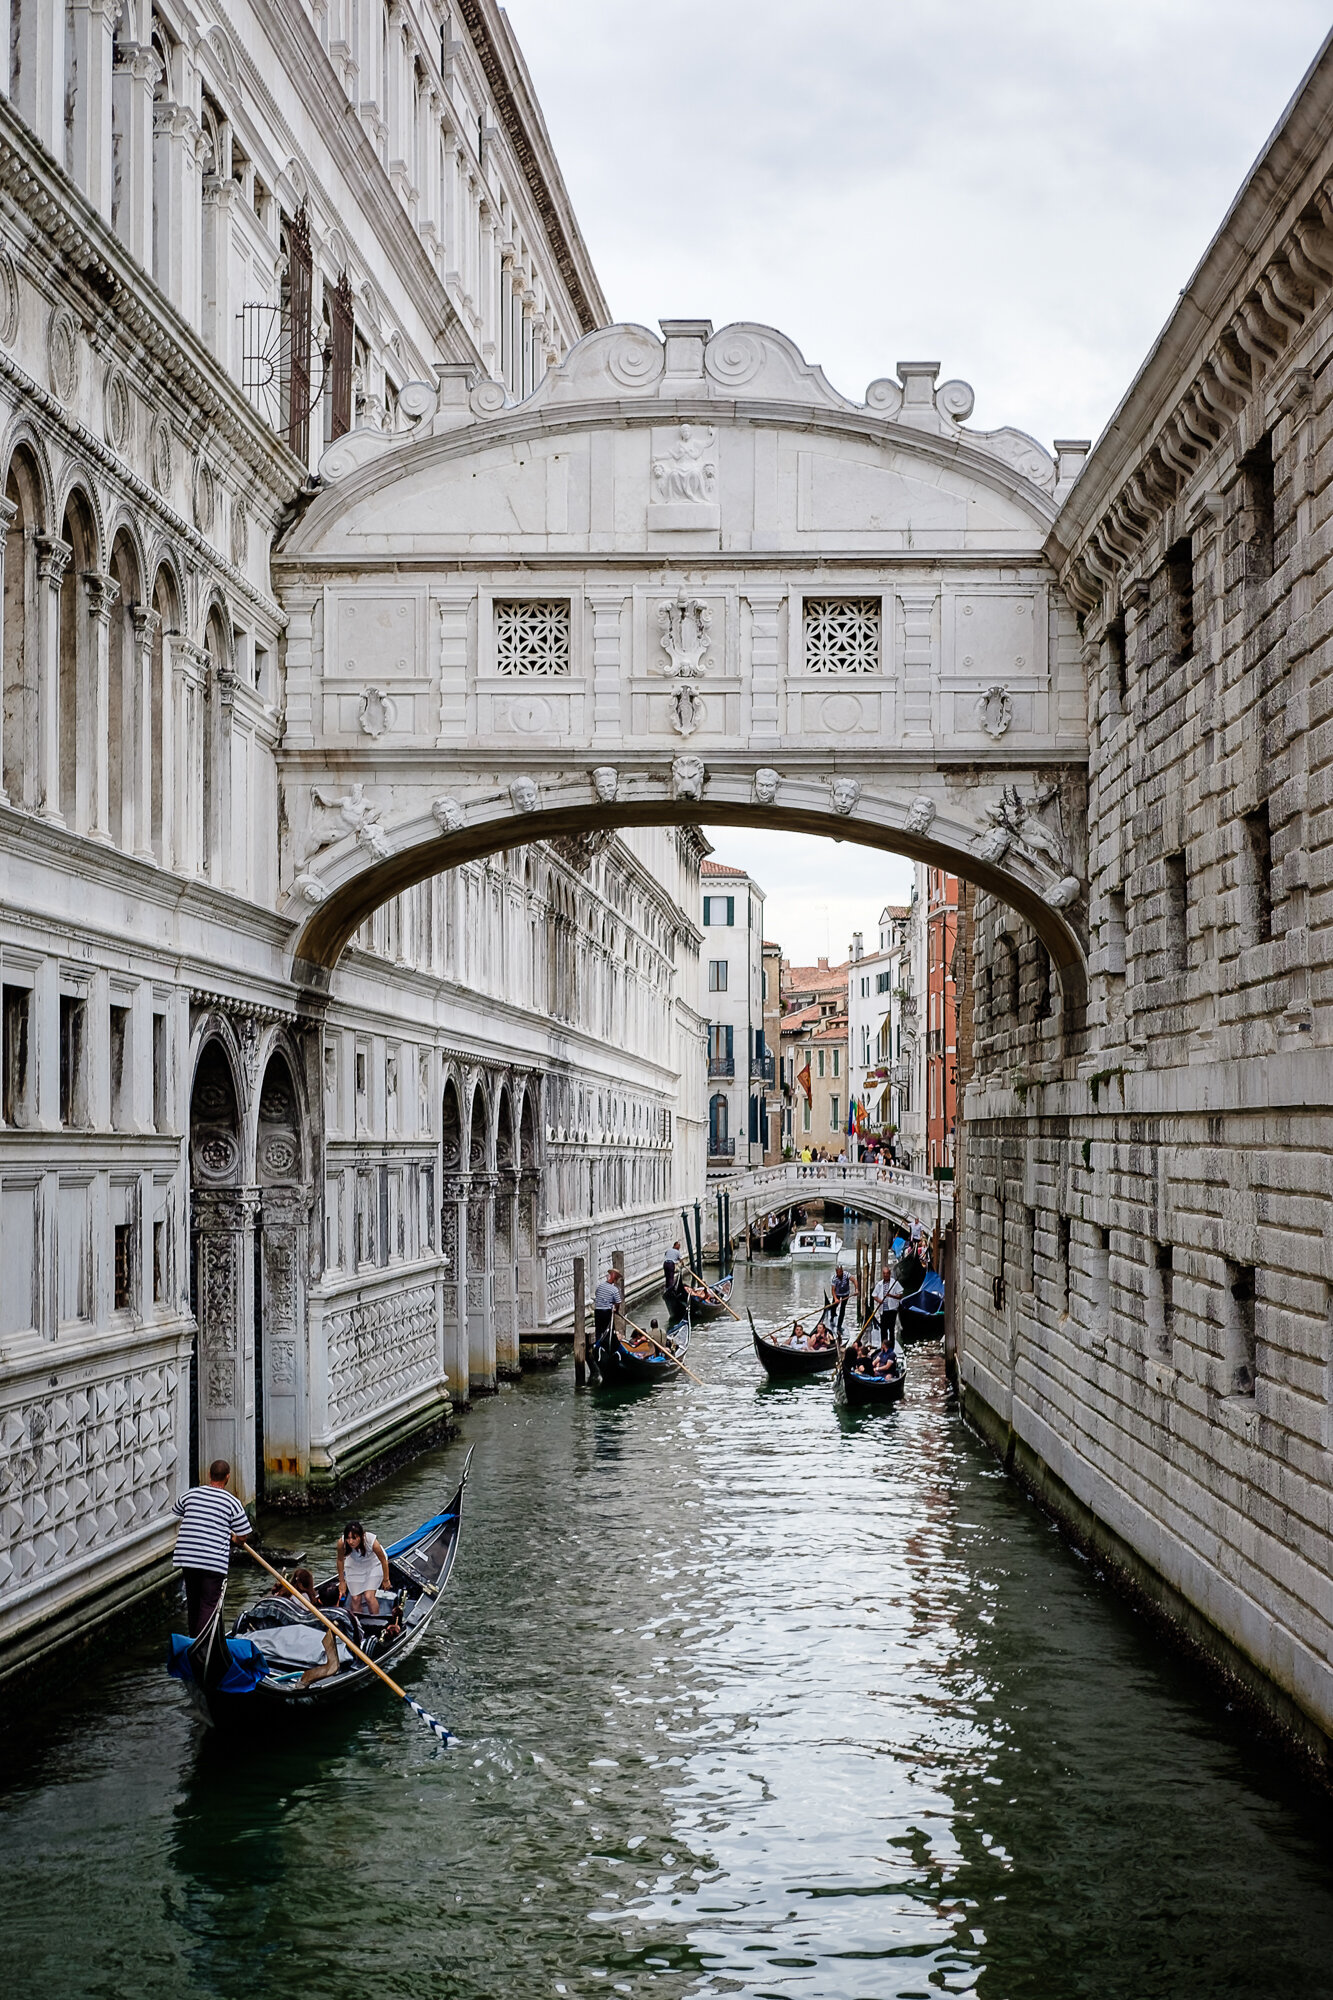
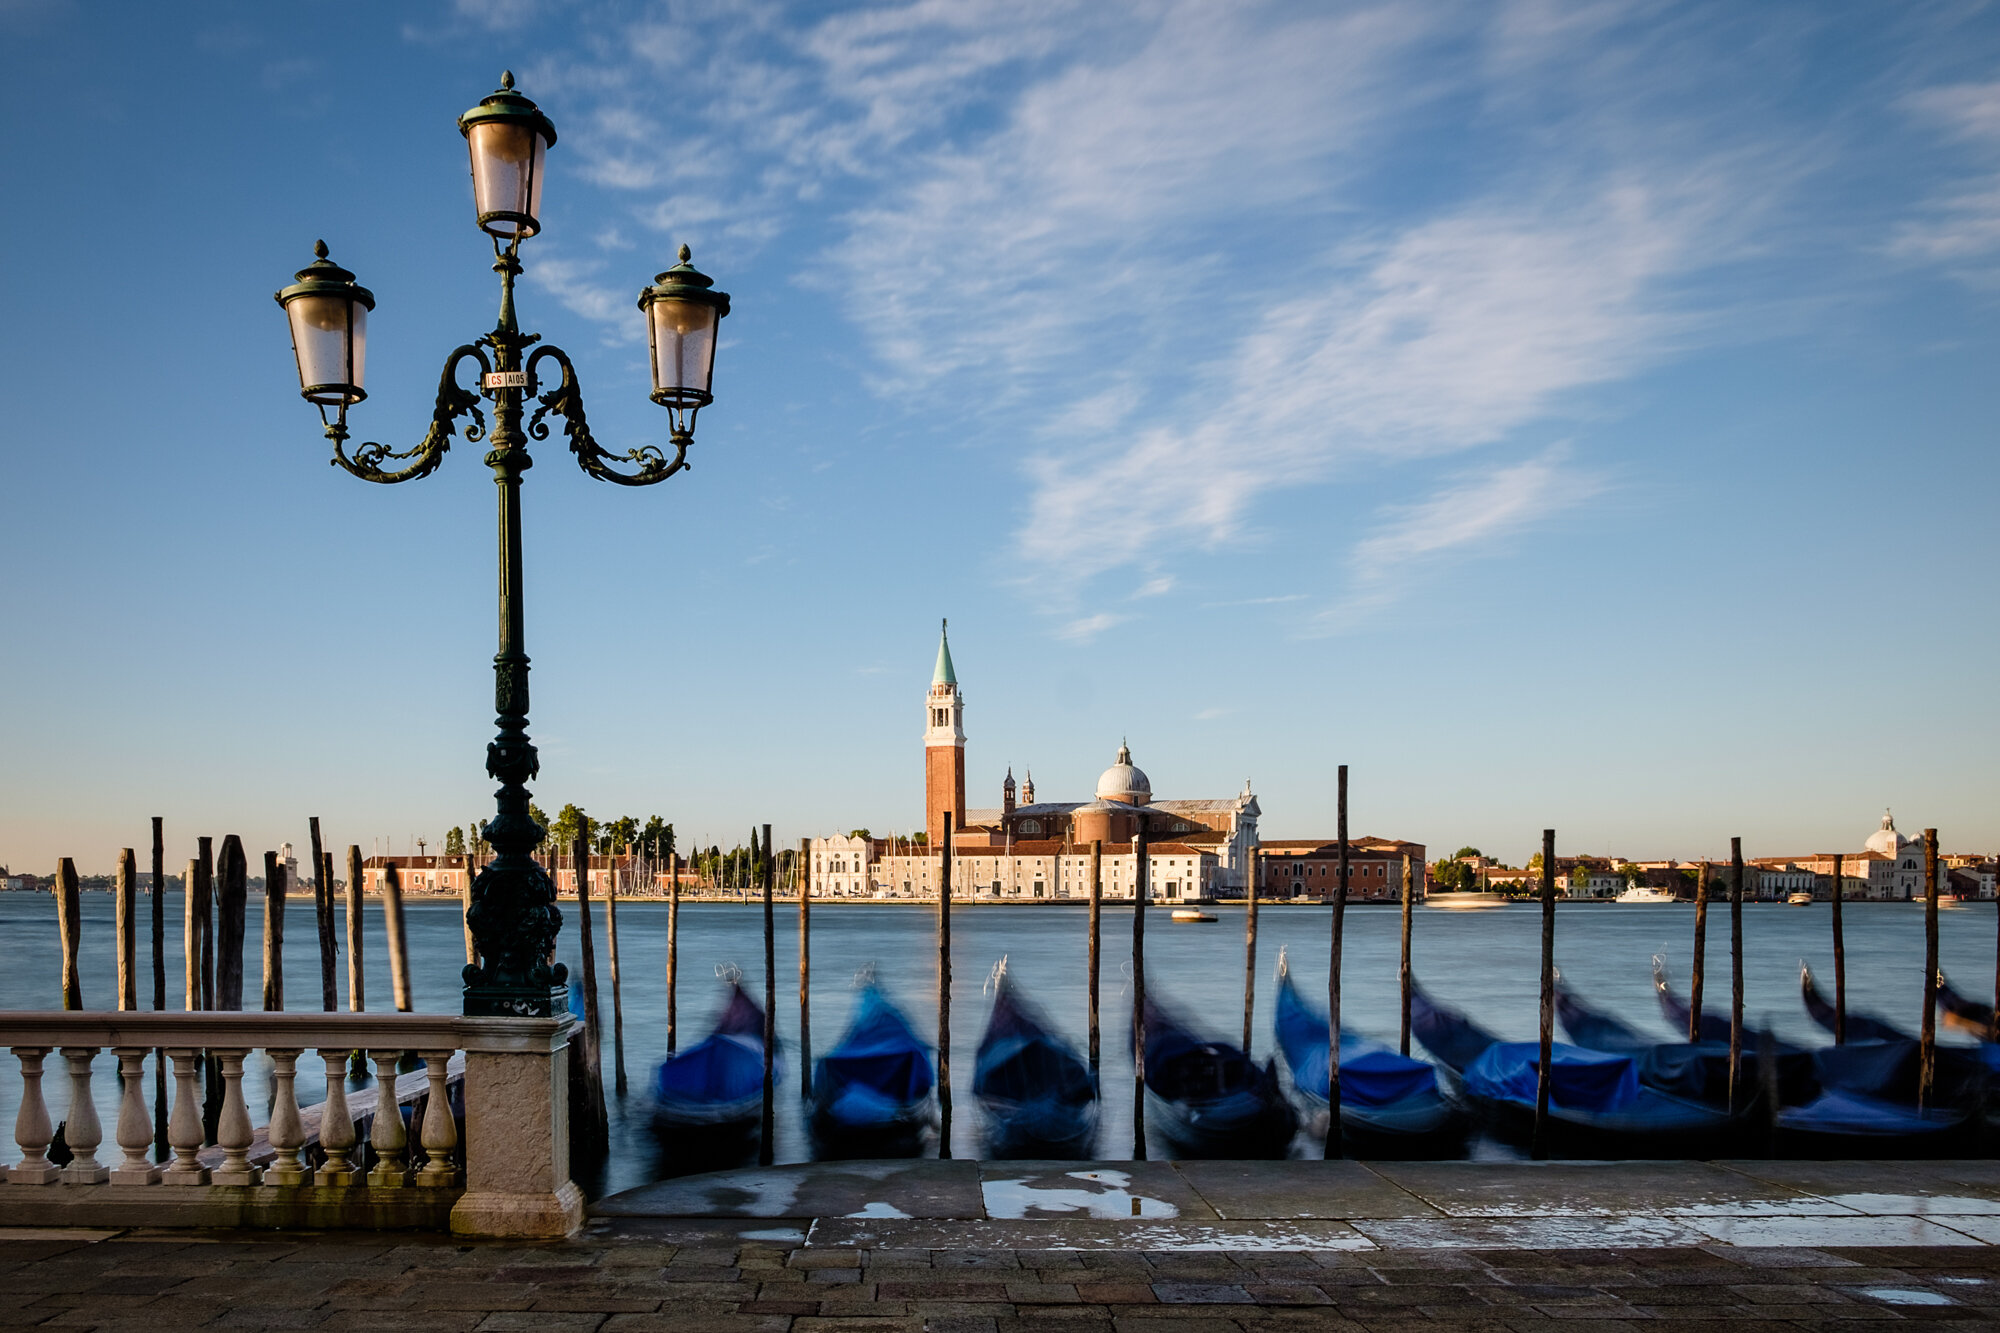
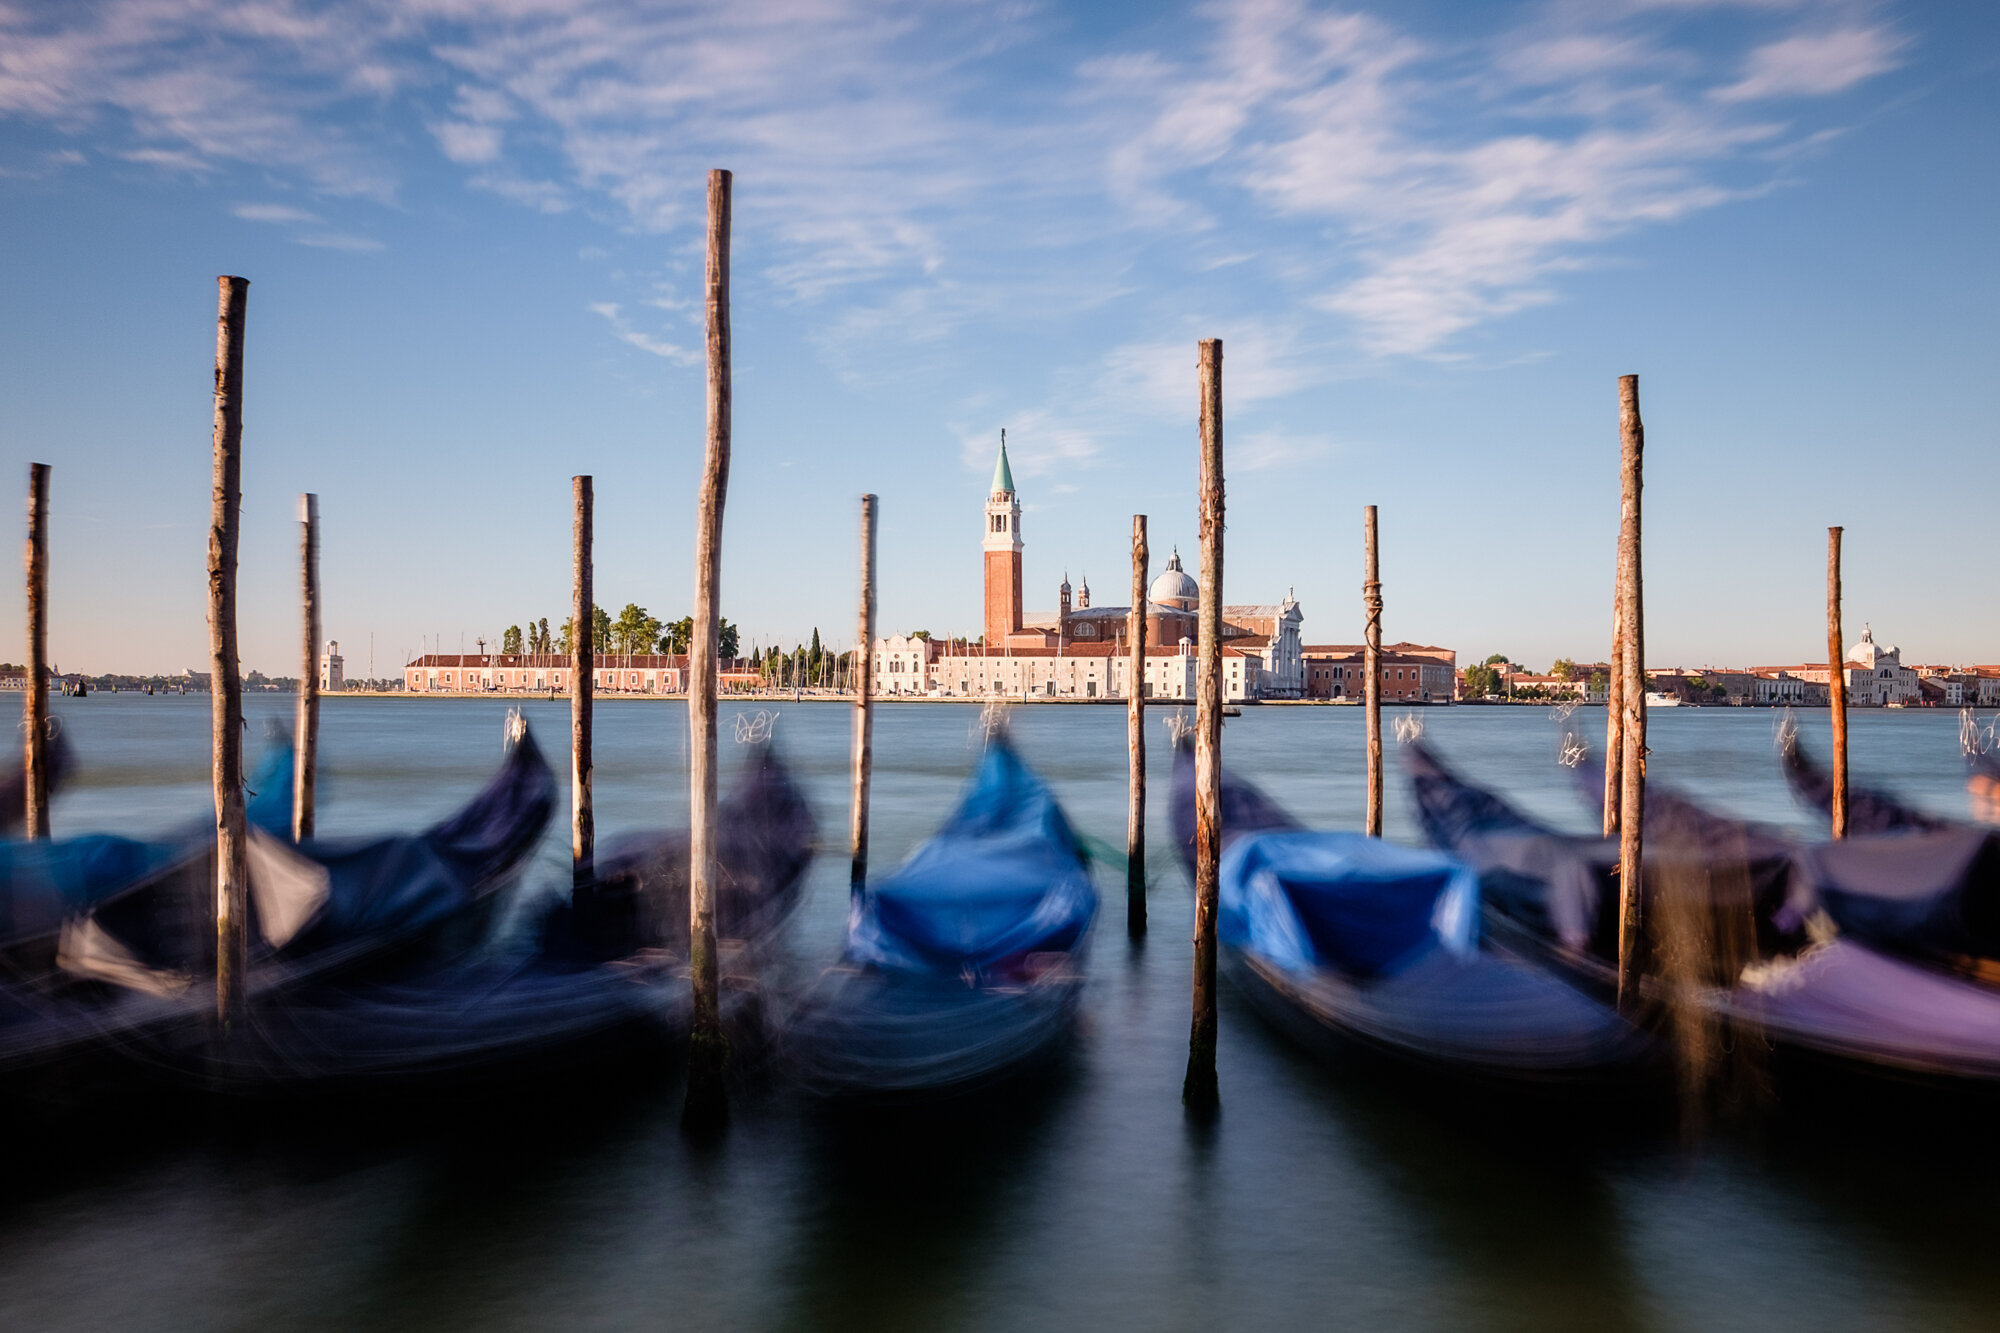
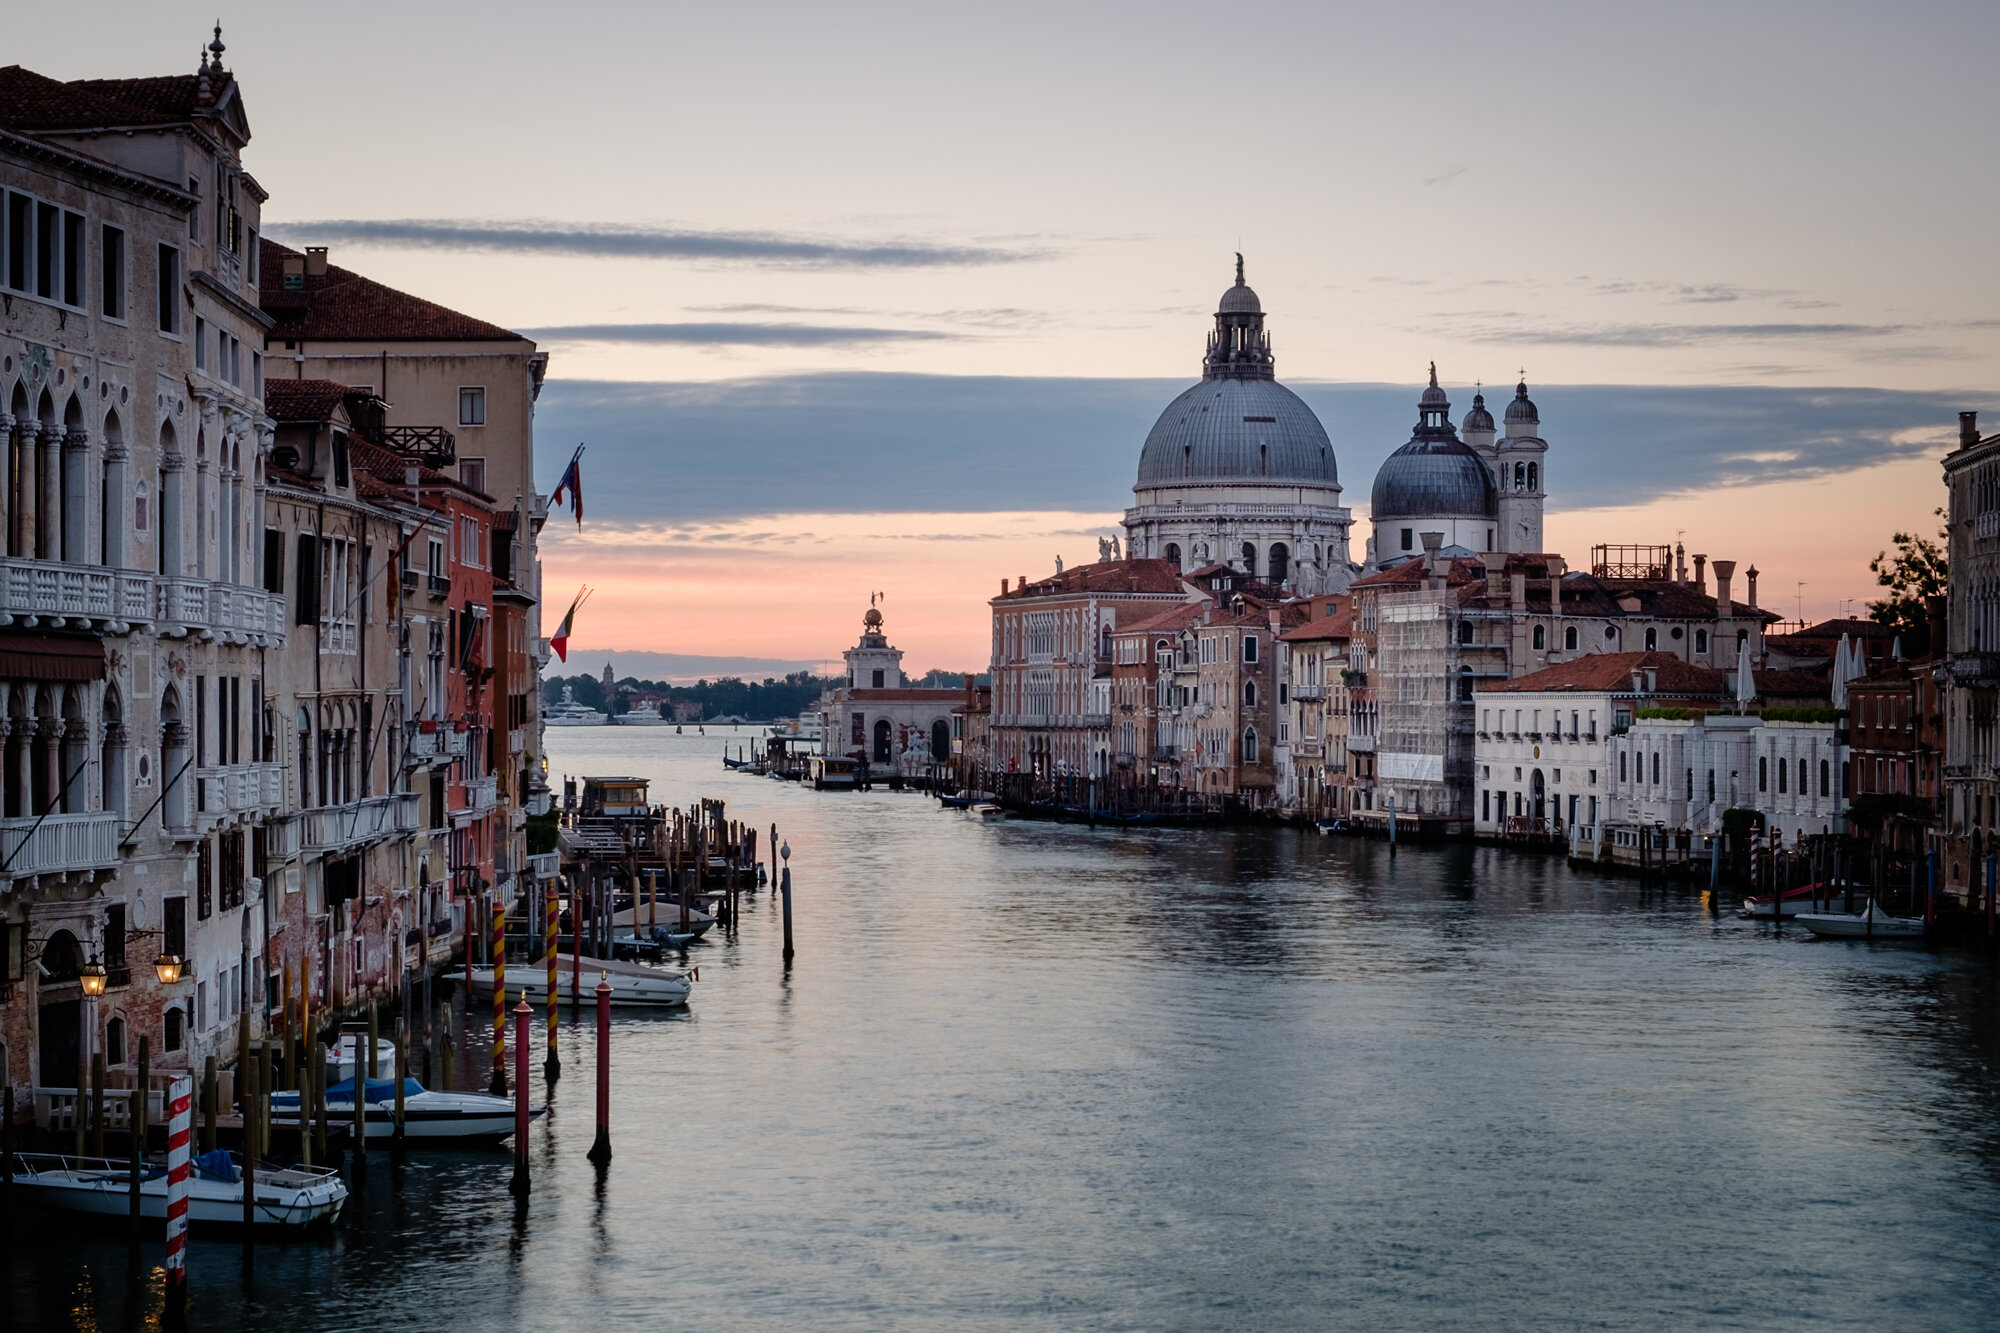
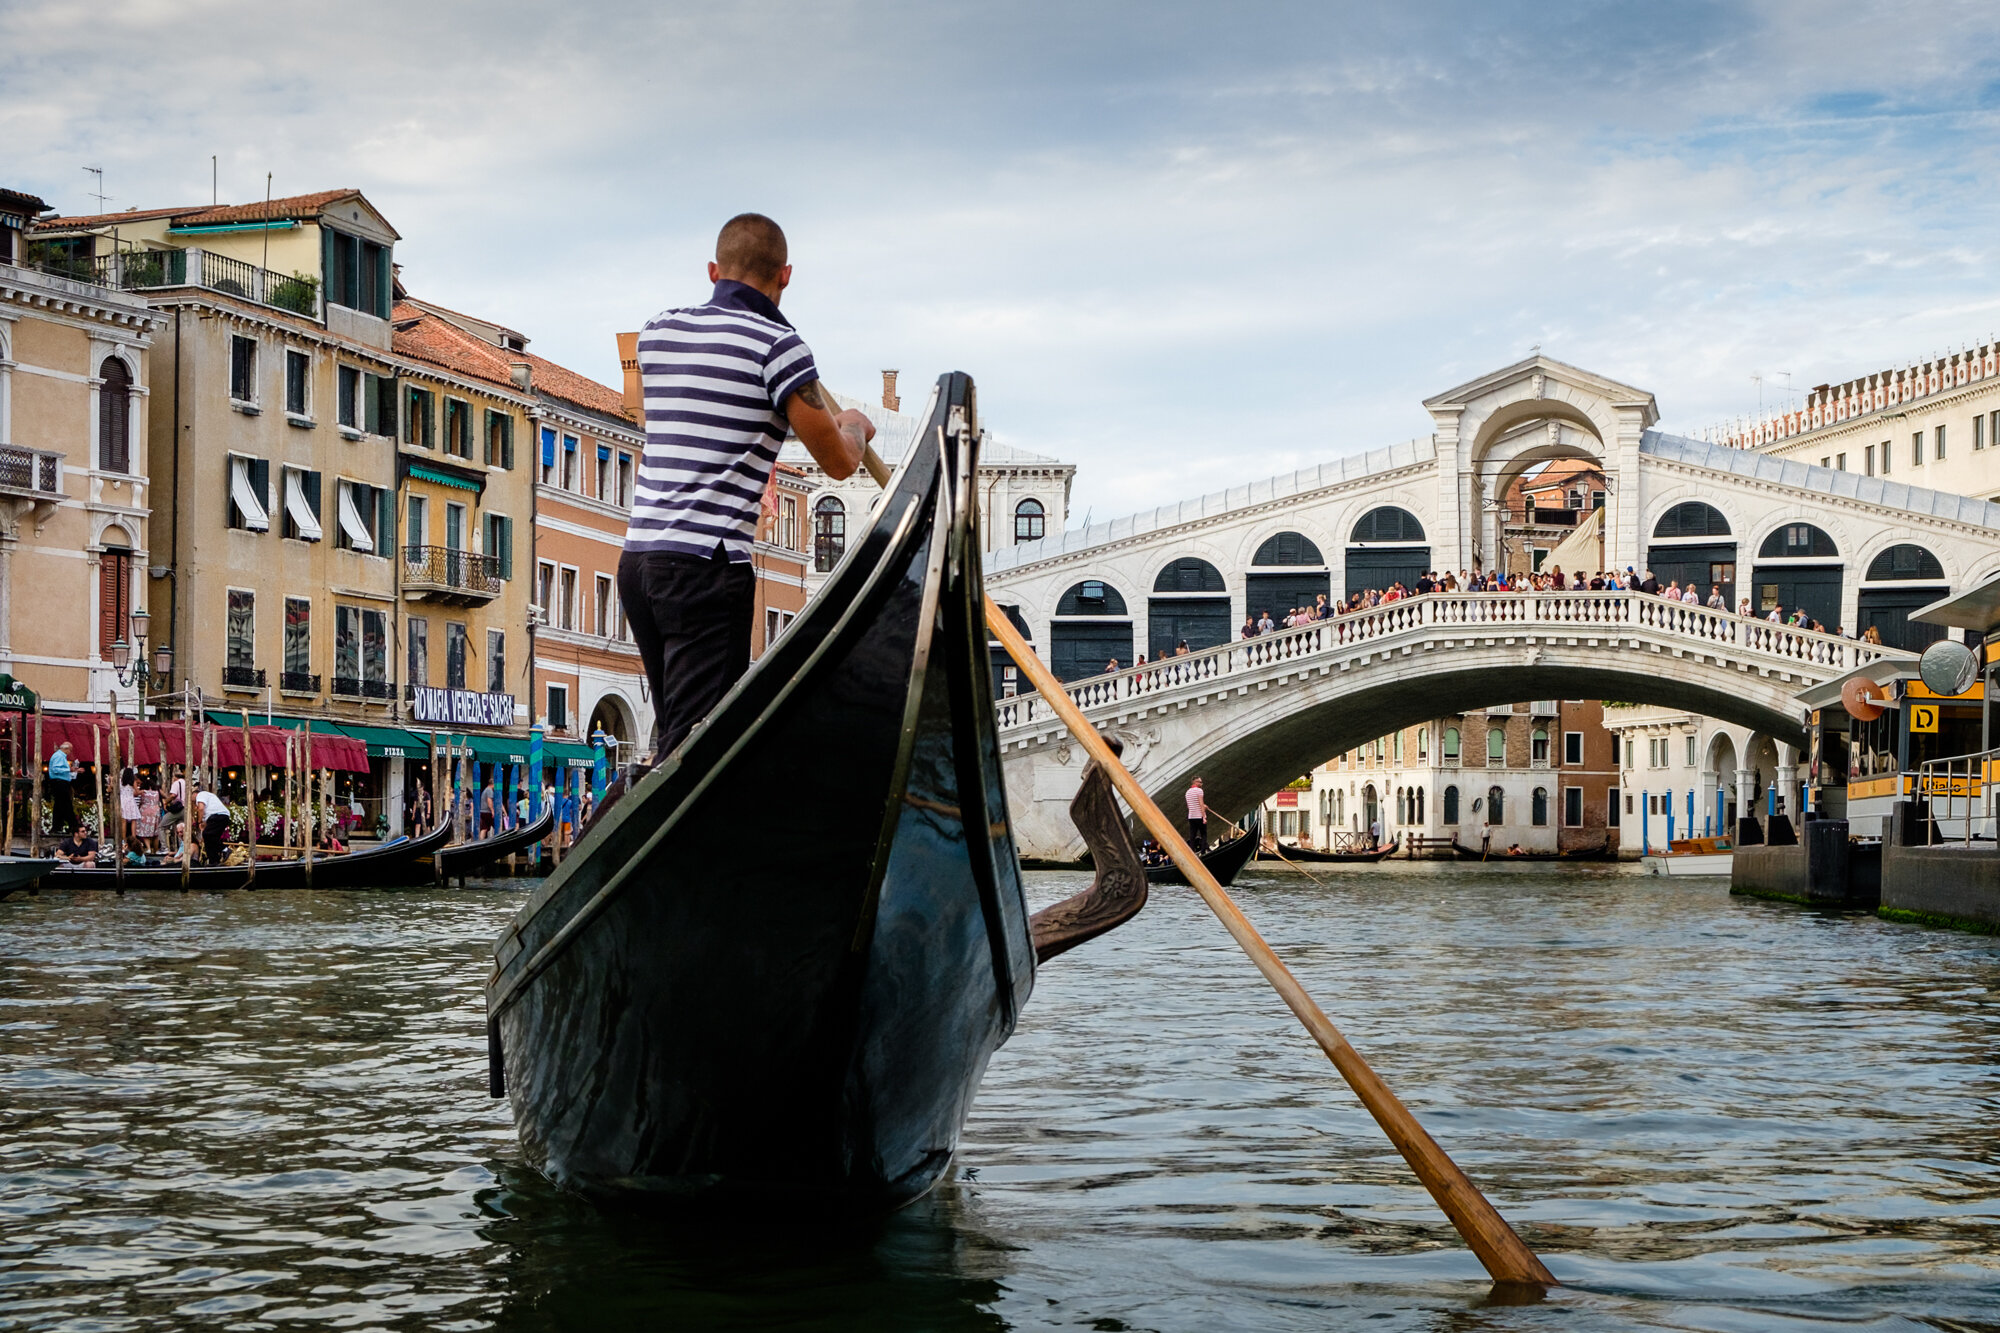
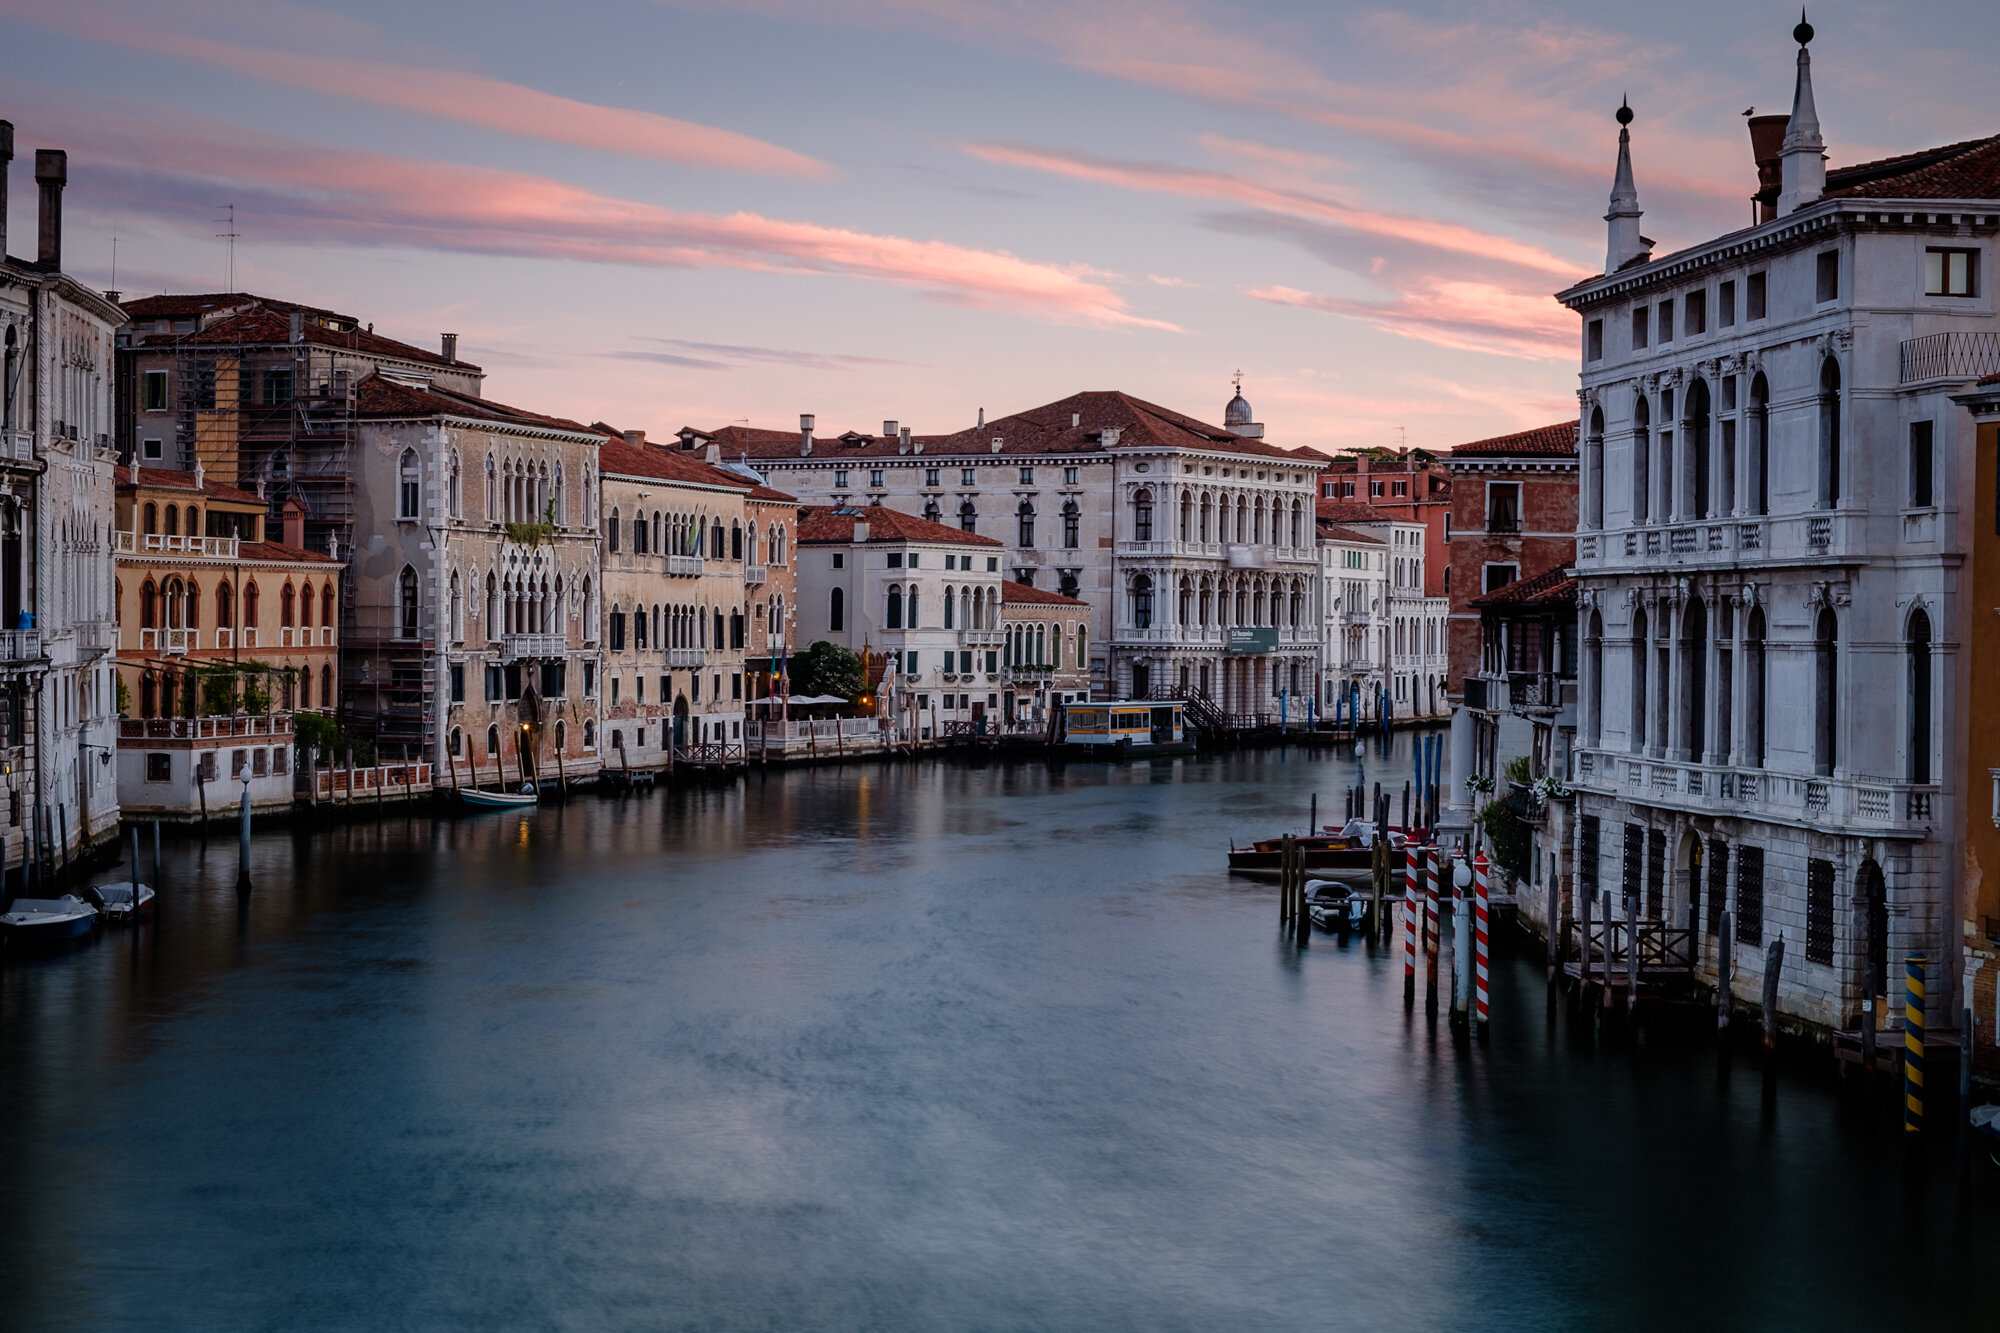
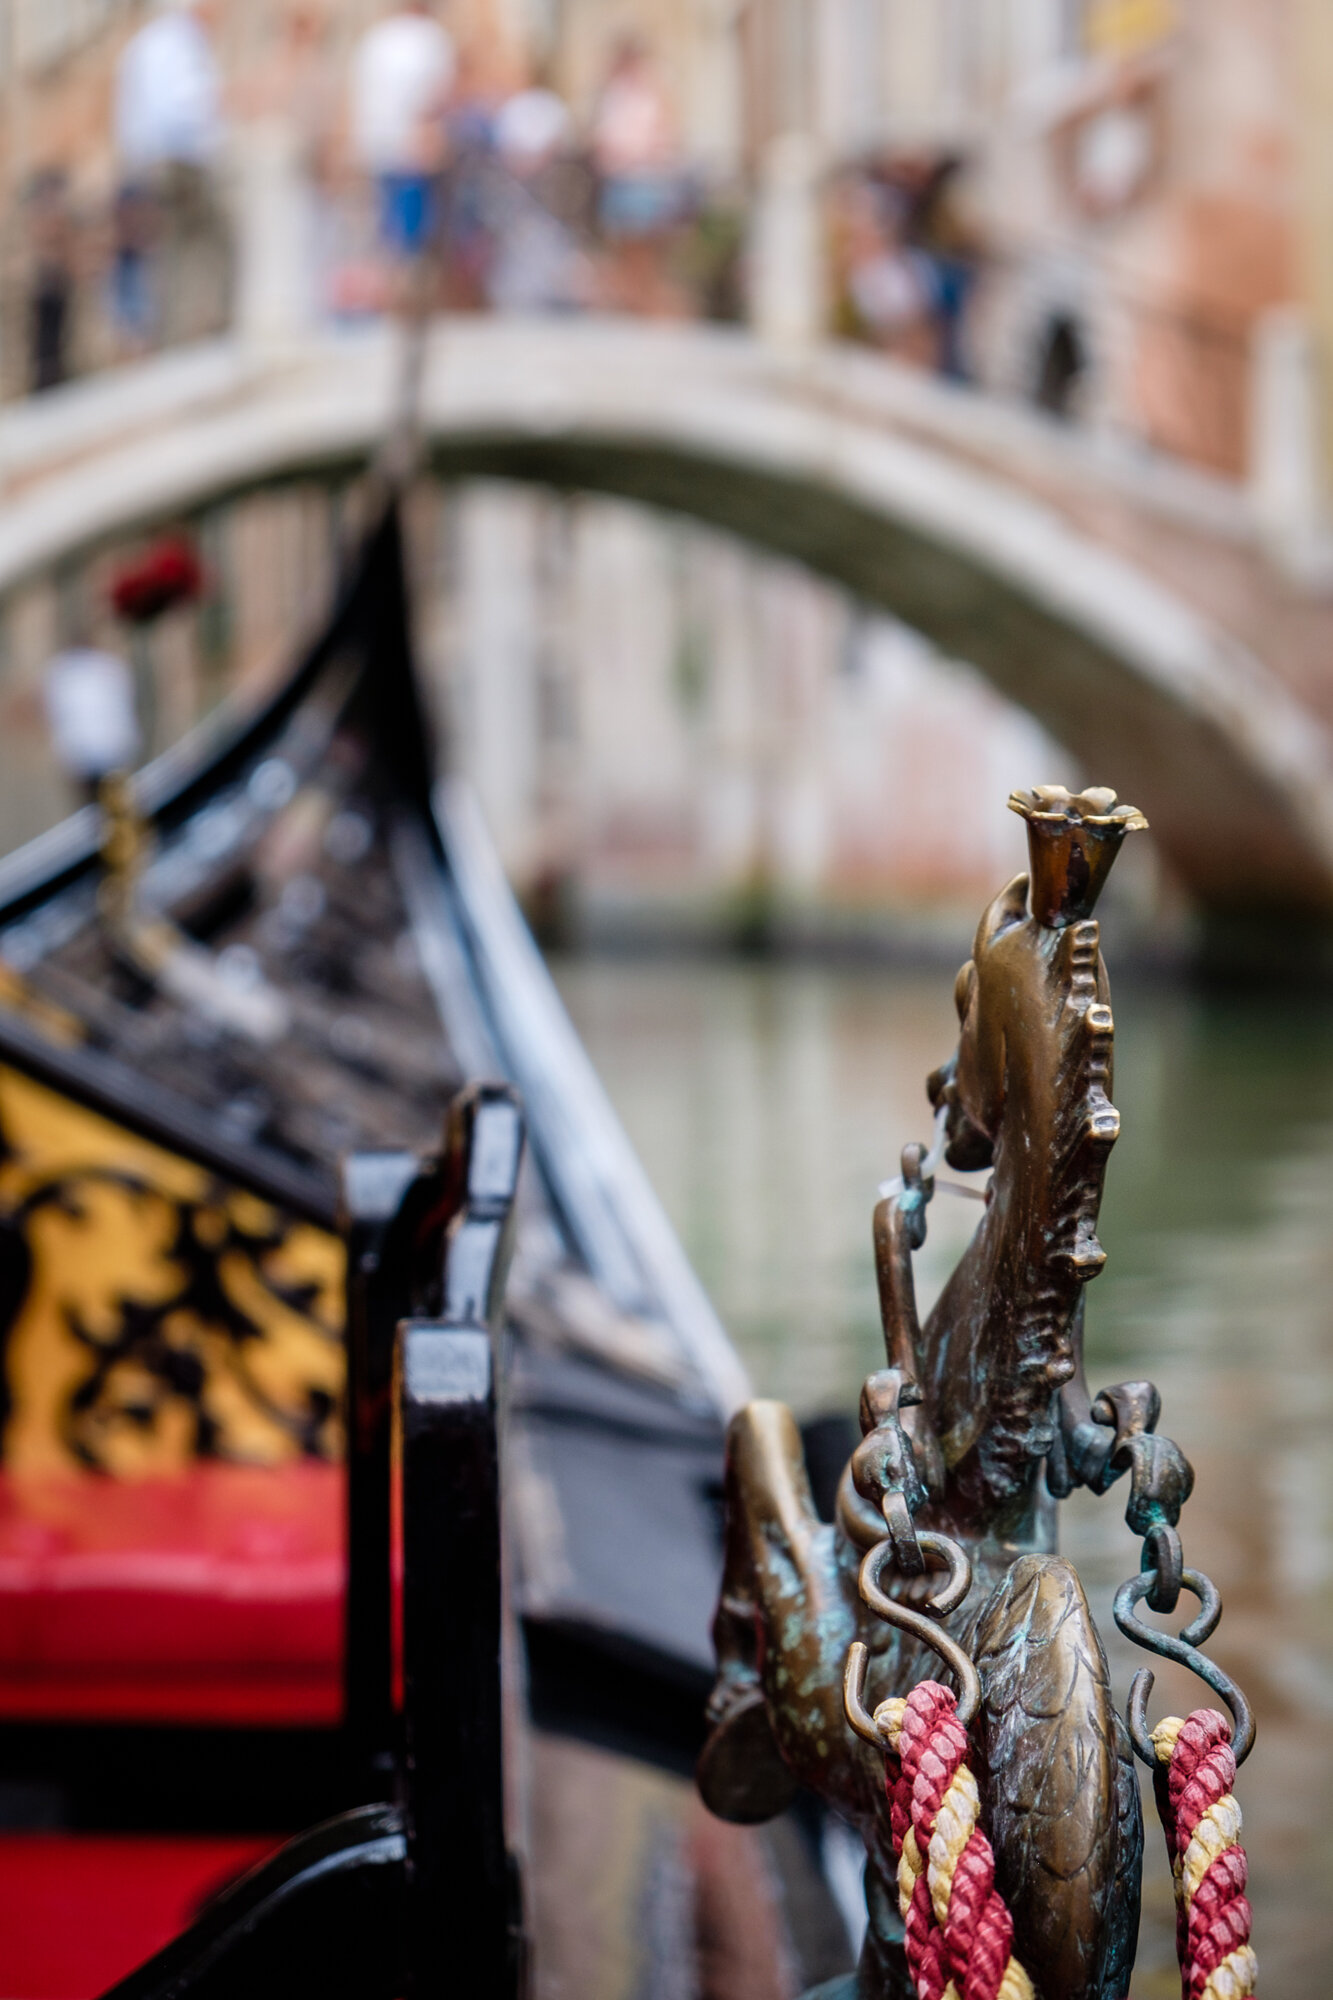
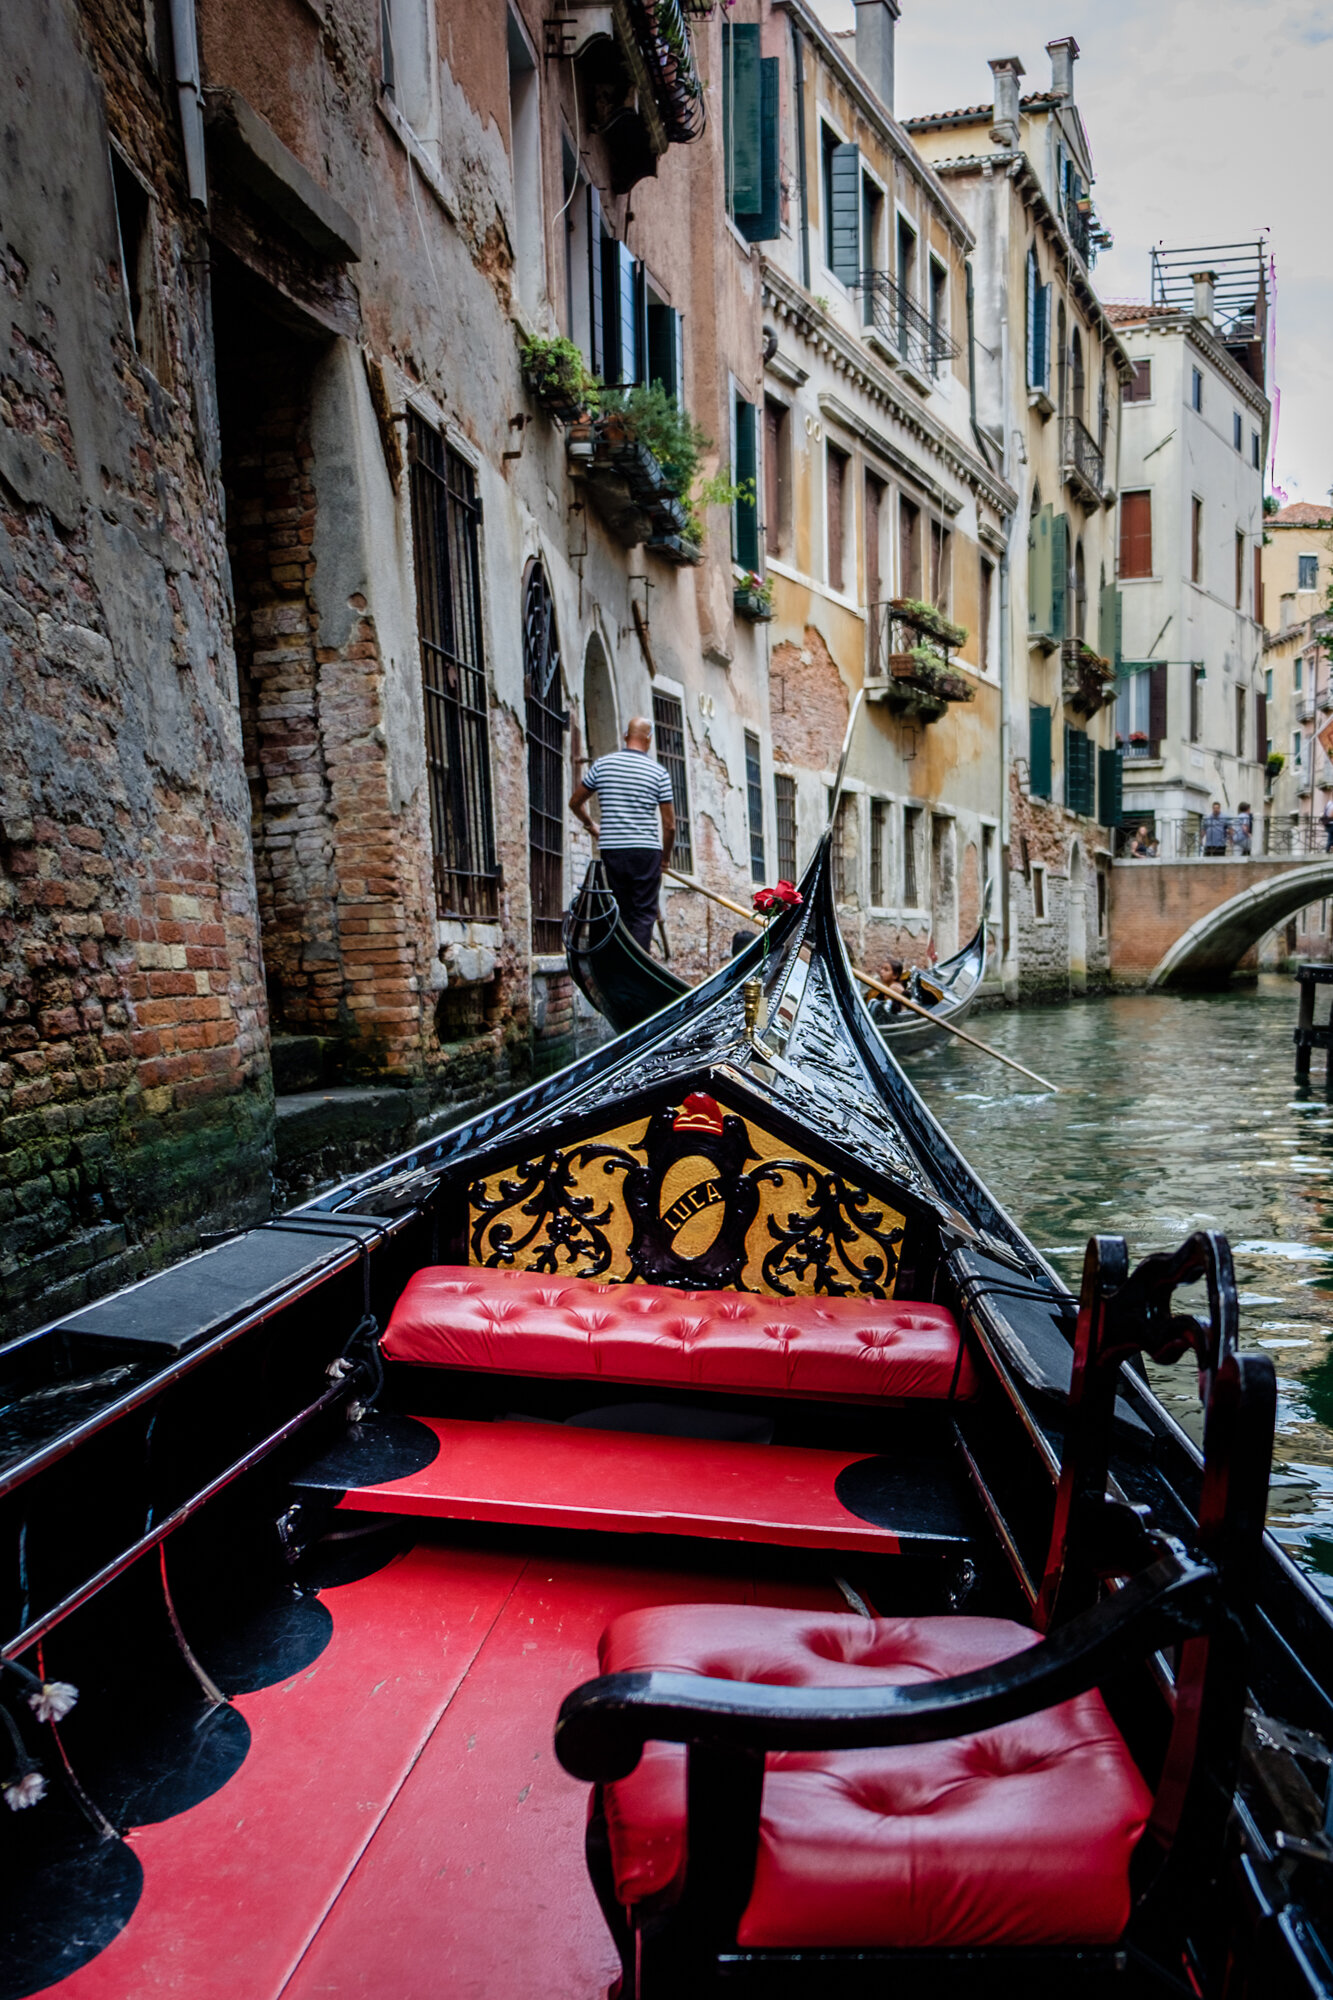
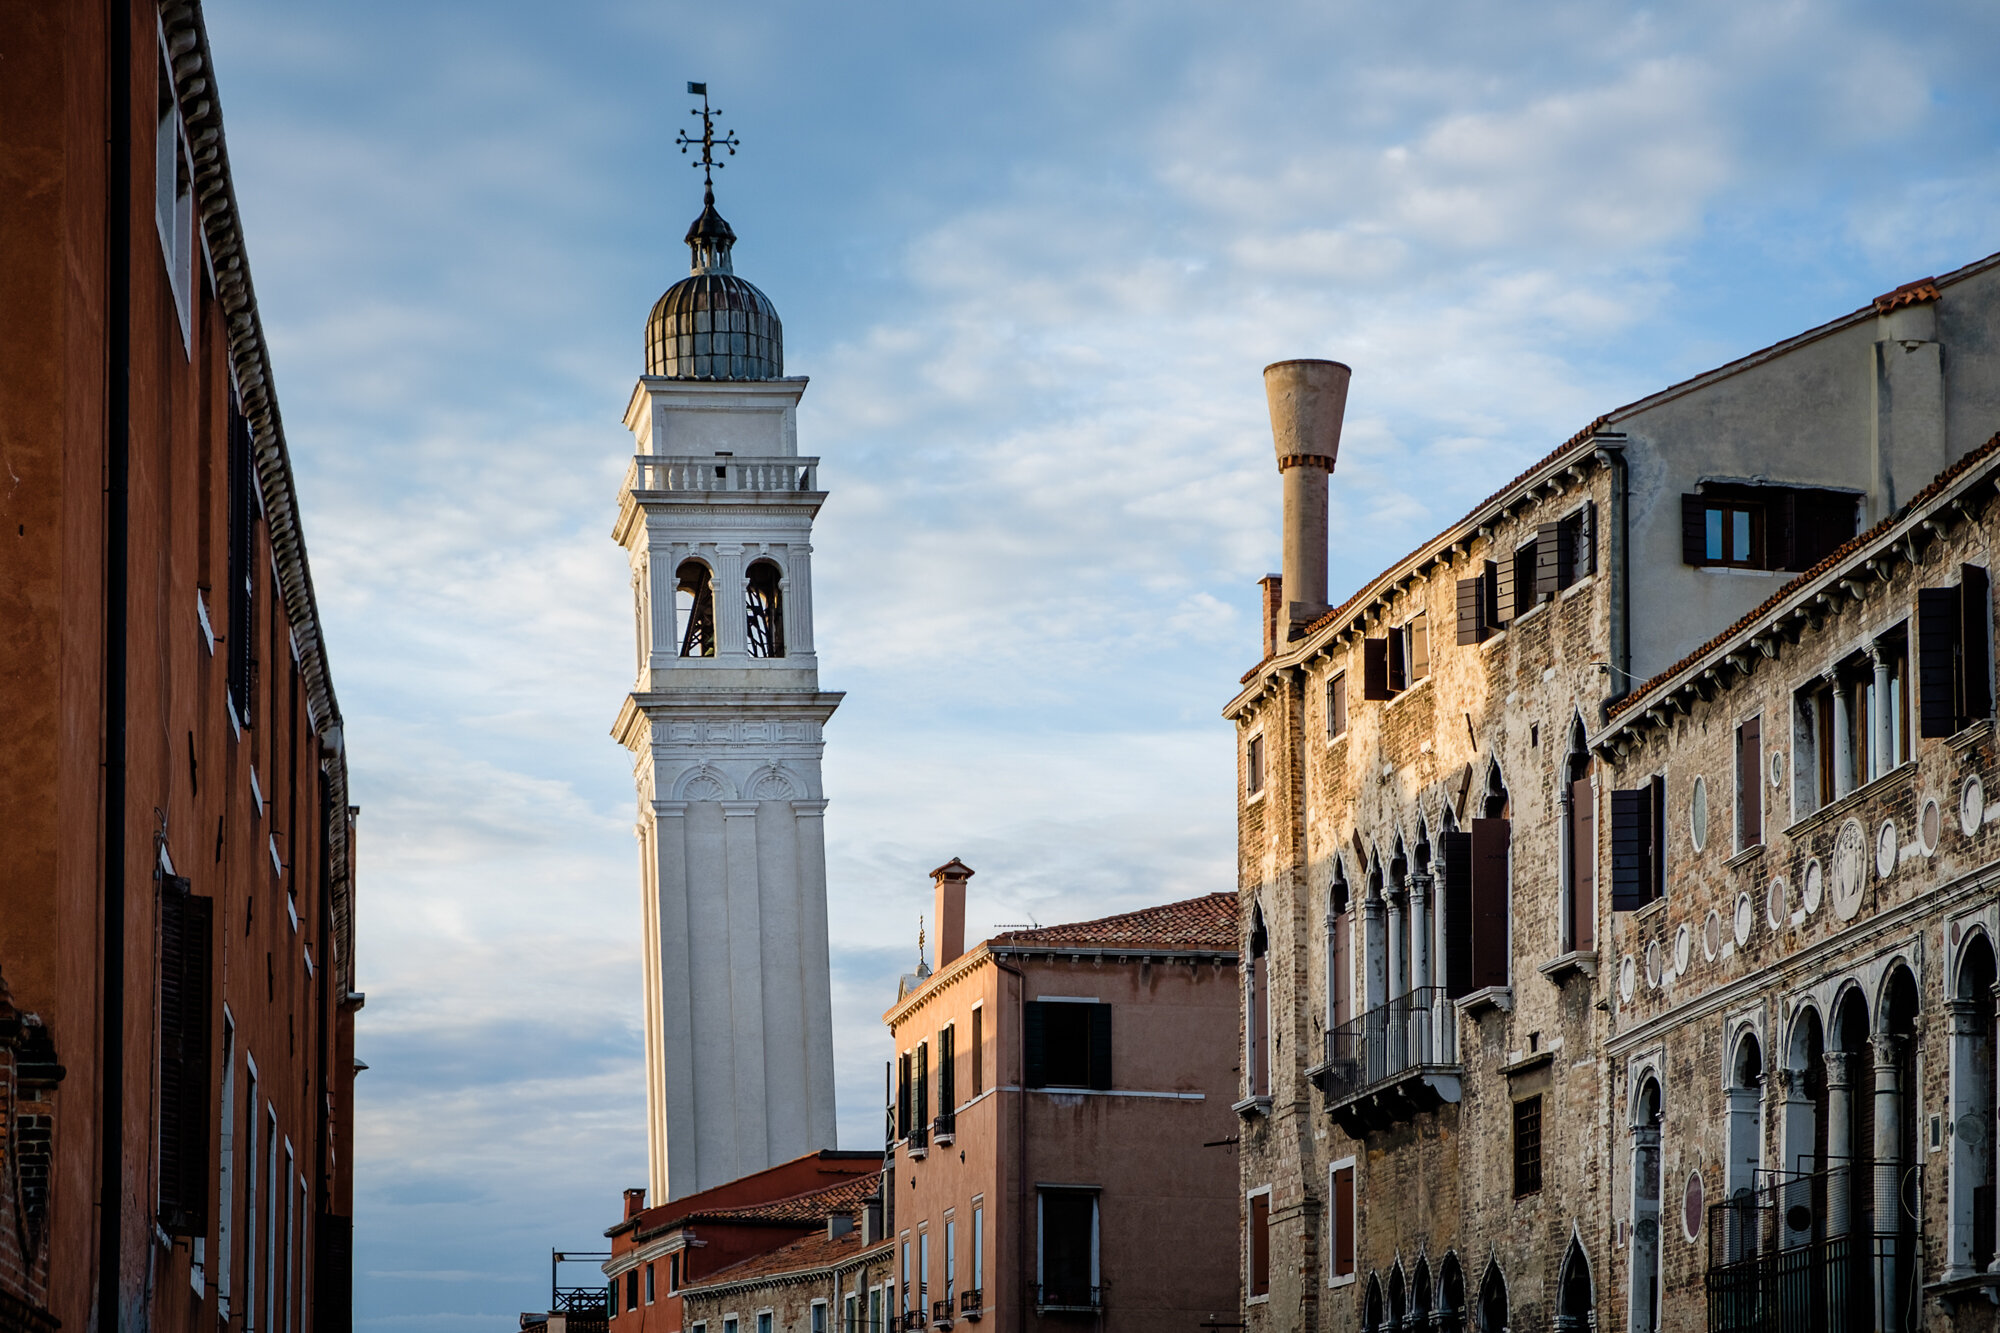
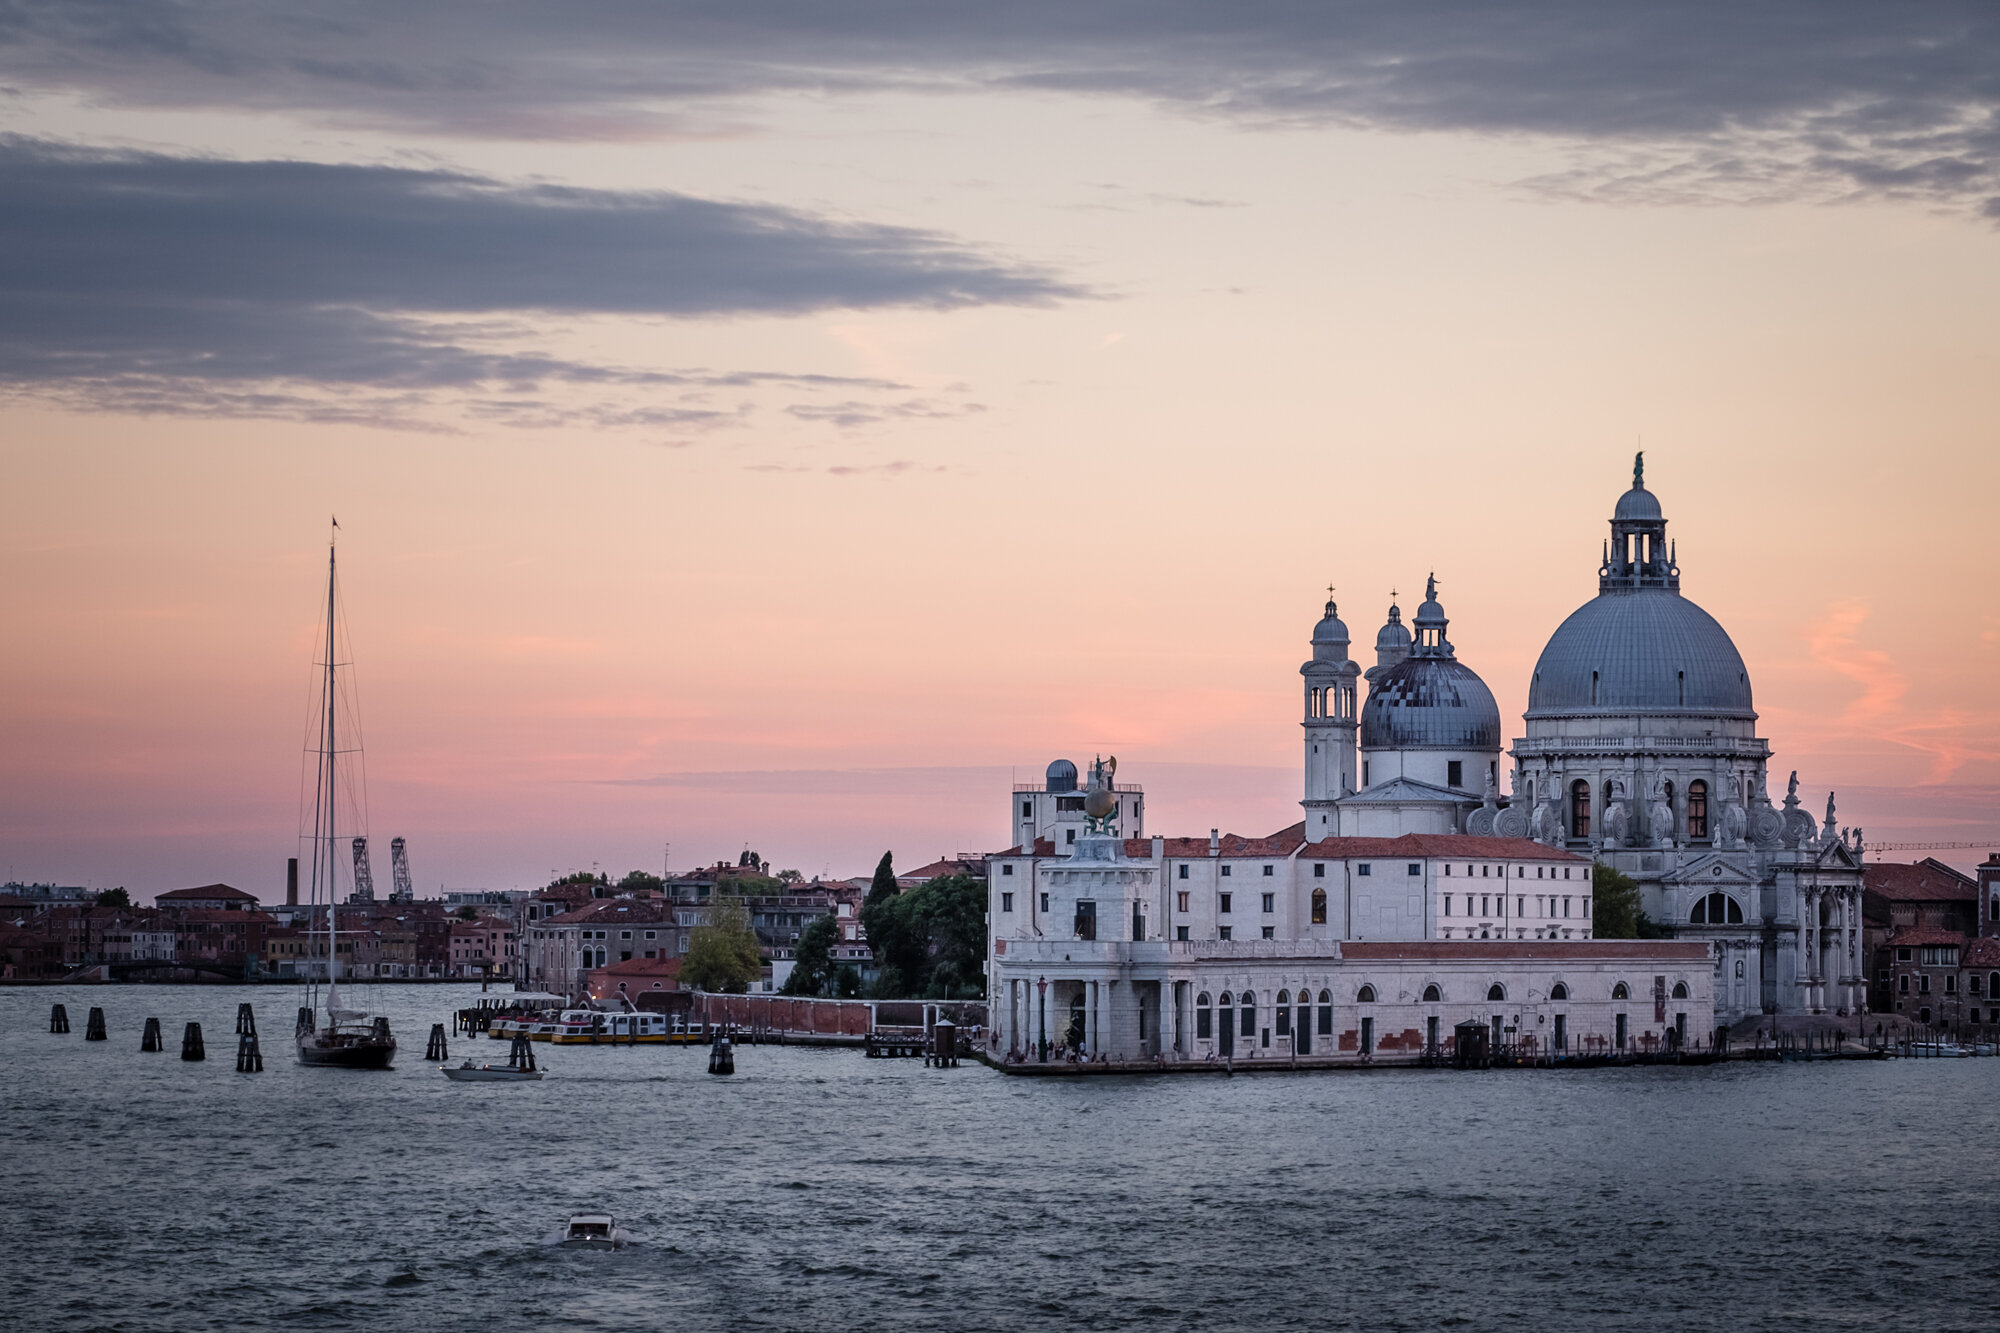
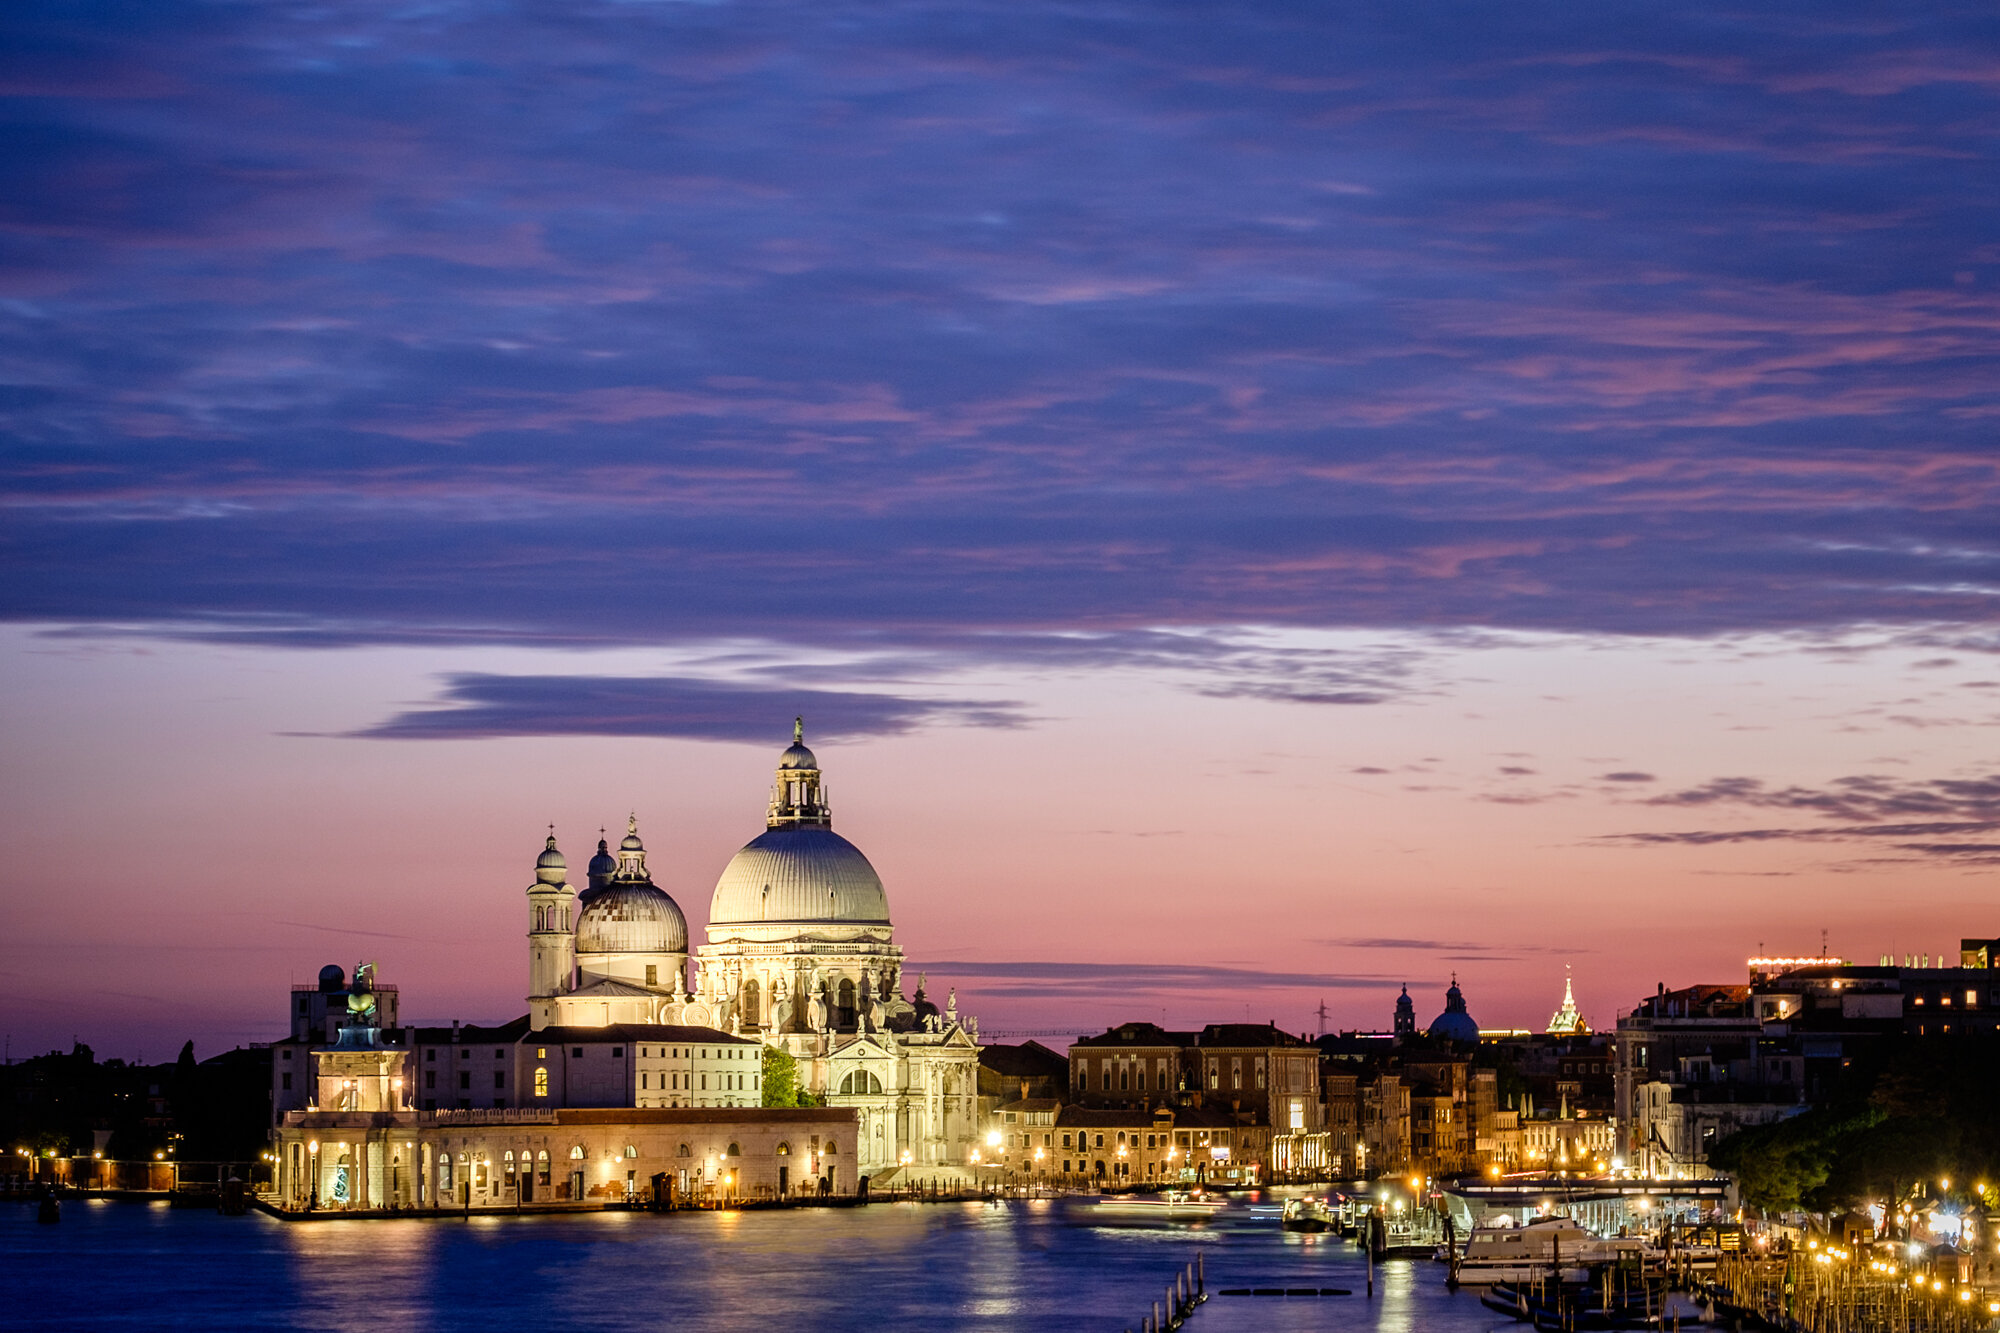
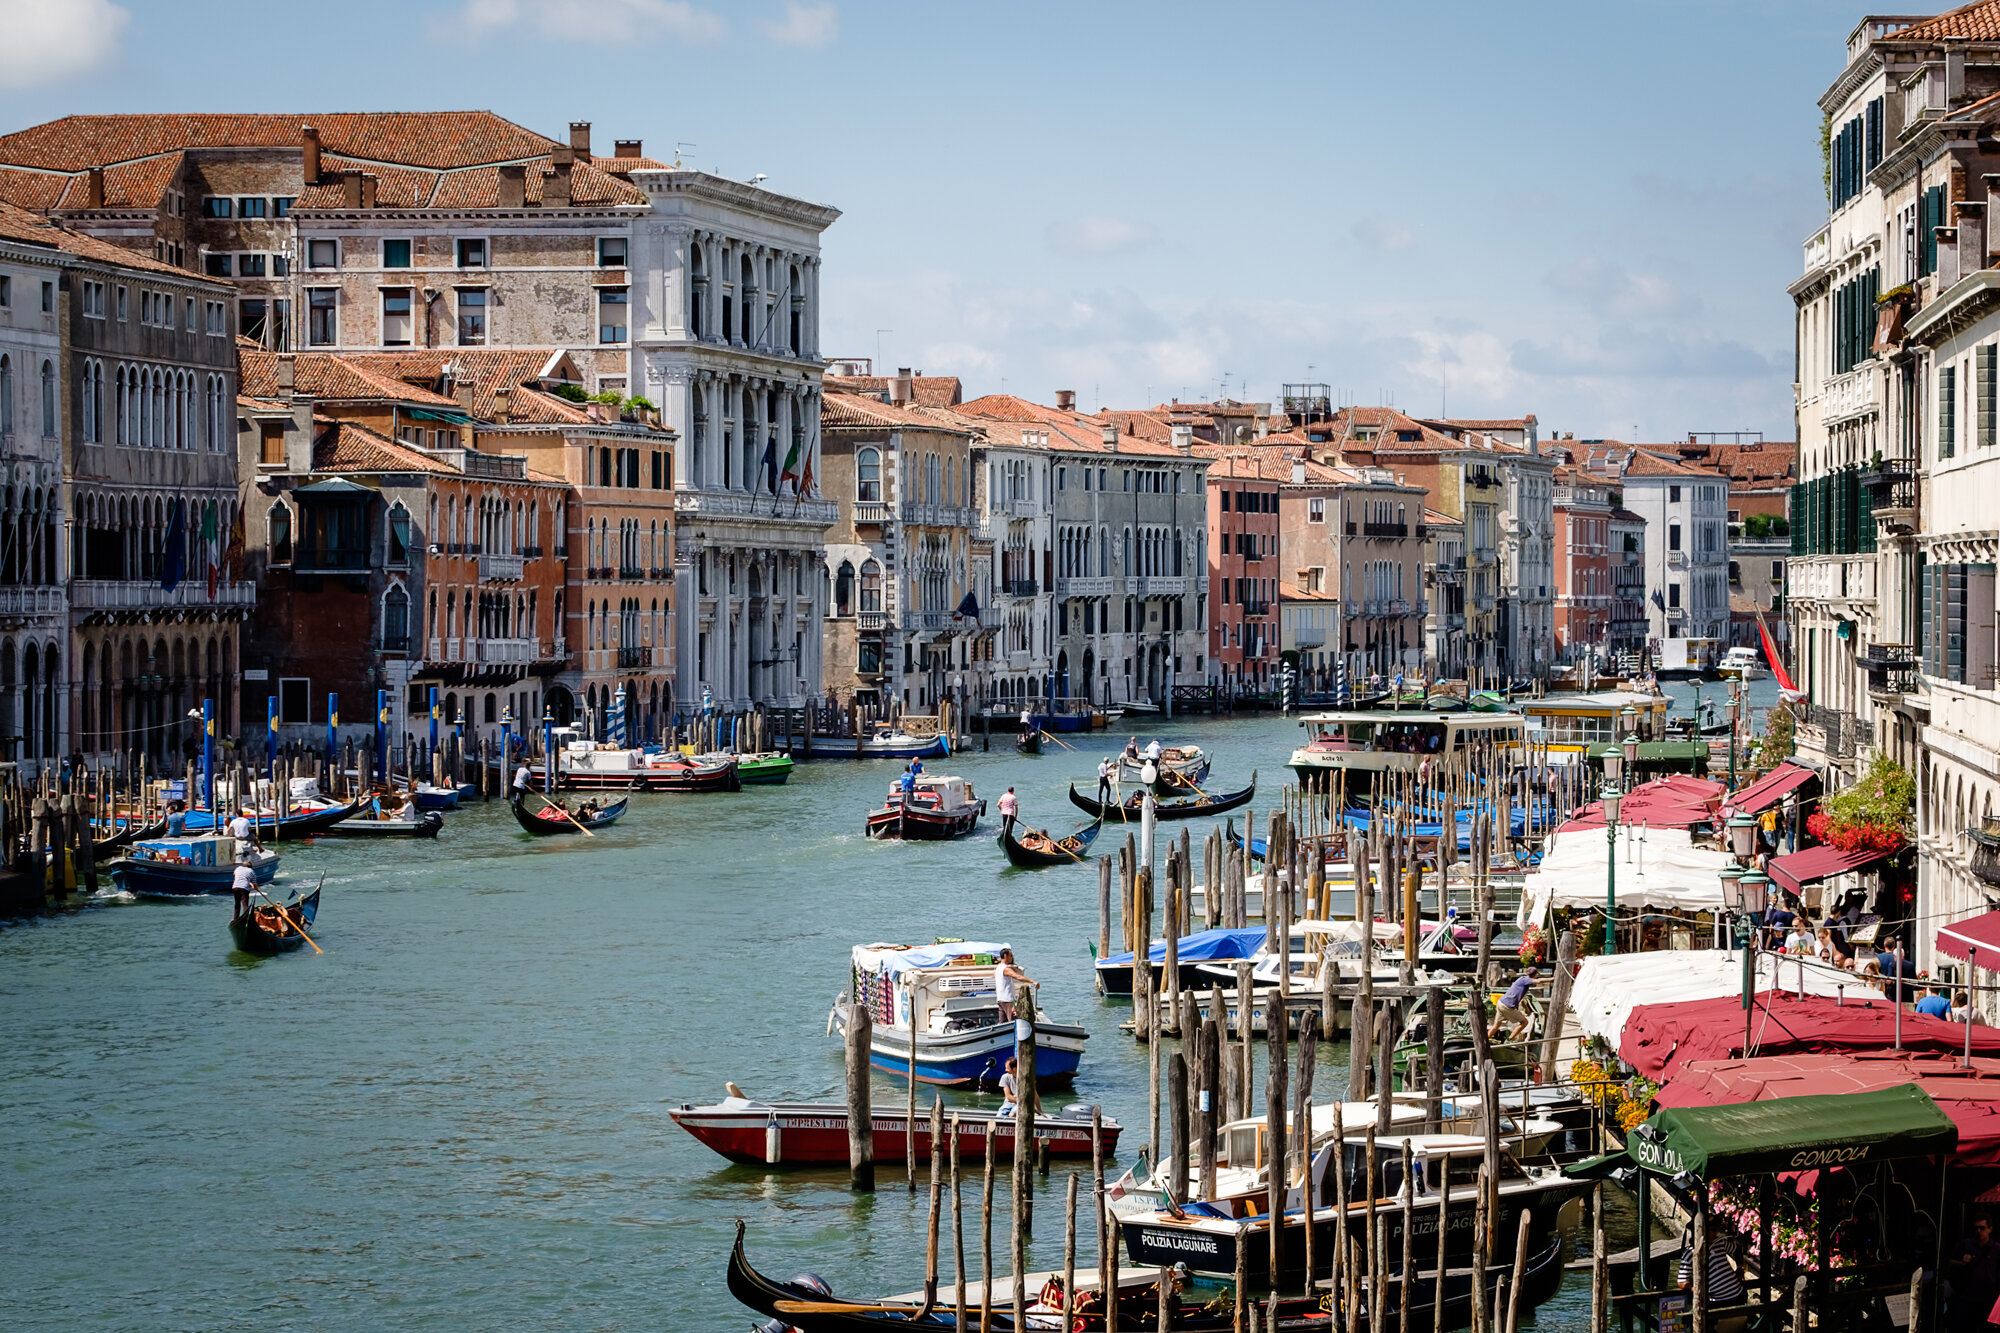
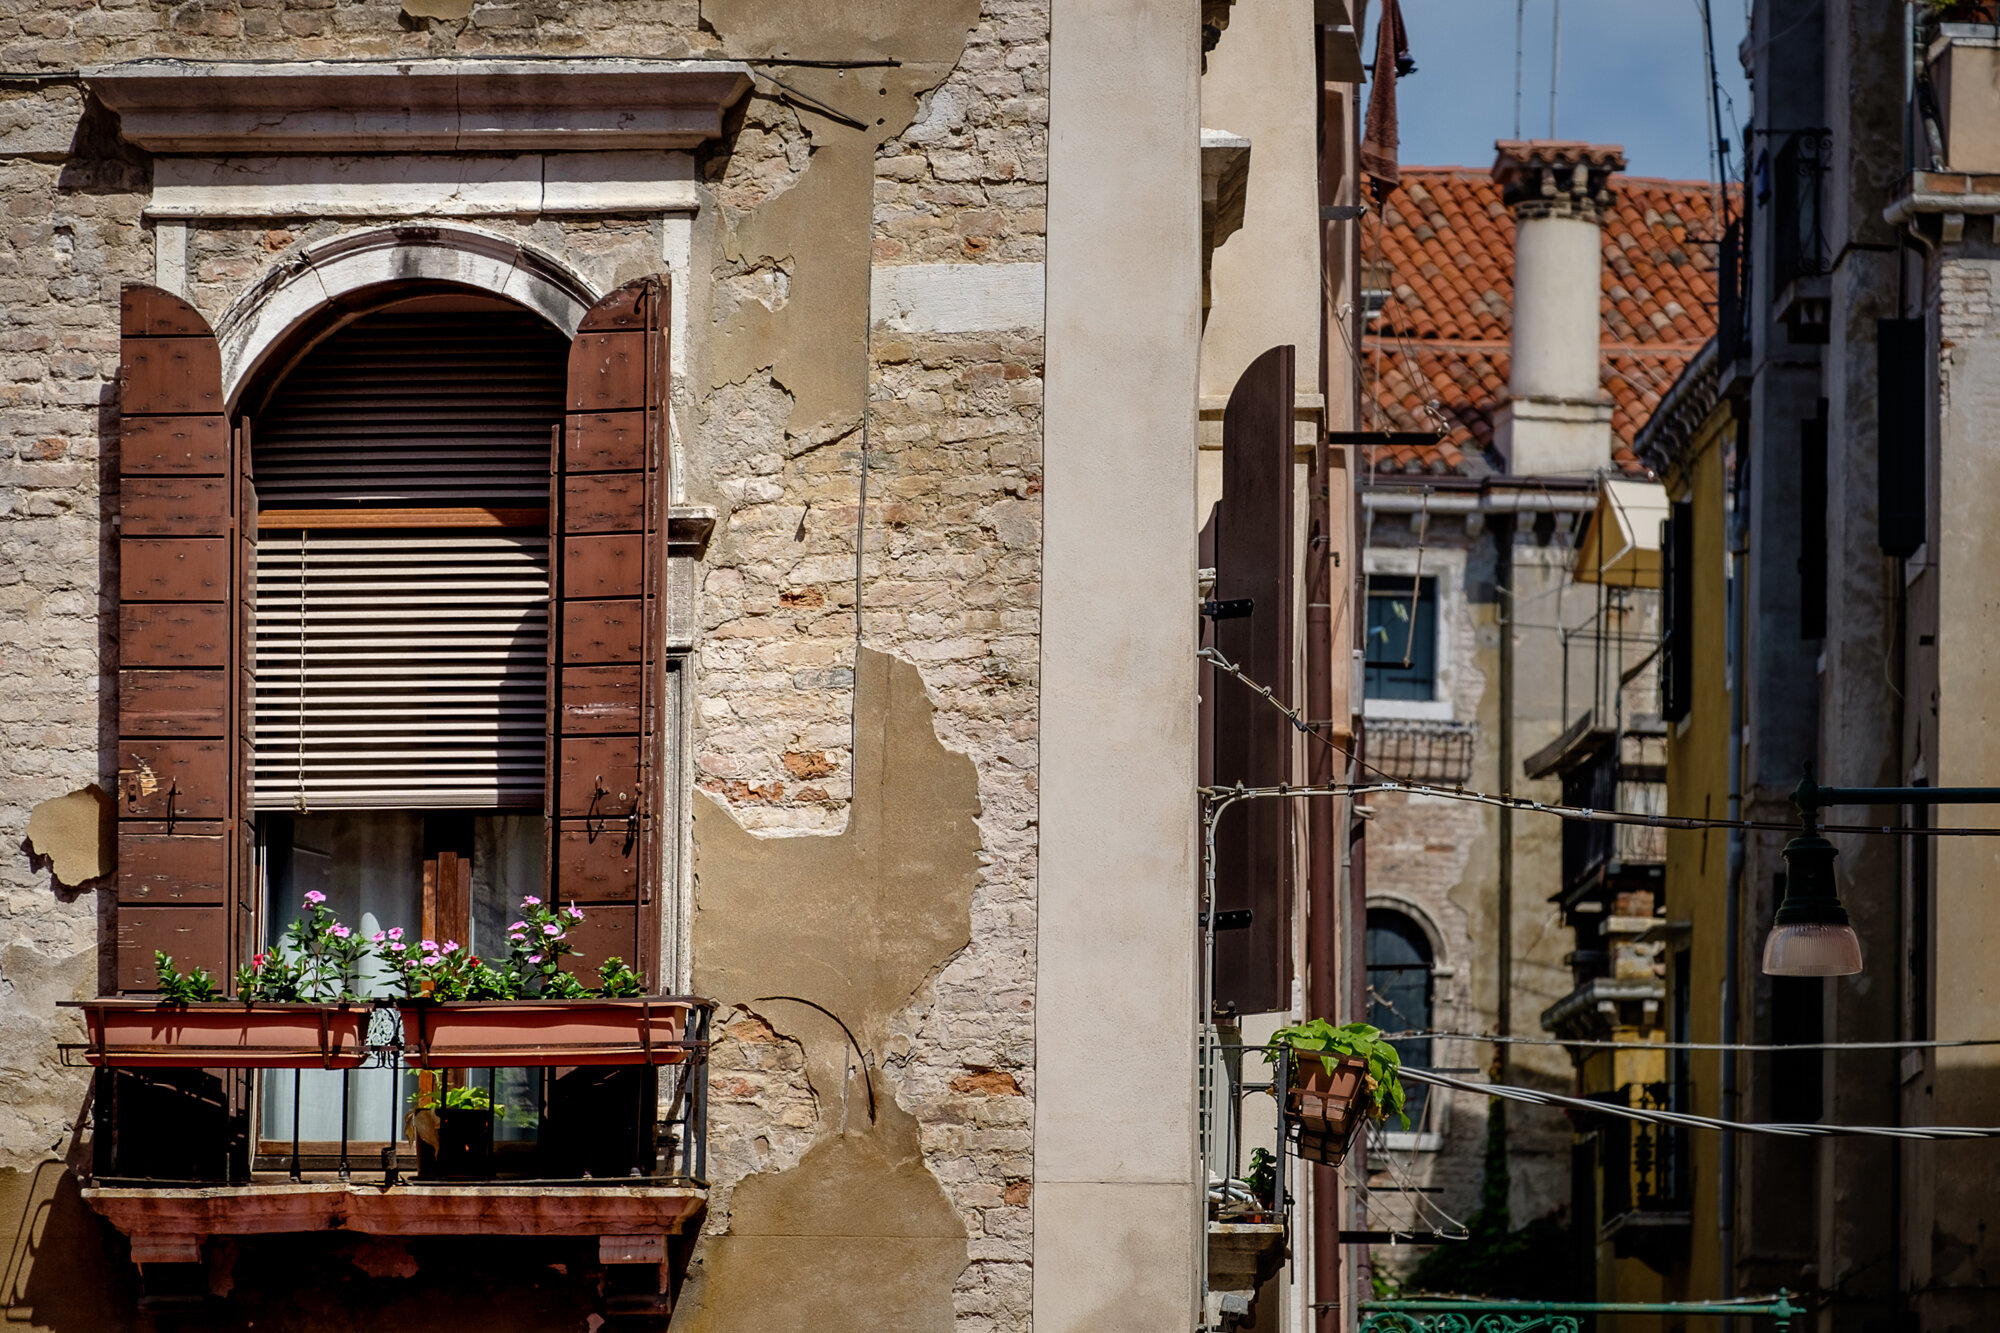
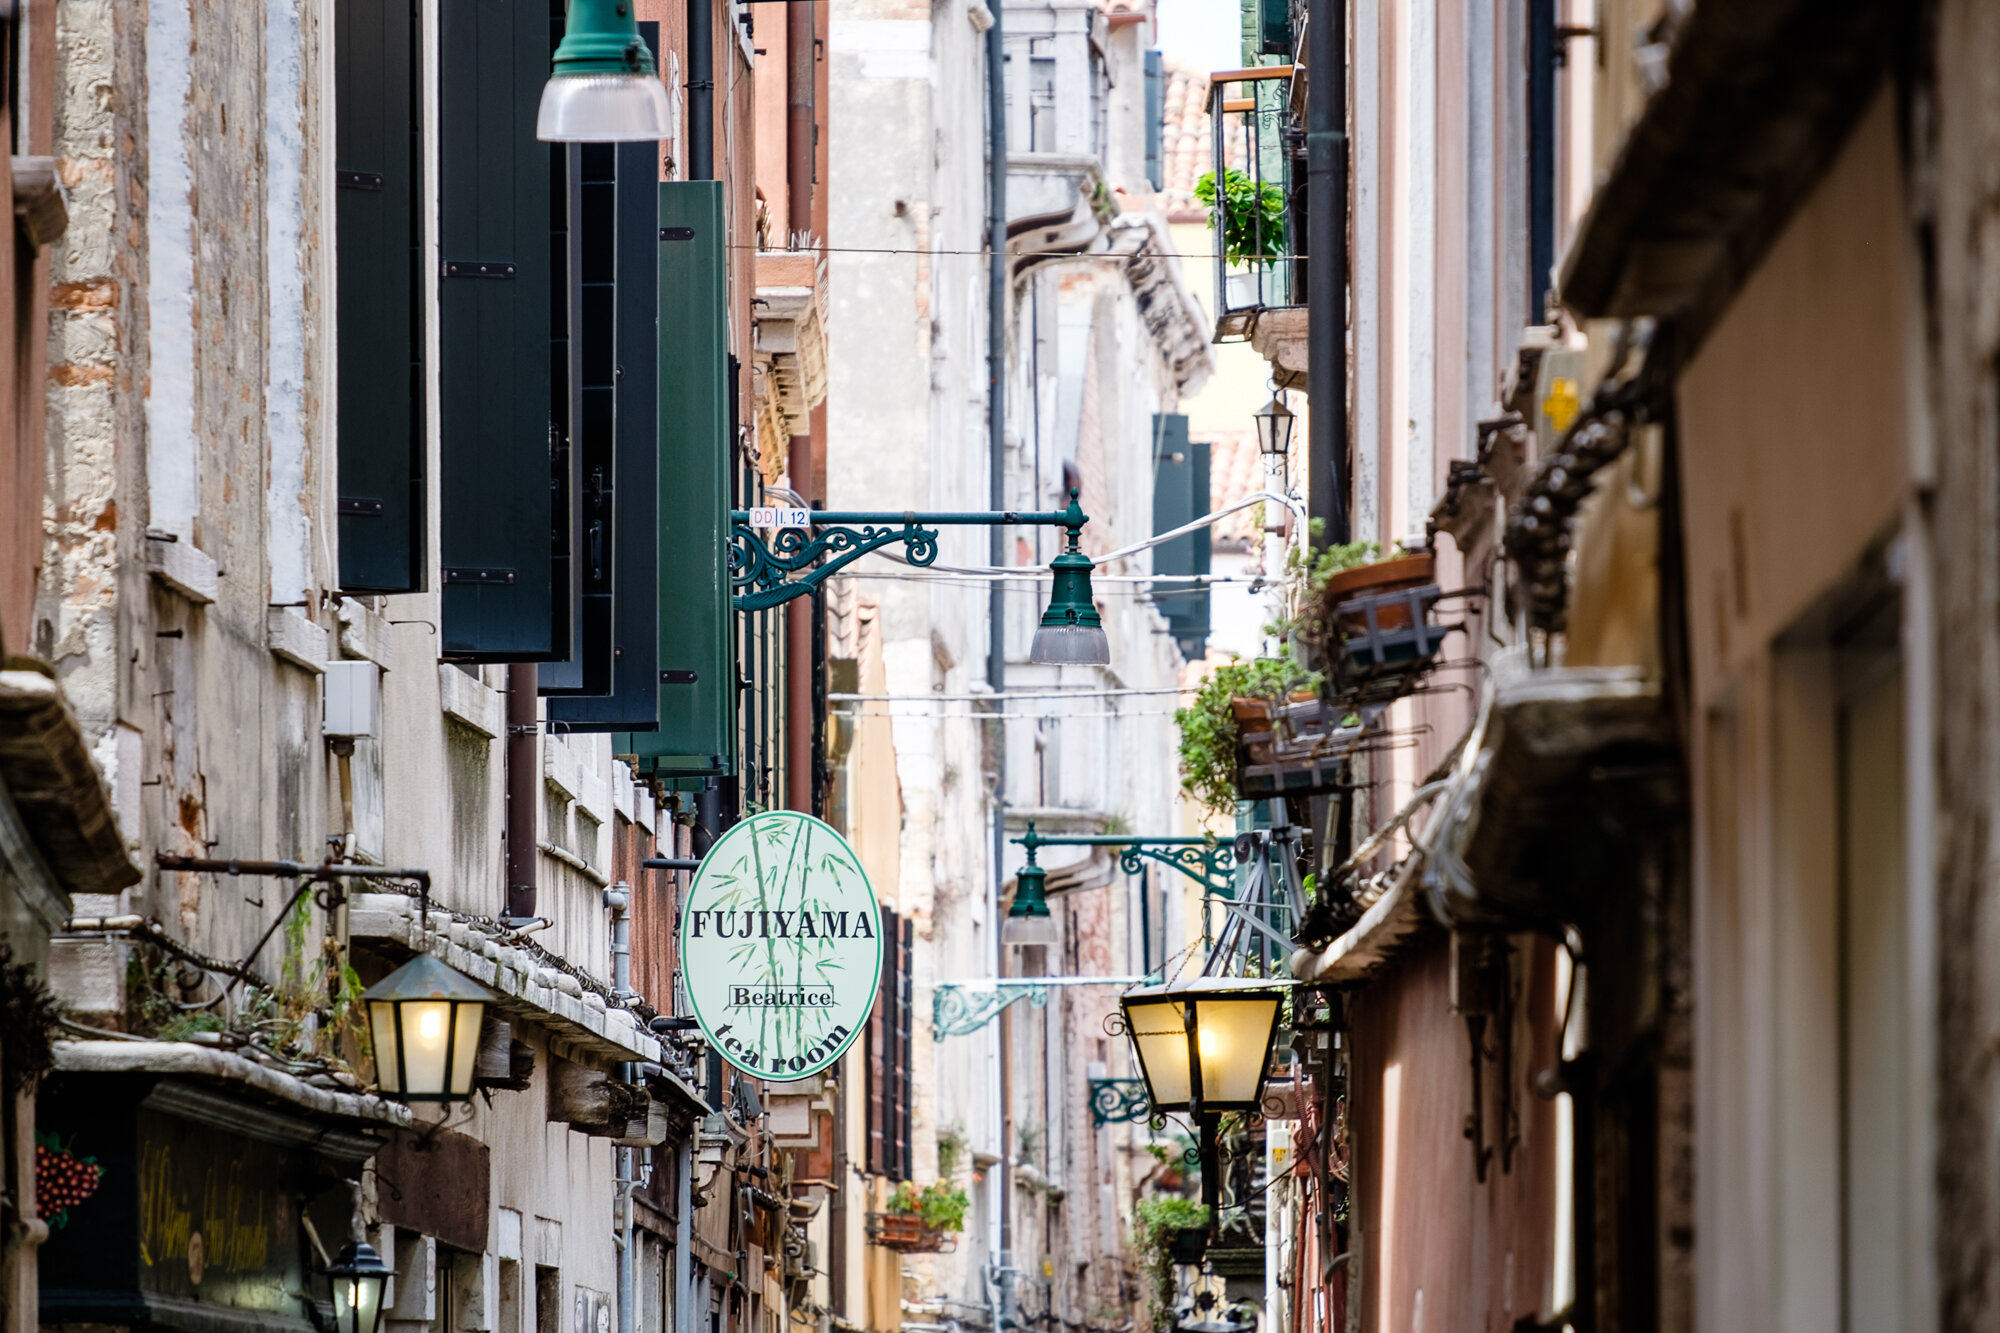
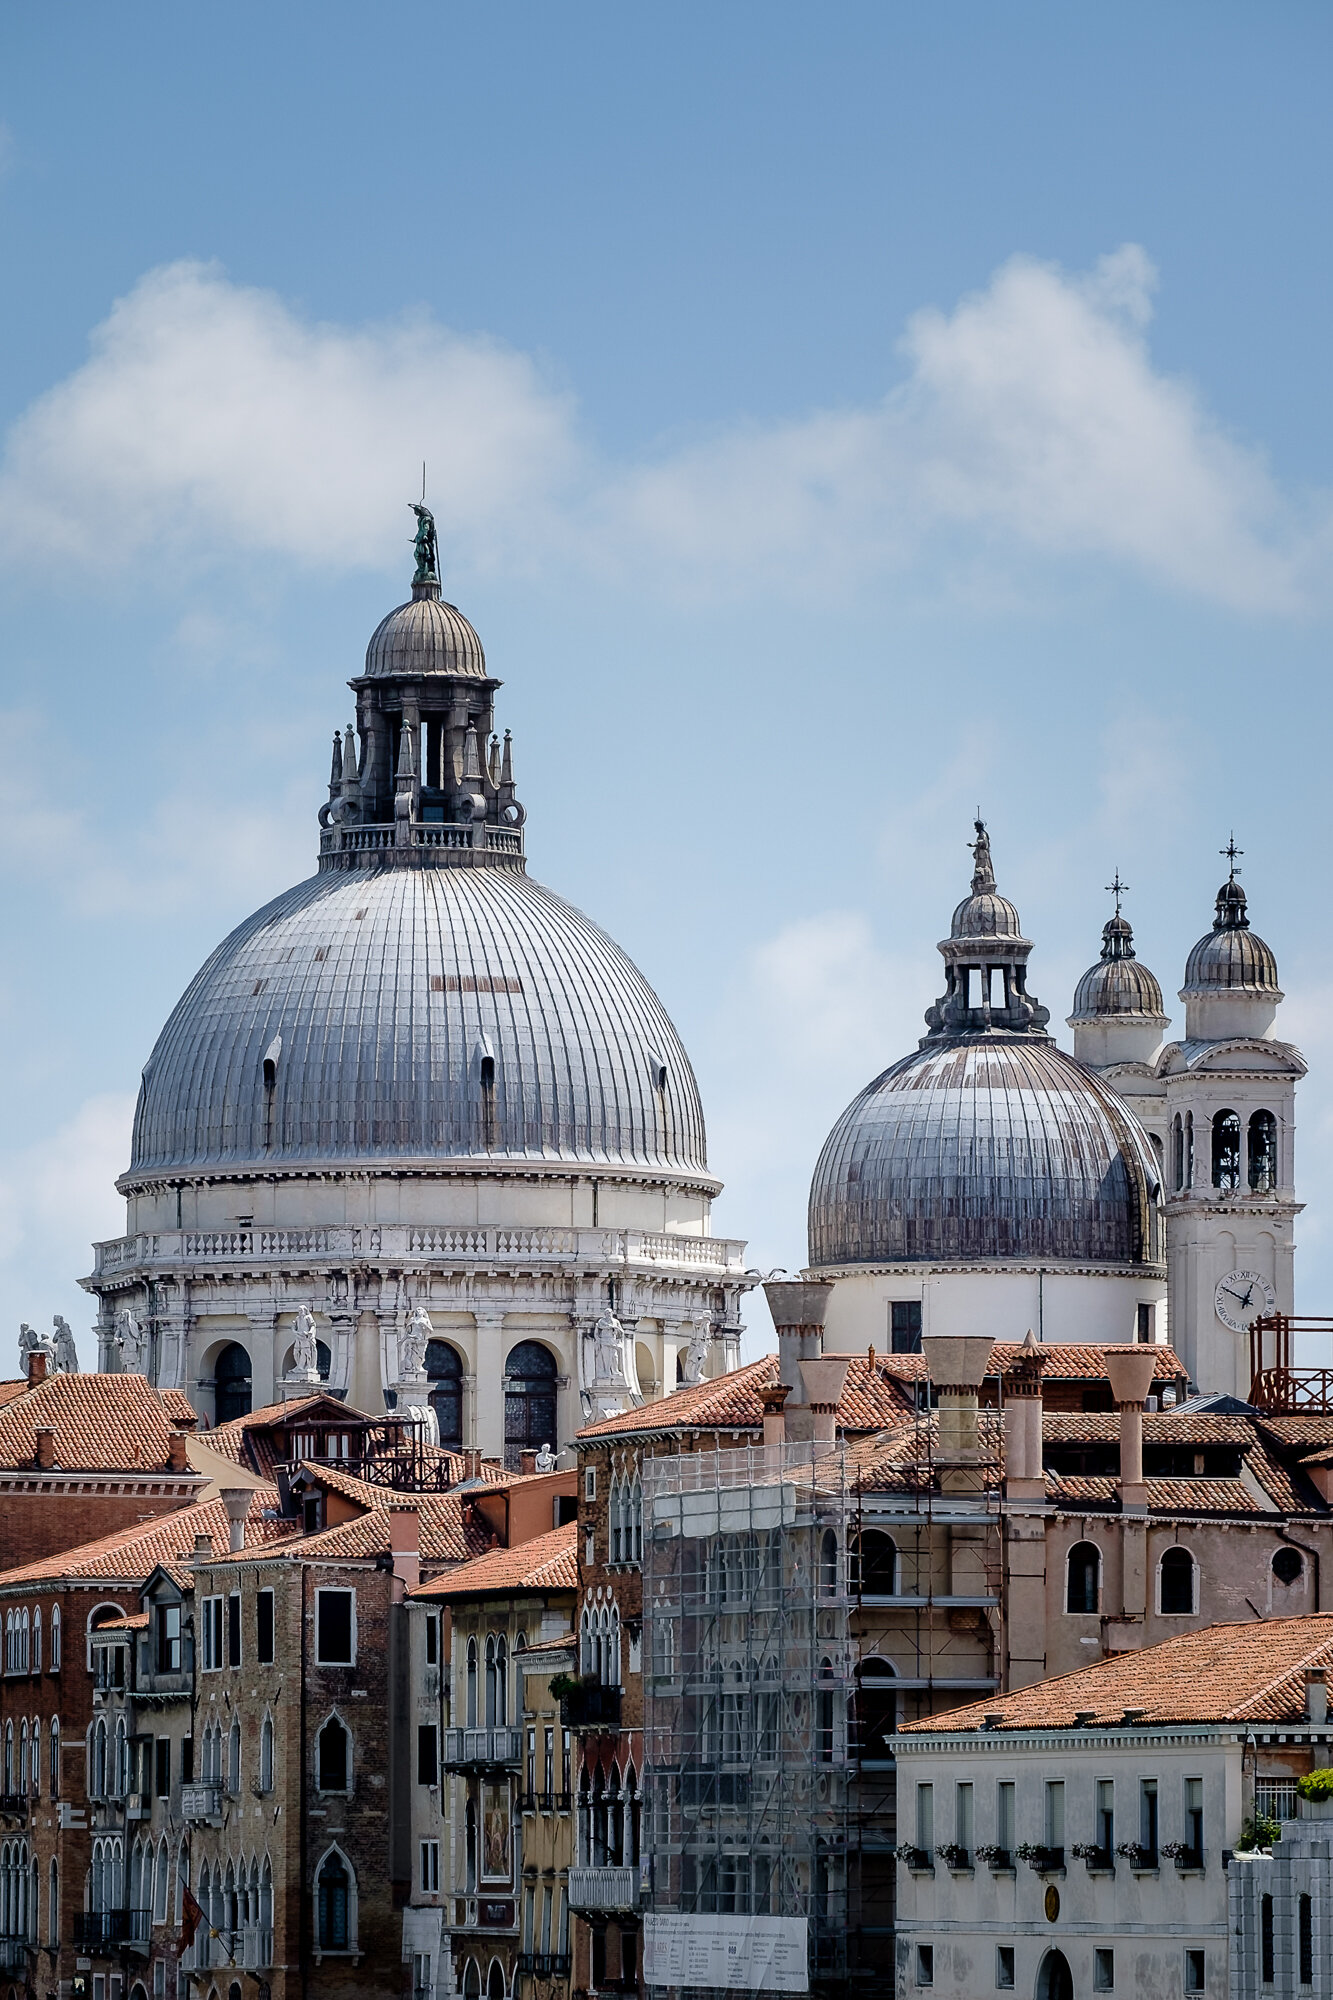
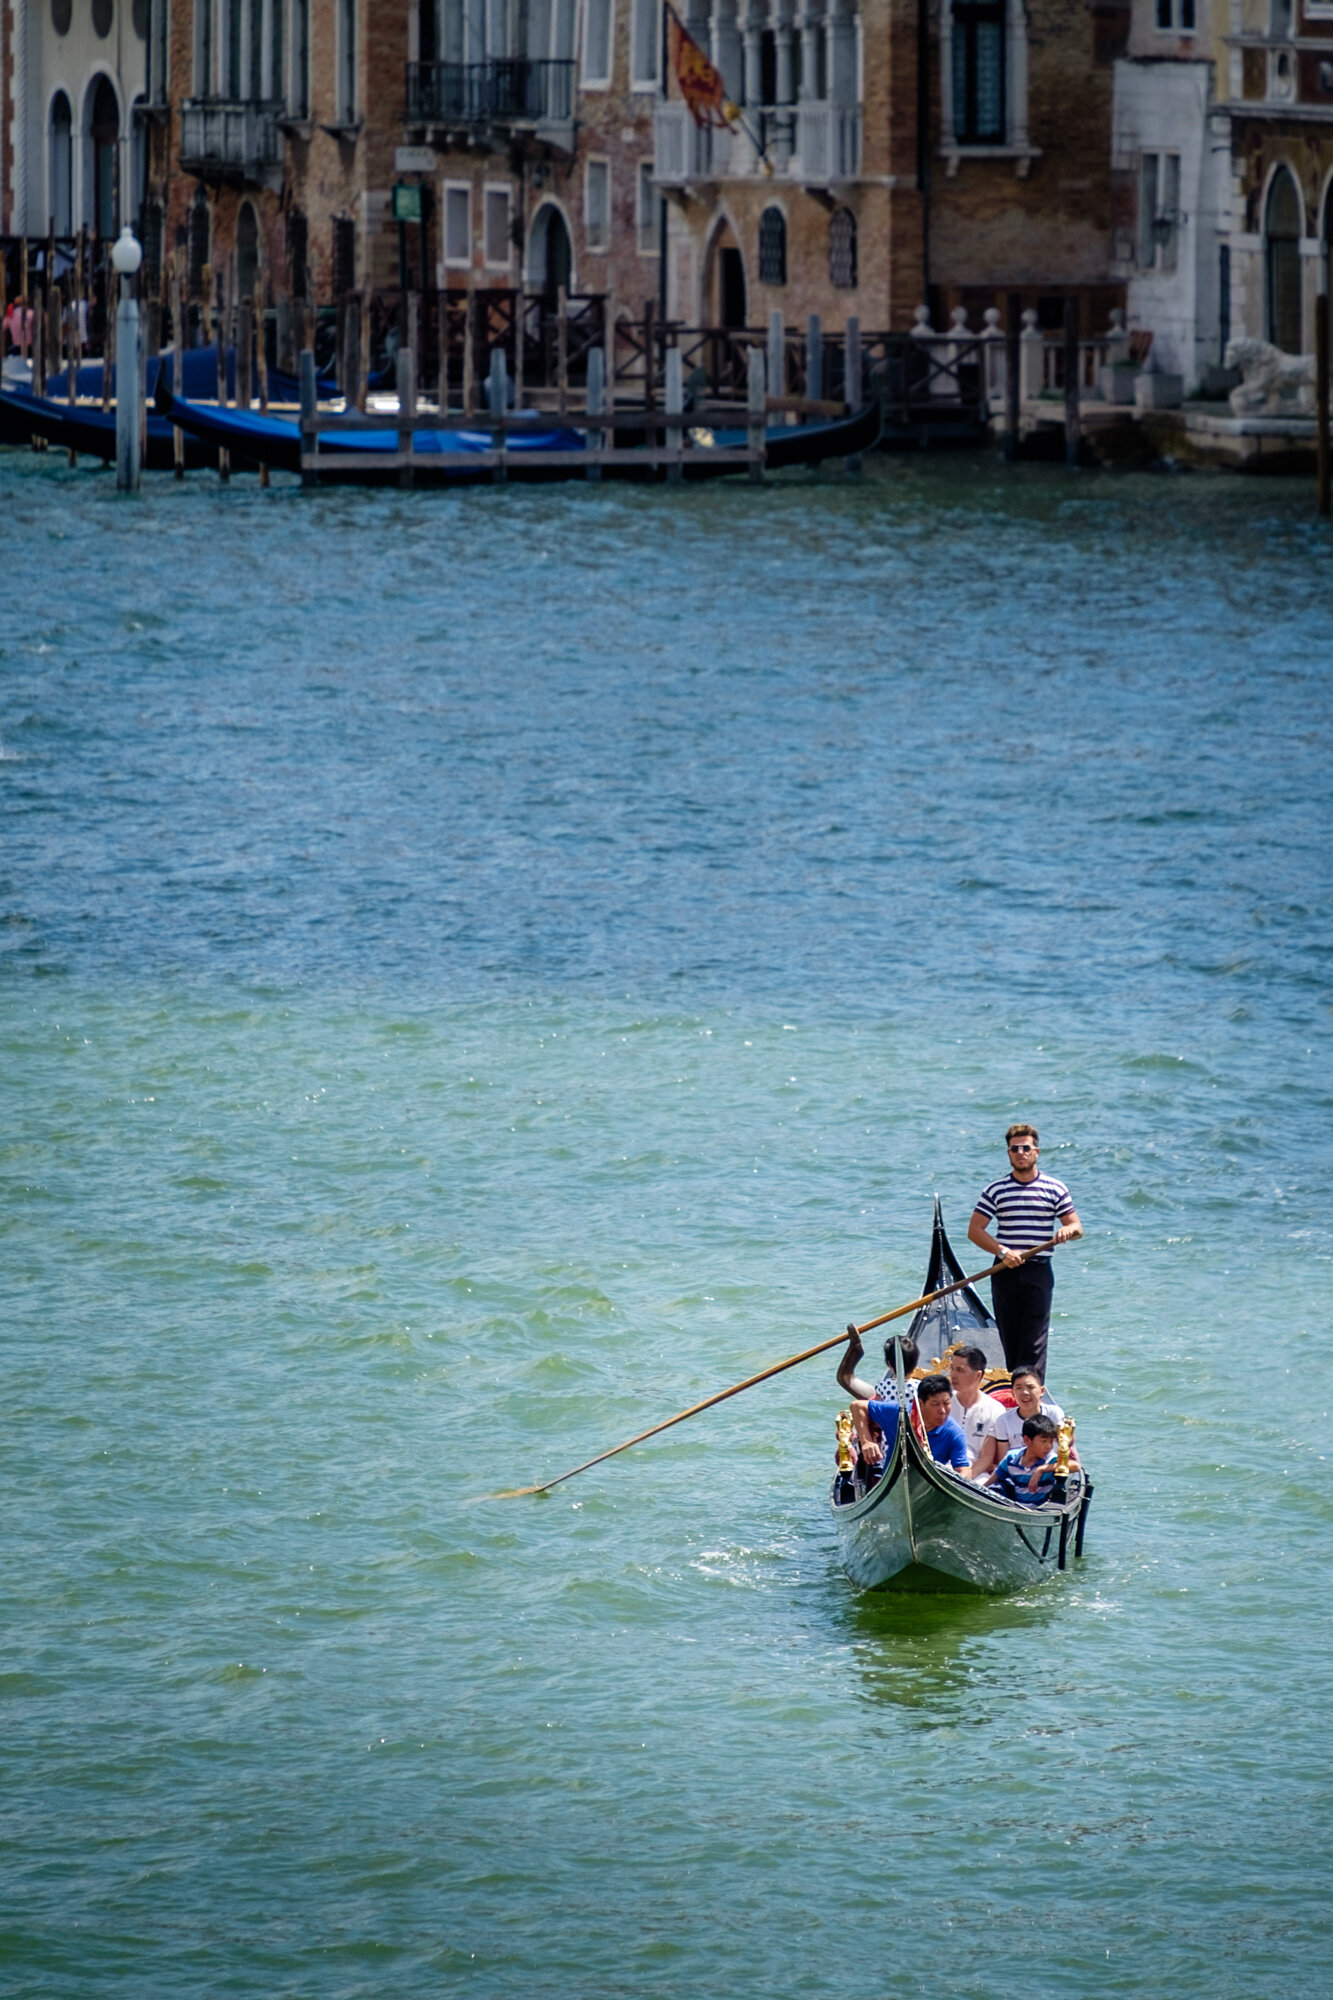
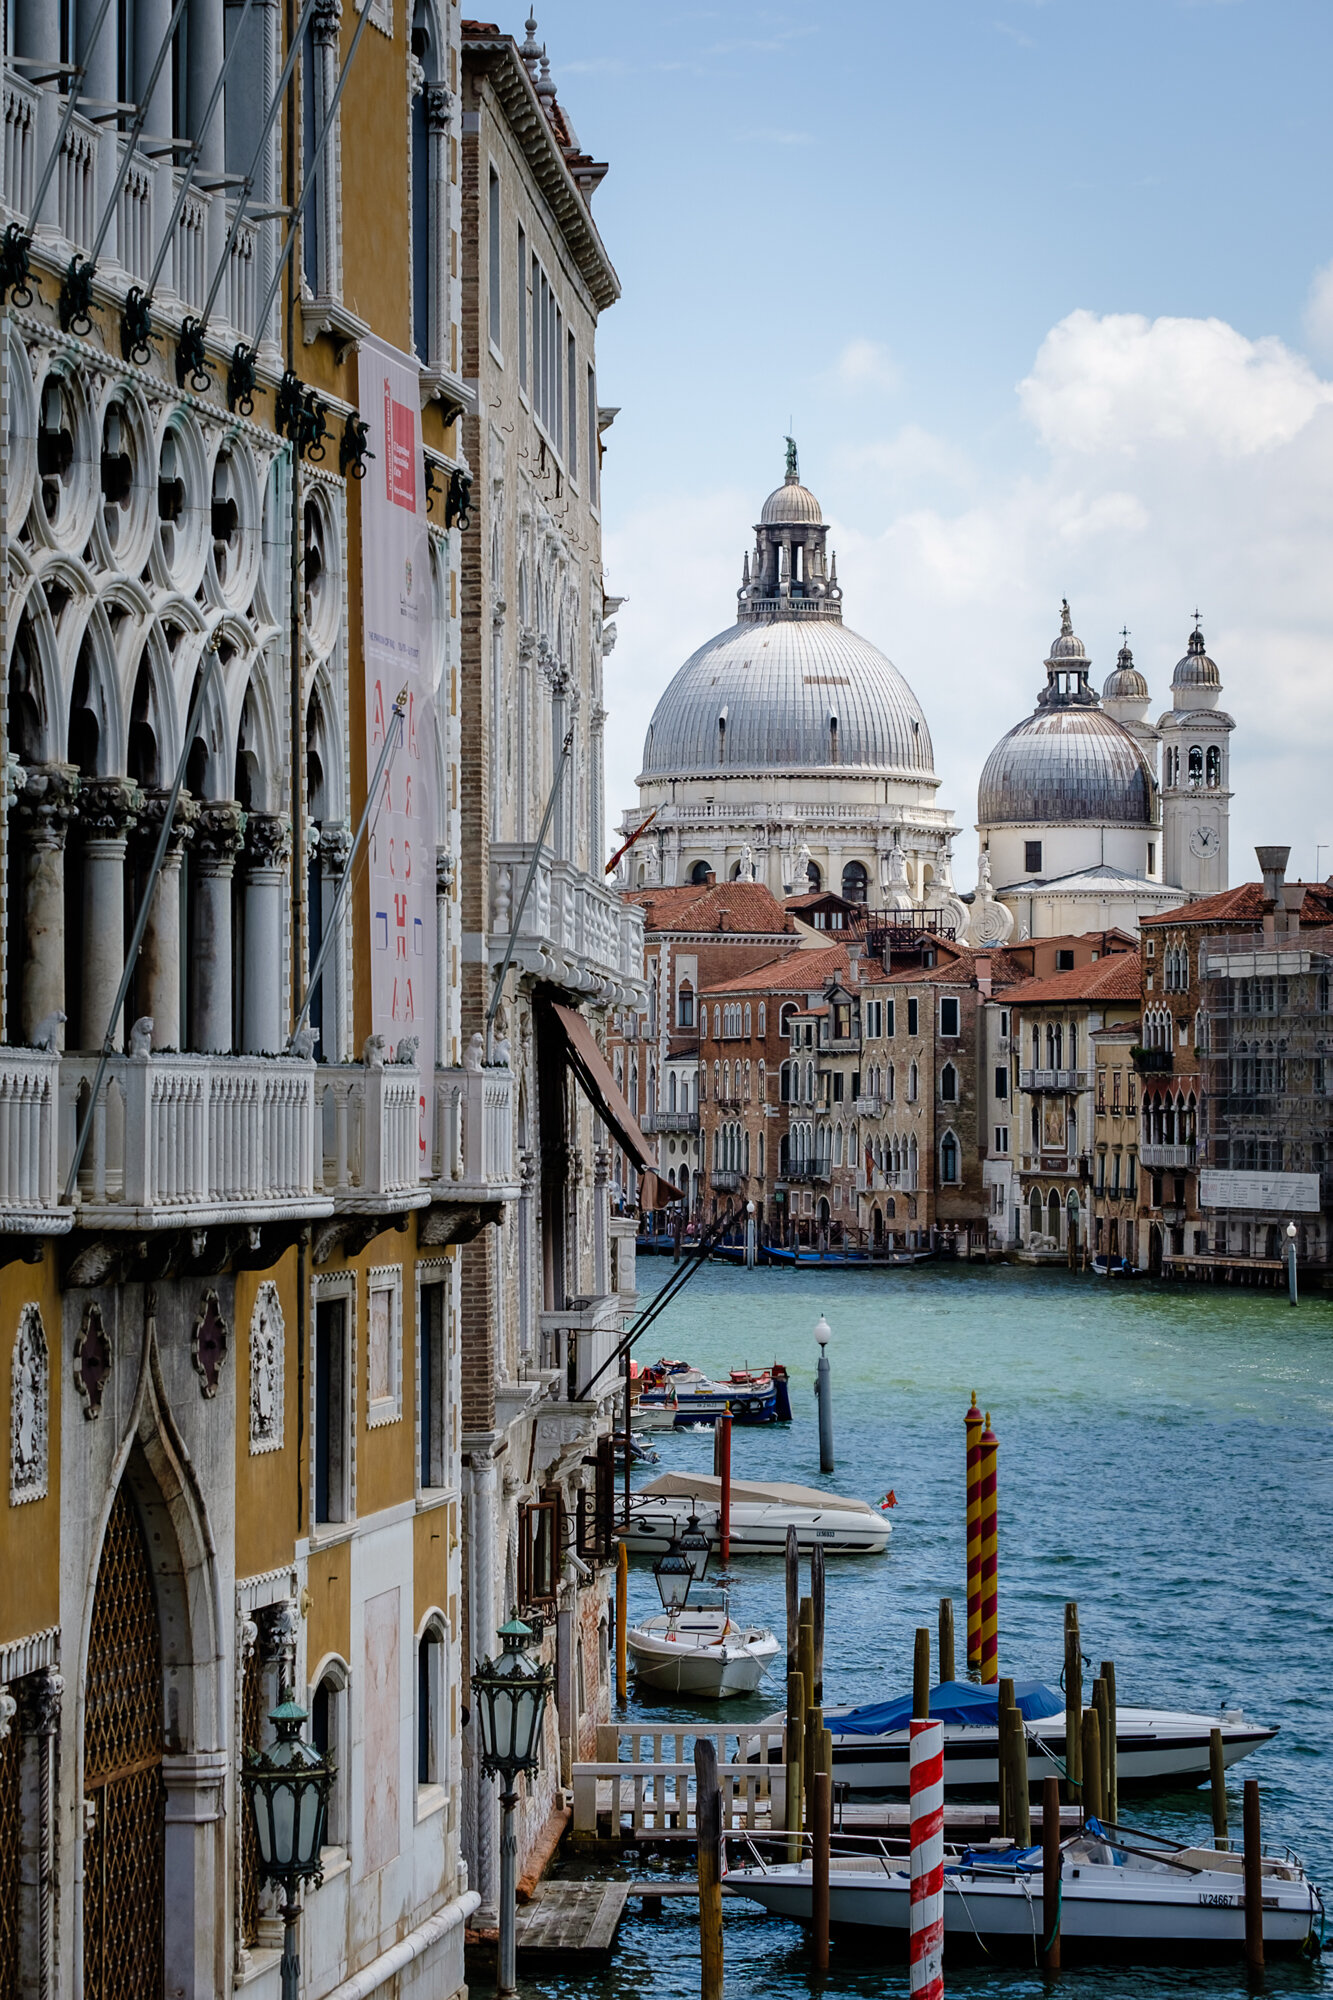
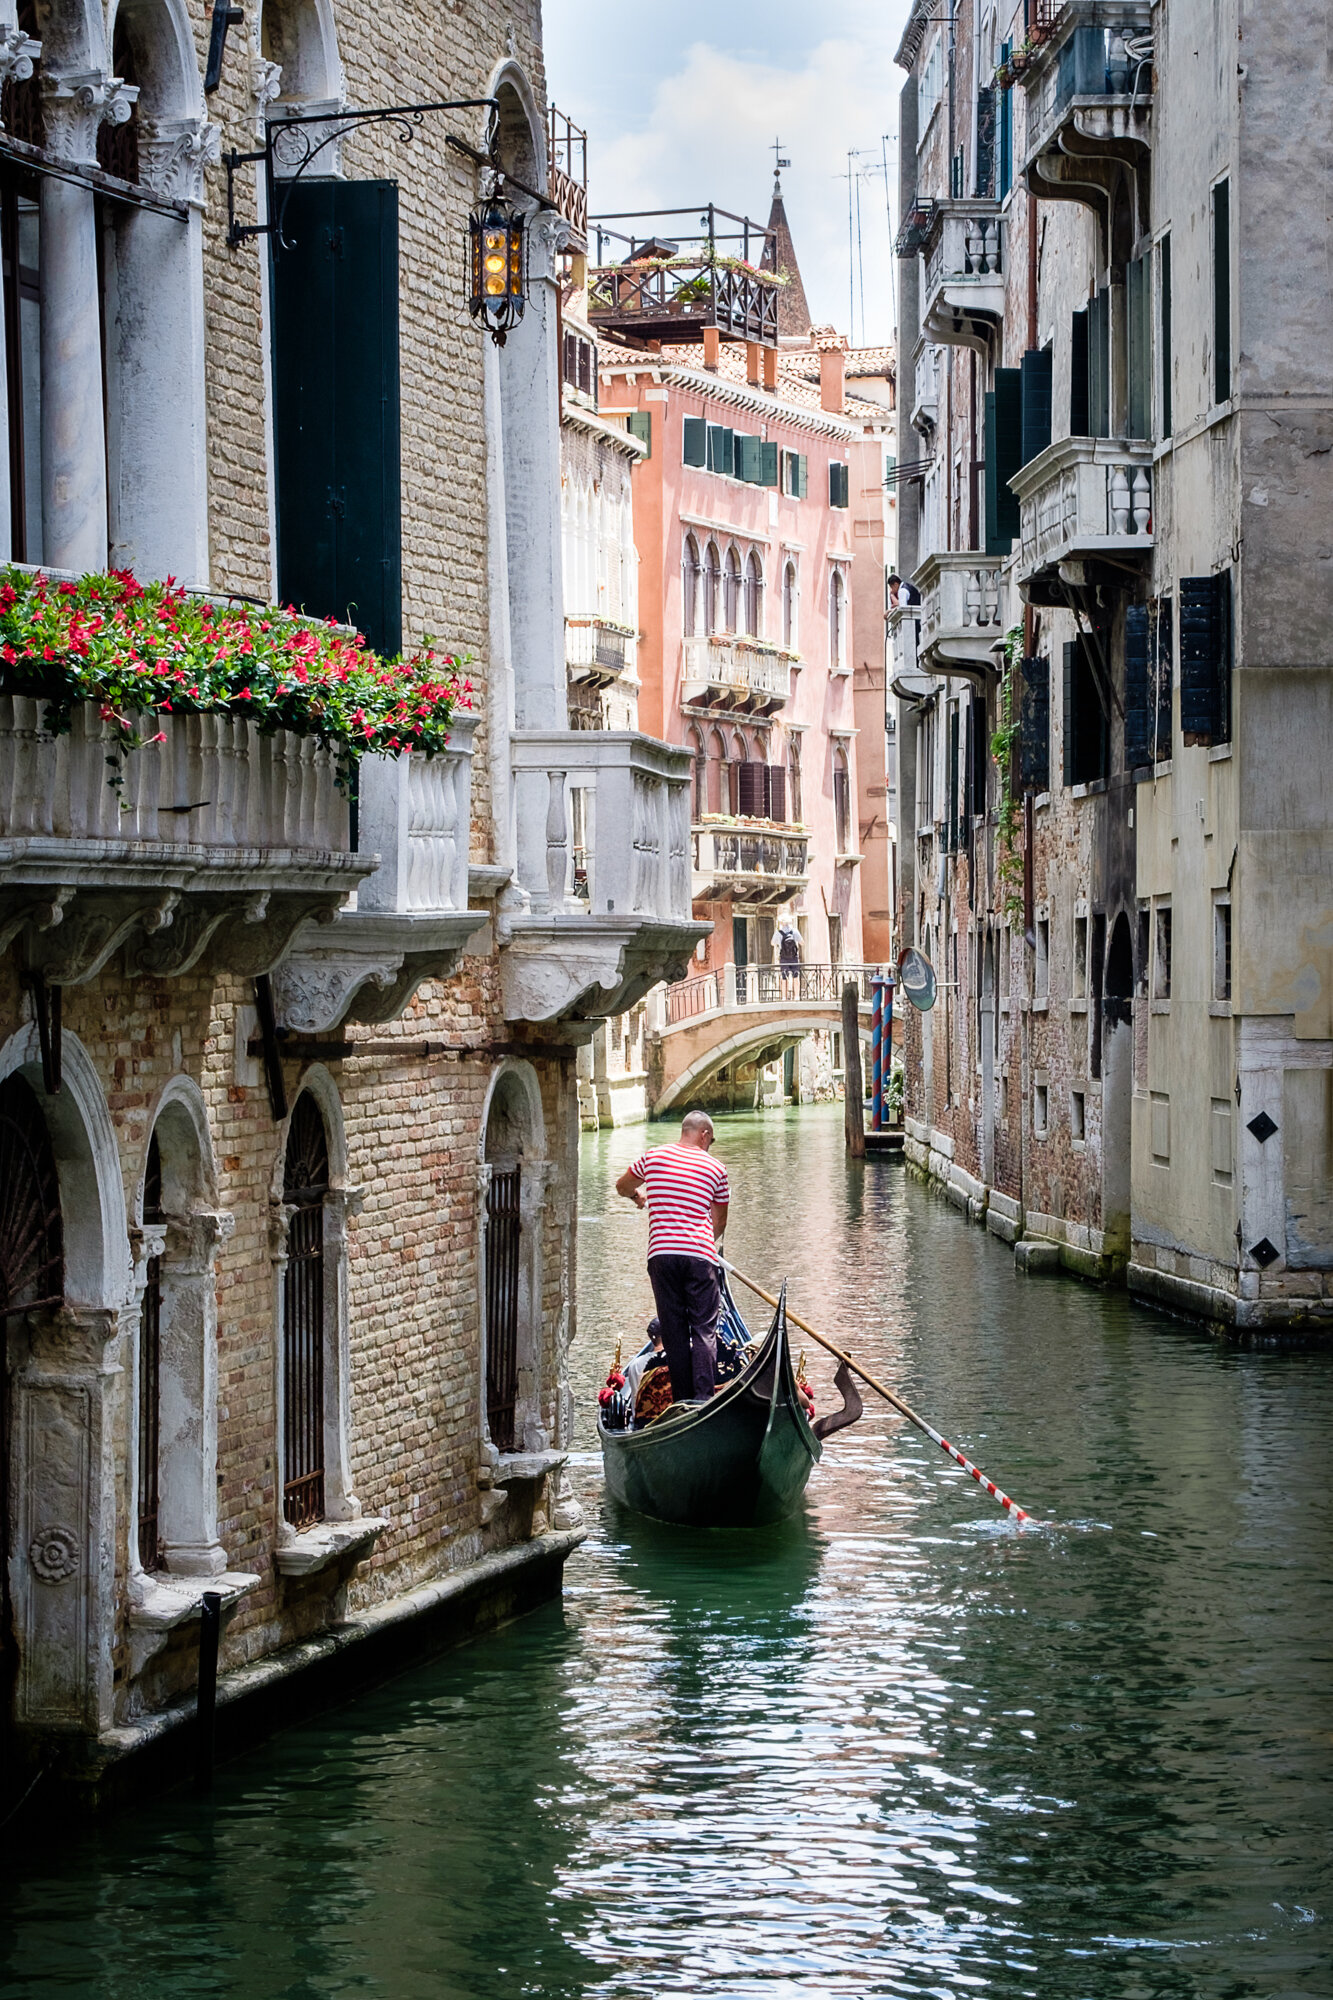
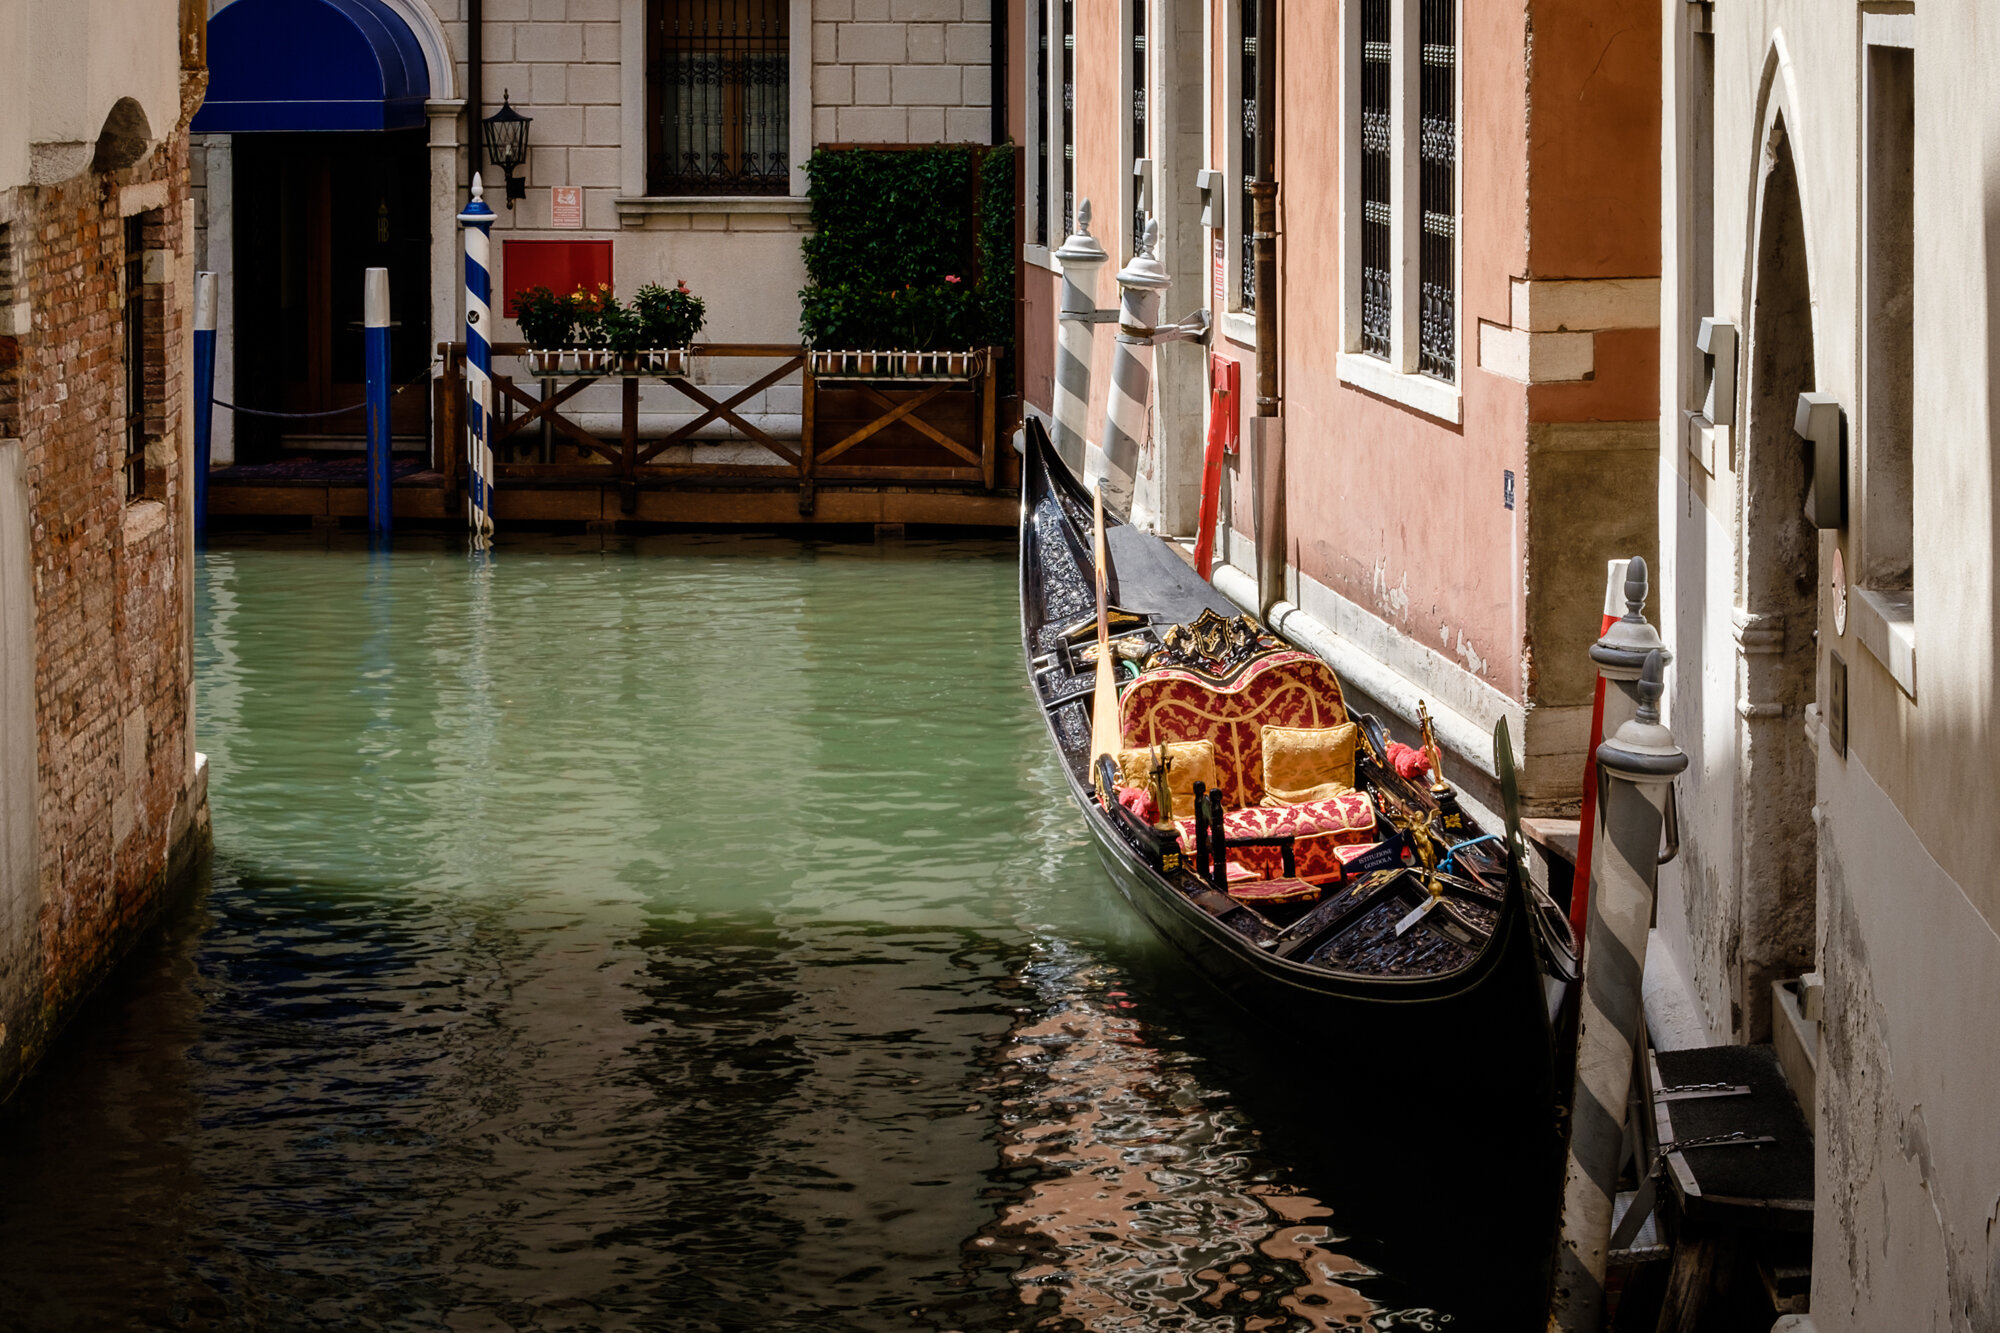
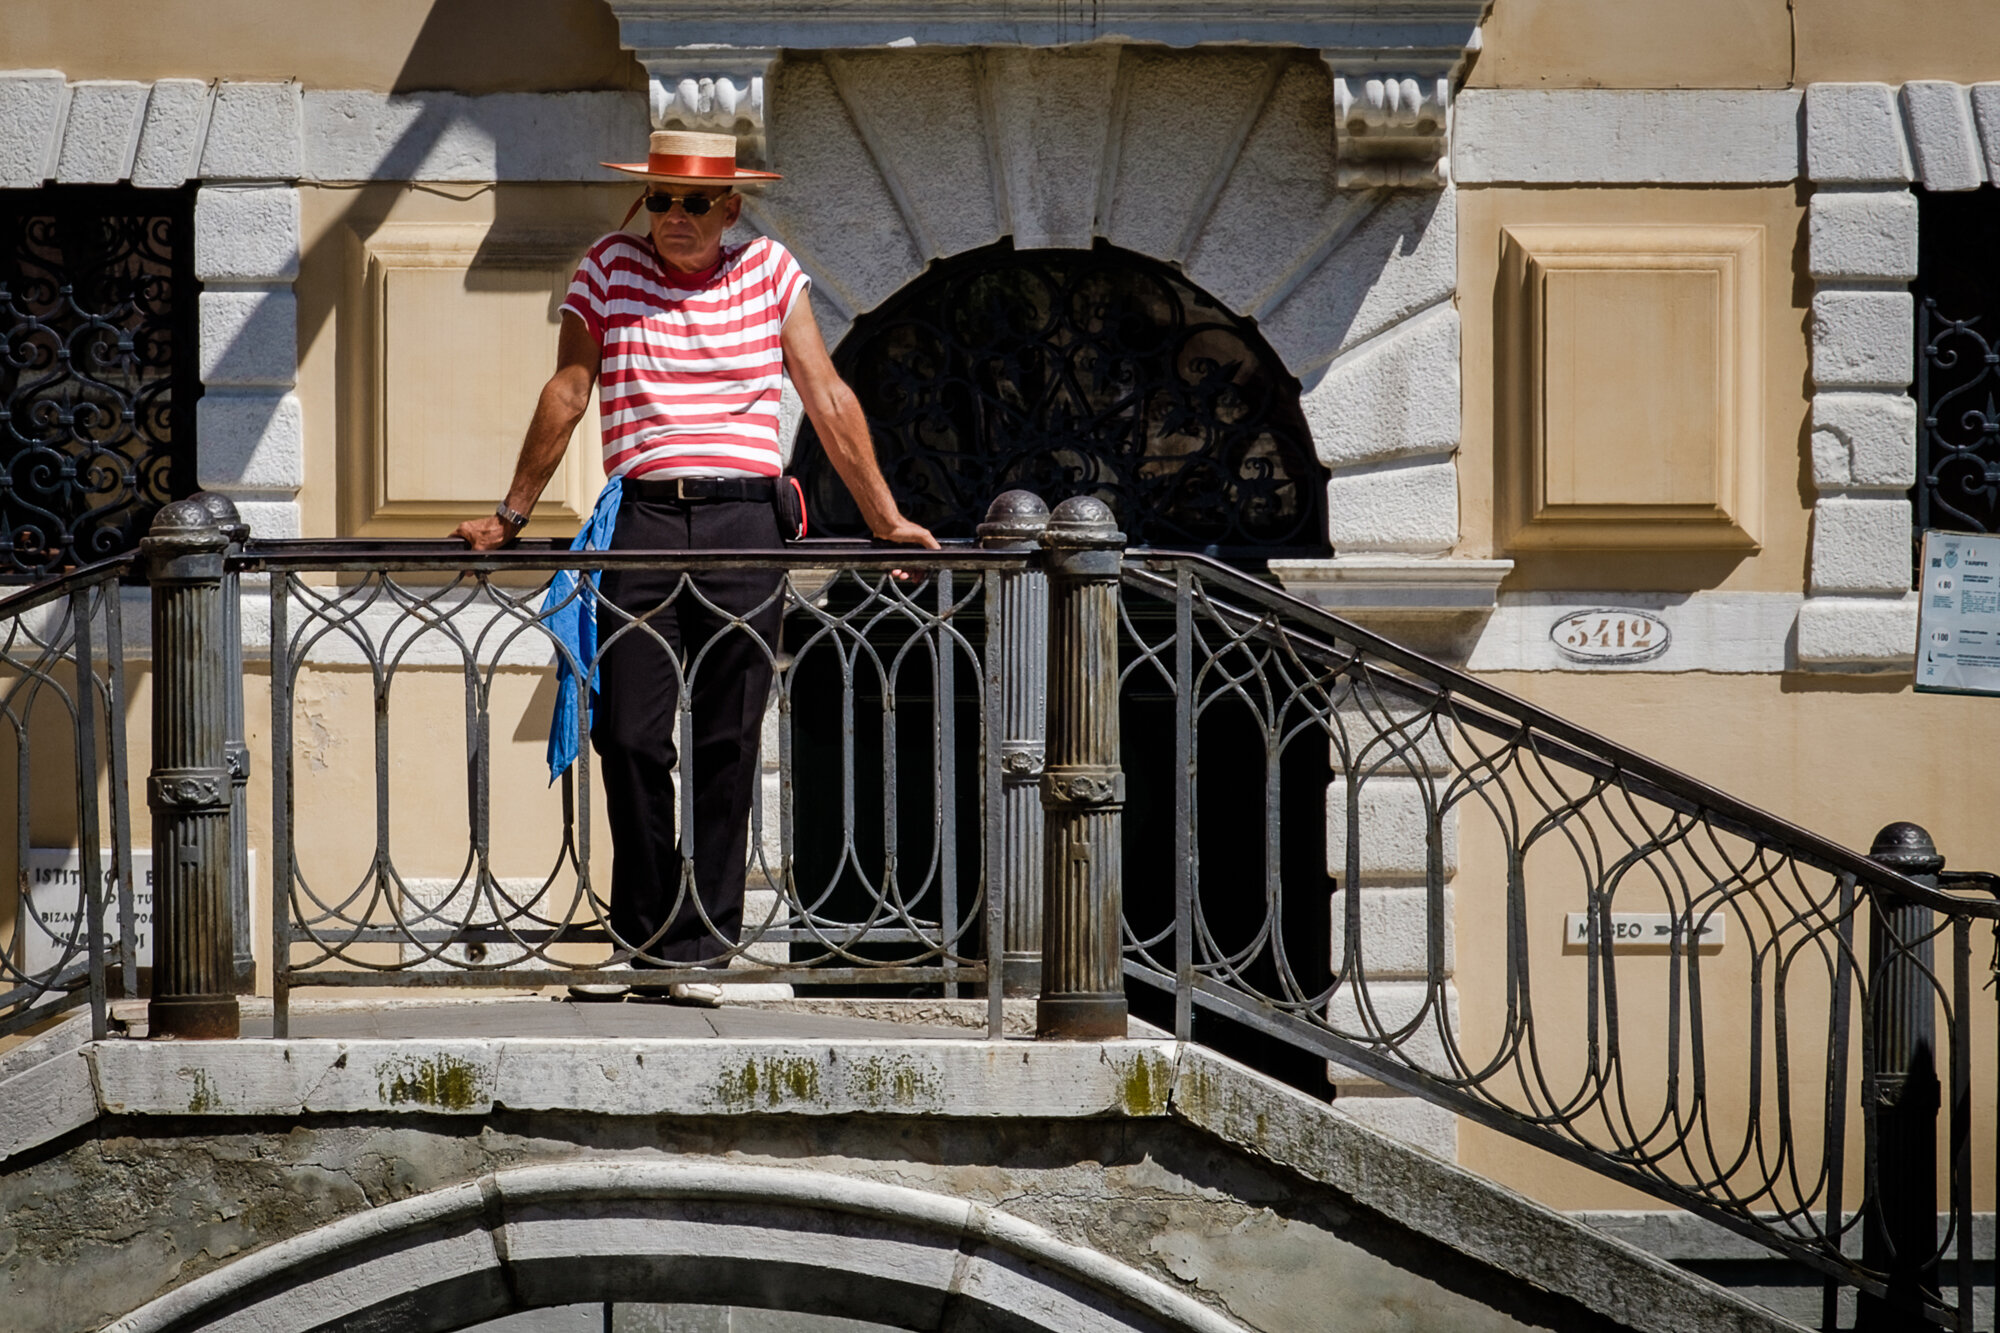
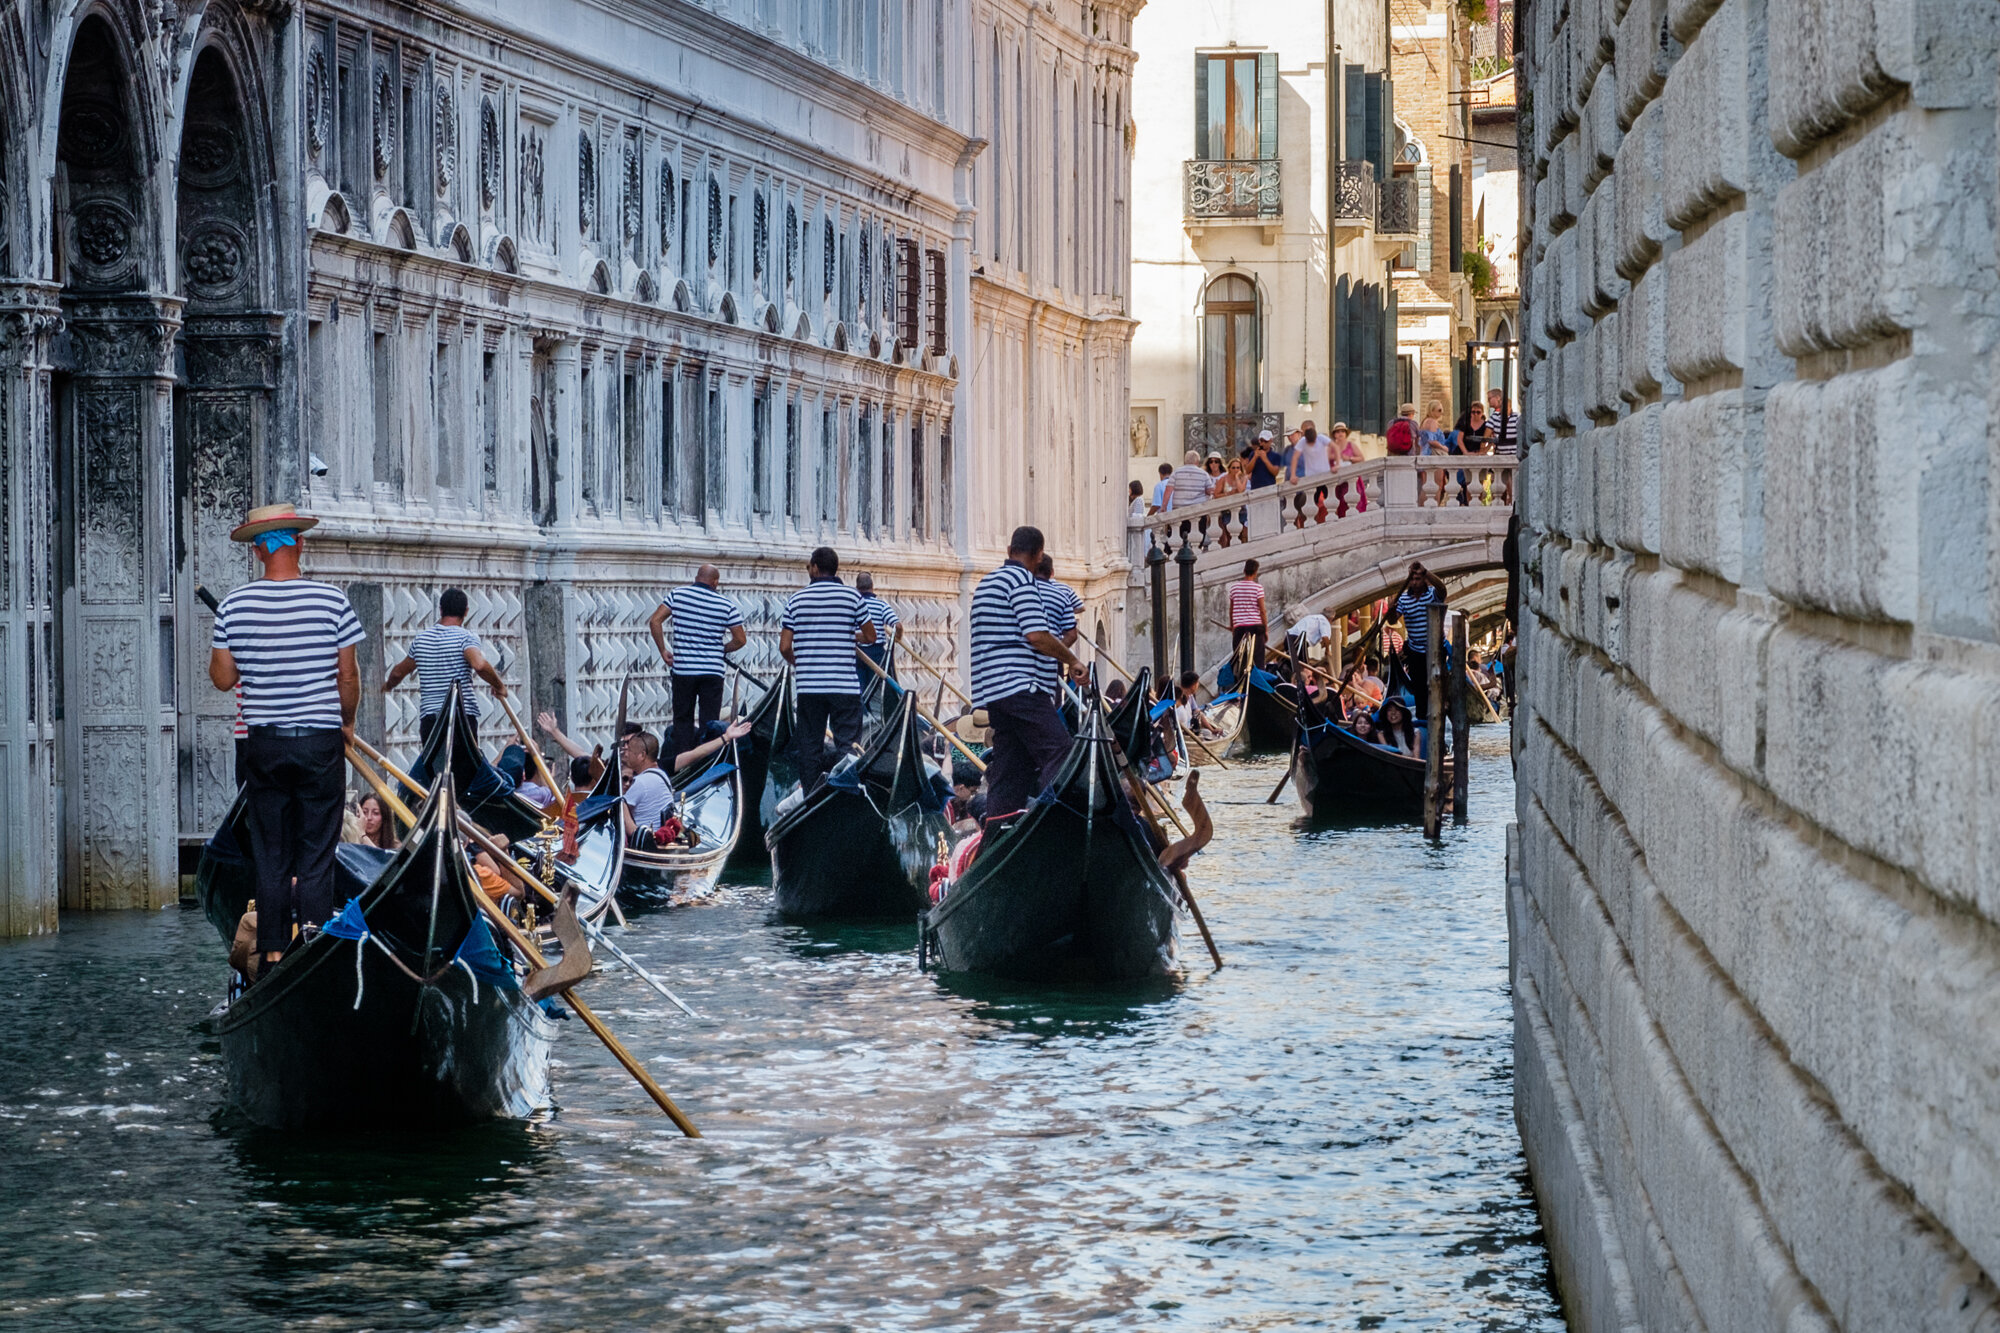
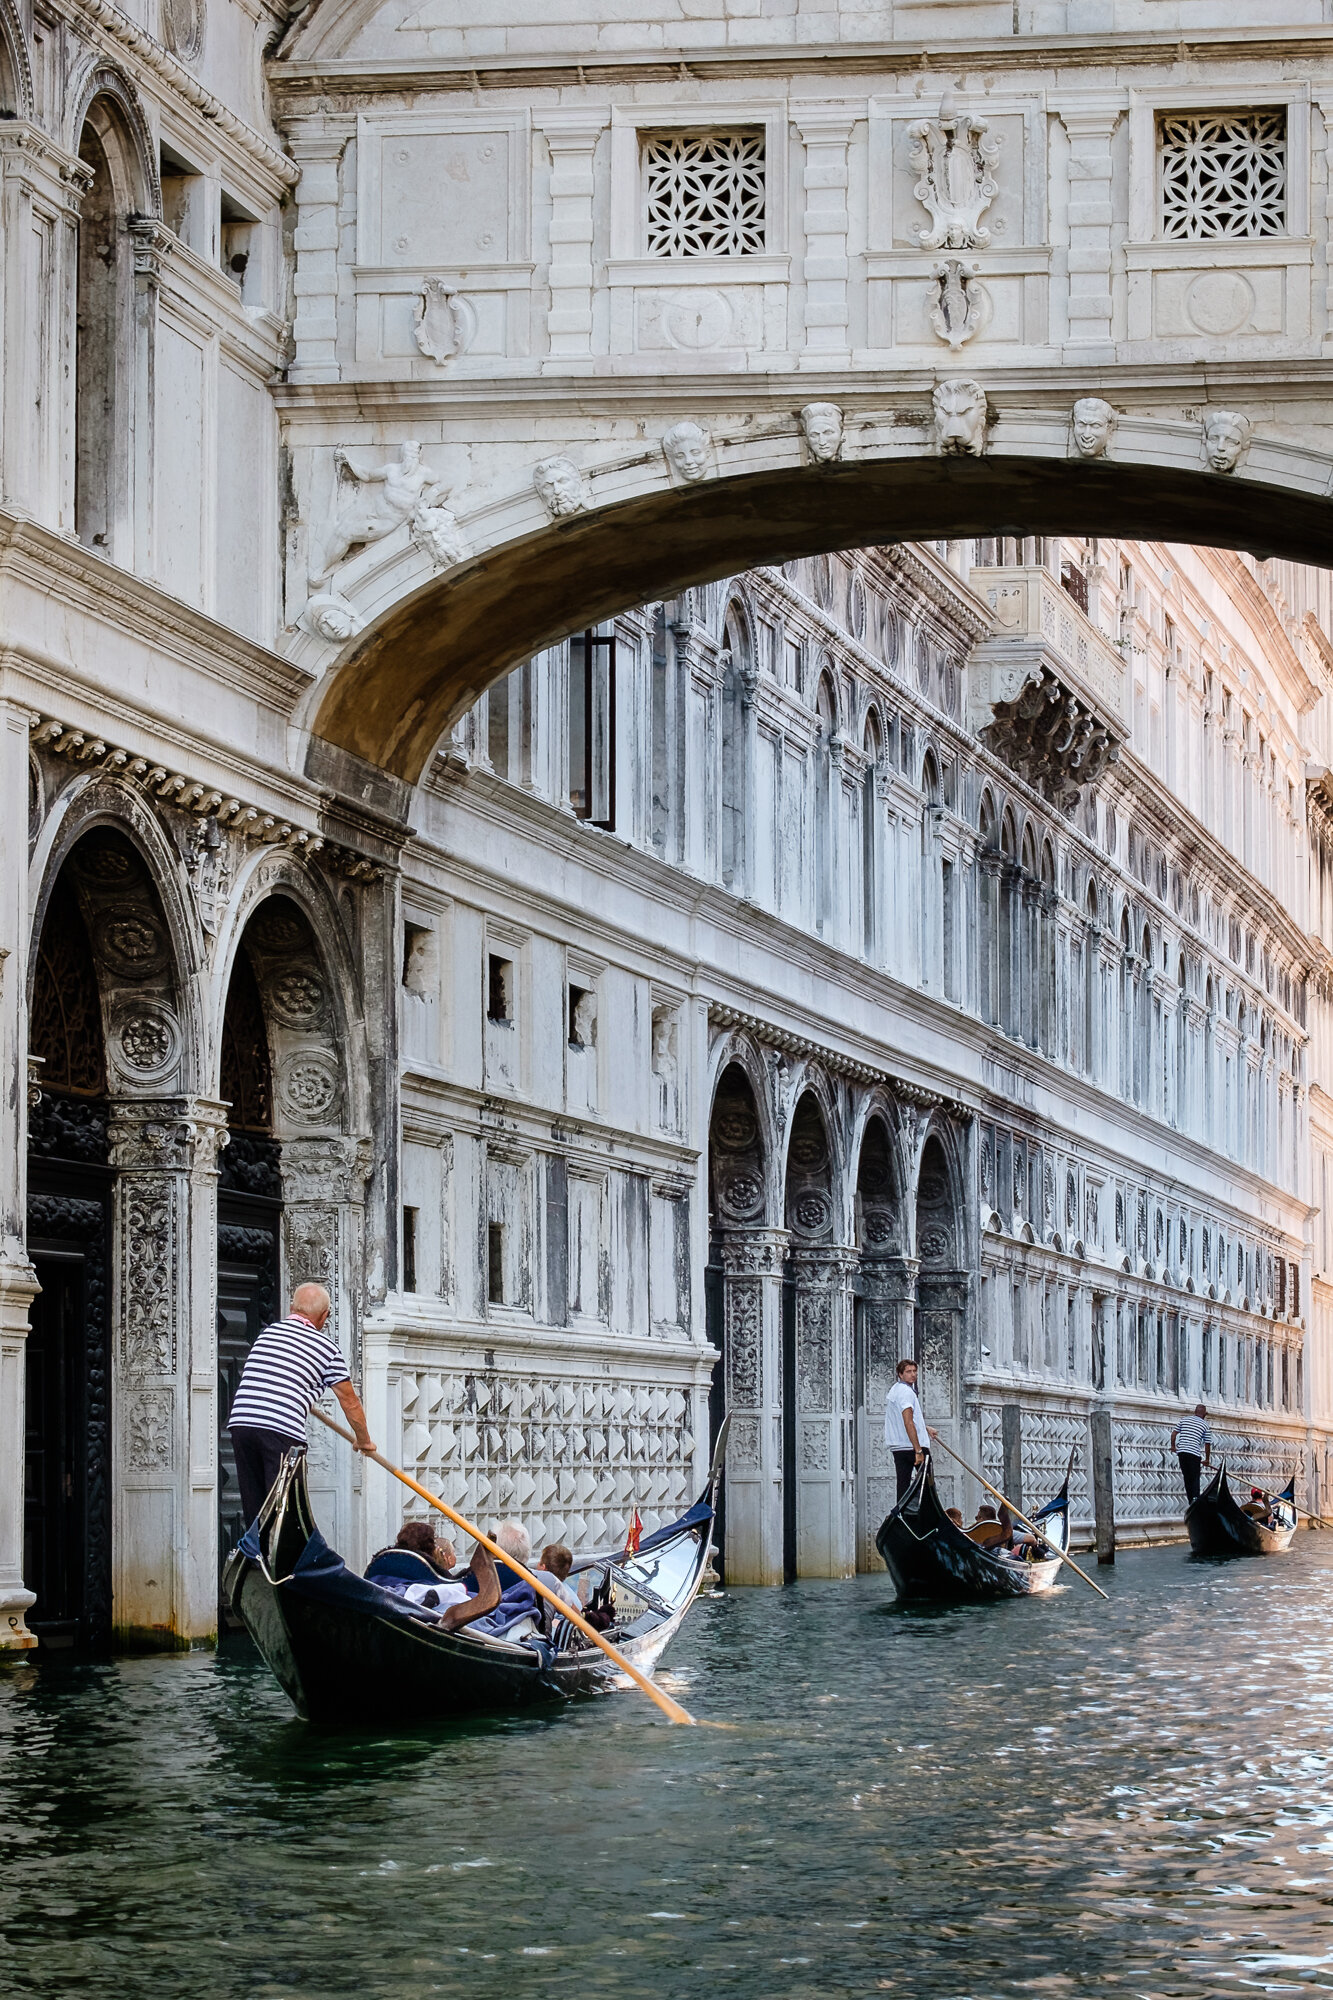
Venetian Tranquility
As covered in my post titled “My top 6 photos of Venice” I set out early one morning before sunrise and before most of the other people on the island had woken up.
There is nothing quite like experiencing a city that is normally a hive of activity and having it almost entirely to yourself.
During this early morning session, I captured the sunrise over the Grand Canal, some long exposure photos and the obligatory Venetian gondolas bobbing in the water.
Photographing Venice at this time of day is like capturing a filmset where the architecture truly is the star of the show.
THE FINISHING TOUCH
There is nothing quite like seeing your final work in the printed form. There is something special and quite satisfying about being able to touch and hold a printed copy of your work. So as a part of this project I will be finishing up by printing my work in two different forms.
I have chosen 3 images that fit together to hang on my studio wall. I have printed these on my Canon Pro-10s printer as shown in the photo to the right, mounted and framed the images.
I chose these three images in particular as not only are they photos of what I think shows off the beautiful city but they also fit well together visually. All three were taking around the same time in the early morning and each has strong blues from the sky and warm oranges from the rising sun.
While preparing the images for printing, I upped the vibrance, added a little sharpening and brightened the images by around a stop of light.
With the photos printed, I purchased 3 frames with mounts in the same style as my other prints on the studio wall and hung them as shown below. I am really pleased how these turned out.
So, to finish off, I wanted to print the entire collection of photos shown on this page. I decided to go for a photo book as it is a great way to print many images and will make a fantastic addition to my bookshelf.
I considered very carefully what type of book I wanted to make. There are so many options but I had one significant concern. I have printed my fair share of photo books for my private images and family photos and I always find the image quality hit and miss and I really wanted the images in this book to look their best.
After some extensive research, I settled on using Whitewall. Although I couldn’t be 100% sure the images would look super high quality as I had never brought anything from them before, I had already reviewed their products at the 2018 Photography Show and remembered how impressed I was with their approach to printing and the quality of the works they had on display.
One other thing that convinced me to print the book using Whitewall was that they allowed me ultimate design control by being able to upload a finished PDF of the book which I could design in Photoshop. I had to keep to pretty strict sizing dimensions but once I created the template, off I went.
The final book was printed with the following options:
20x20cm
Hardback cover with soft touch matt finish
Premium Silk Matt (250g) pages
To say I am happy with the finished book is an understatement. Both the book and image quality are great and it is something I will be doing more of in the future.


