BLOG ARCHIVE
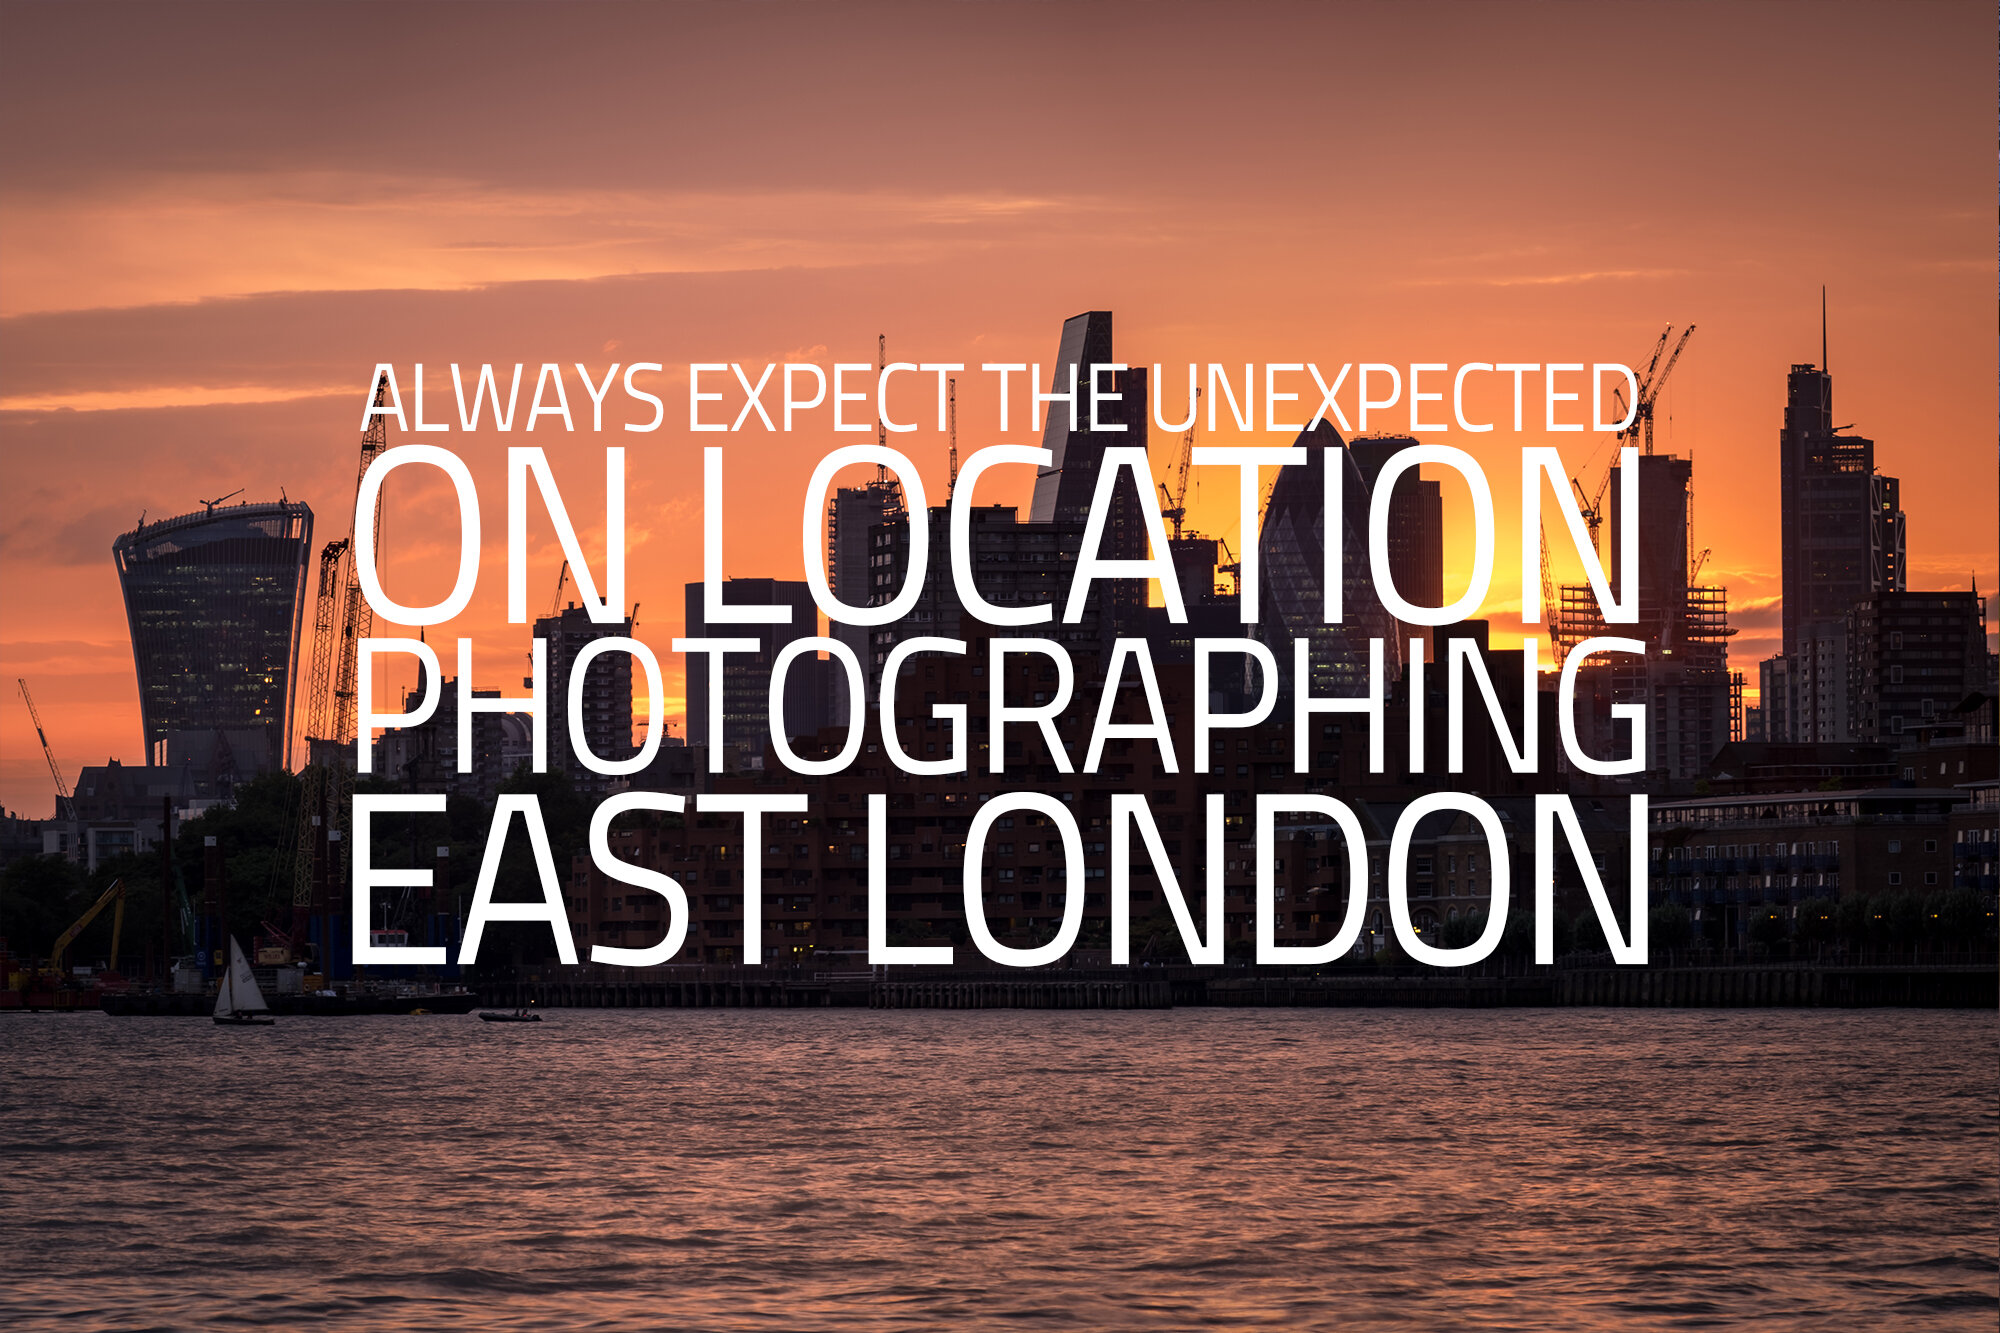
Always Expect the Unexpected: On Location Photographing East London
I ventured out to photograph the City of London with my new Fujifilm XF55-200 lens on a dull, dreary day. I did not expect to see any light. Boy was I mistaken. I certainly learned the lesson to always expect the unexpected
I had a couple of hours to kill a few evenings ago so I decided to have a wander around the Isle of Dogs in East London, home to Canary Wharf, one of the two major financial districts of London. See my previous blog to read about a previous outing which ended with some cool pictures of Canary Wharf from the Blackwall Basin.
I wanted to try out my recent purchase of the XF55-200mm Fuji lens. It has been a long time since I had a longer lens and I brought it for a couple of reasons. First is I plan to try more isolated or even abstract shots of London. I also wanted to try some more distance shooting, taking advantage of lens compression which is essentially the phenomenon of background elements appearing larger than they actually are at longer focal lengths (when zoomed in). This technique, when used correctly, it can help create some fantastic images.
One view I wanted to check out was of the skyscrapers in the other major, more central financial district in the City of London. It was a particularly overcast day and with this in mind, I thought it might end up being a scouting trip so at least I would know the best spot to return to in better conditions.
So, from Canary Wharf tube station, off I went to find the best view. I walked north-west along the river and found the spot with the best view of the City of London. I wanted to find a view that would have the financial district on the north of the river and The Shard on the south.
After a 20-minute walk, I found the spot. I remember thinking to myself that the view on this particular evening was a bit "meh" as the sky was dull, without any real drama and the moisture in the air meant the buildings from this far back (2.3 miles) lacked a bit of clarity but I knew this would be a great spot for another day with the air clearer and more drama in the sky. With the sunrise location behind me, the scene would also look great all lit up by the rising sun. Mental note taken.
I hung around, with the camera, trying out a few compositions on the iPhone and after a few minutes, I noticed the clouds breaking a little near the horizon and a little colour sneaking through. Within 5 minutes, the sky lit up with a beautiful orange glow. It really was quite something.
As the colour appeared I quickly set up my tripod and took a few shots on my Fuji X-T10 while the colour blasted across the sky. The dynamic range was pretty high so I popped on a Formatt-Hitech 3 stop ND soft graduated filter to tone down the light in the sky just a bit which enabled me to pull a little more detail out of the buildings.
Fujifilm X-T10 | XF55-200mm | 164mm | 1/6th Sec | f/6.4 | ISO200
Fujifilm X-T10 | XF55-200mm | 105mm | 1.4 Secs | f/18 | ISO200
Before I packed up and as the light was fading, I took a panoramic image of the view to show the entire scene in one frame. The image below is made of 10 separate images taken in a portrait orientation stitched together in photoshop. The resulting image is pretty huge I can tell you.
Fujifilm X-T10 | XF55-200mm | 164mm | 1/5th Sec | f/6.4 | ISO200
So, what did I learn on this particular evening? Well, I really didn't predict that the dull, dreary scene would produce such great light for the few minutes it did as the sunset. So, the lesson here is to never quite before it is really over and always expect the unexpected. If I had arrived at the location an hour earlier, I may have left before the sun had set and I would have missed it all together. Sometimes you just get lucky.
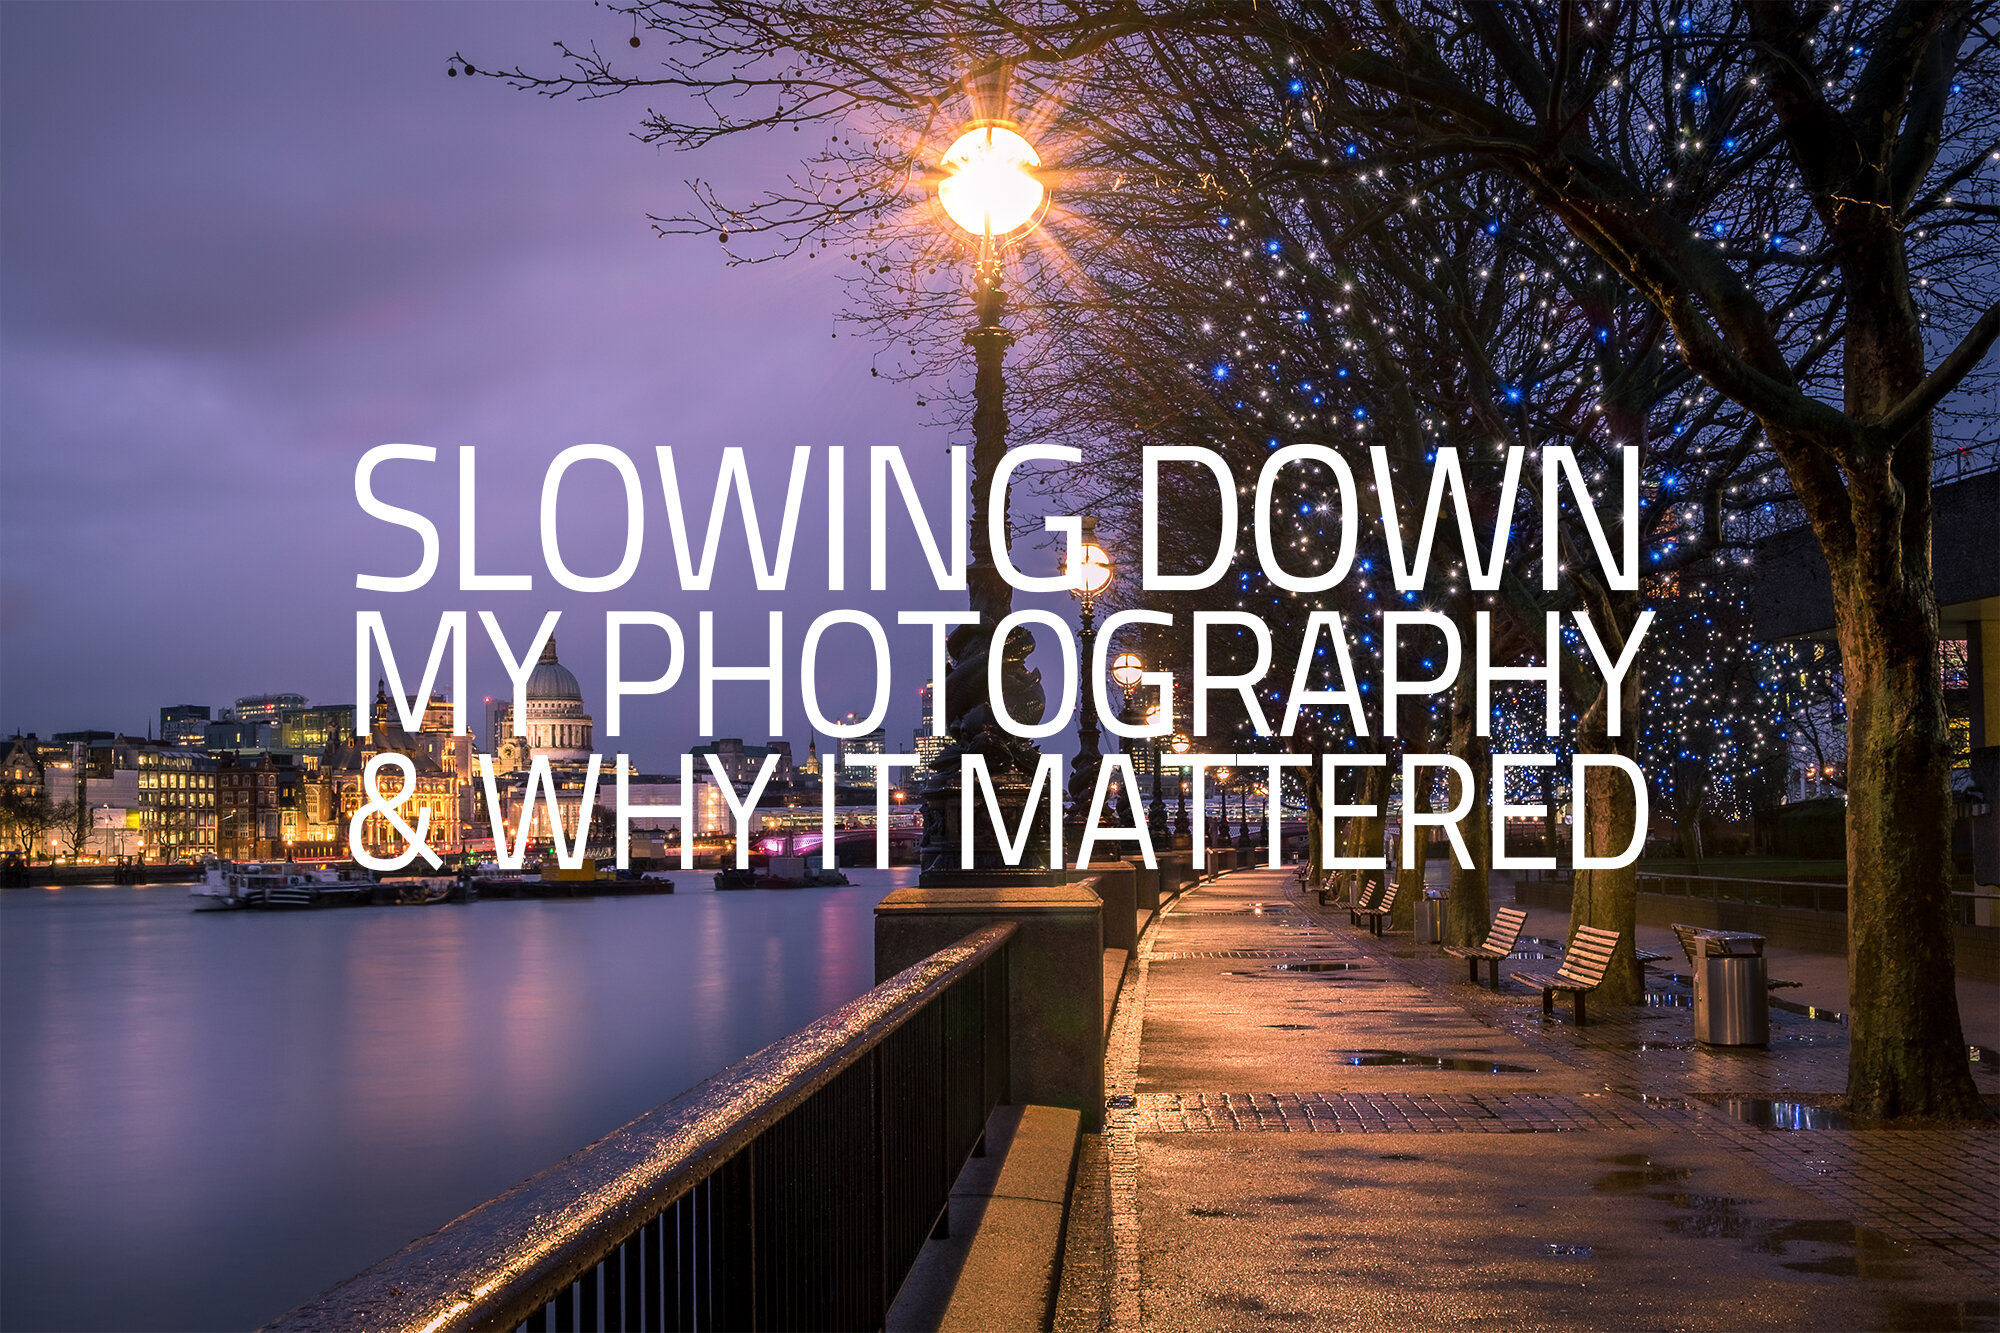
Slowing Down My Photography And Why It Mattered
See how slowing down the three stages of my photography process has contributed hugely with helping me become a better landscape photographer.
When I first started to take photos in London (or pretty much anywhere), it would be a rather fast, disorganised ordeal from clicking away, taking hundreds of images around the city, to then getting back home, wading through and editing the images. I had no real plan or agenda when I would head out, there was no pre-meditated intention other than being there with my camera and the results certainly showed. I would occasionally take an "ok" photo but rarely would I take a photo I really liked such as the one below, taken more recently, which I would be happy to hang on my wall.
Fujifilm X-T10 | XF18-55mm | 26mm | 14 Secs | f/18 | ISO200
At the same time, all this was going on, I wasn't giving the right attention to the images I was taking. Nowadays I know I have a "keeper' the minute the shot is taken and I will be excited to get home and produce the final result. Way back when, I might not have even remembered the shots I'd taken and it wouldn't be until I viewed the images later that I would know if I had captured anything noteworthy.
Fast forward over ten years to today, and my photography is much calmer and deliberate. The photos I take are now more considered, pre-visualised and in nearly all cases, intentional.
Read on to see how slowing down the three stages of my photography process has contributed hugely to helping me become a better landscape photographer.
Stage 1: Planning the shoot
Before I head out to take photos, in most cases I will know exactly where I am headed and how long I need to get there. This might be because of previous scouting I've done or have used online tools such as Google Maps and other photography sites for inspiration such as 500px and Flickr.
Once I know the subject I intend to shoot I will check the right time to shoot with Suncalc.net. SunCalc will tell me what time the sun will rise and set on any given day as well as the angle of the sun at any time so I always know the best time of day or even time of year to capture the subject in great light. I will also use apps to check the weather such as MeteoEarth which will show me the expected cloud cover, wind direction or if rain is expected. Although with the famous English weather there are never any guarantees, with these tools I am able to increase the chances of coming away with a great shot of my chosen subject.
The important point to all of this planning is that if all goes to plan, I won't be rushing to get to a location and fumbling around trying to figure out a composition while missing the best light. The shoot should be calmer and more controlled allowing me to focus on taking the shot.
Stage 2: Taking the shot
It pays to find tools to help slow down your photography. One of the first tools I started to use was the trusty tripod. Tripods are a must for landscape/cityscape photography and having my camera attached to one of these automatically slows the picture taking process down as there is always an element of set-up to be done, adjusting the height, levelling the tripod head and so on.
In addition to the tripod, filters also help me slow down the process quite a bit, especially as I use a filter holder system which takes a little more setting up than the screw in kind. I use the system made by Formatt Hitech which I have found to be great to use with really high-quality filters. Popular amongst us landscape photographers, filters can be used to help balance the light in a scene or reduce the light for long exposure photography.
It is important to note that these tools can slow you down, but should not hinder you while in the field. Sometimes you need to act fast and being familiar with your tripod and filters can be the difference between catching a stunning shot with the best light or an average shot when the best light has disappeared. Having slowed down the process of capturing images, it allows me the time to focus on getting the right composition, the right light, removing distractions around the frame. Essentially getting as much of the finished image in camera as possible.
Stage 3: Post Processing the image
When I started to slow the process of taking photos down, one of the results was I now have far fewer images to process after the shoot. This is a good thing. I use Adobe Lightroom to for almost all of my processing but I rarely use presets so I edit from scratch for each image. Check out a recent post when I edited the Sunset at the South Bank image shown below.
With fewer images to edit and getting more right in camera, I spend less time overall editing photos. Don't get me wrong, I actually enjoy editing images, but I just don't have the time or patience to process through hundreds of them for each shoot.
Fujifilm X-T10 | XF18-55mm | 25mm | 58 Secs | f/11 | ISO200
So, there you have it, slowing things down allows me to head out to capture my chosen subject in good time, focus on the important things such as light and composition while capturing the shot and saves me time in the post-processing stage. All of these combined have resulted in my photography taking a huge leap forward from where it was before and I recommend it to anyone who might be looking for a way to progress further along their own photography journey.
6 Reasons to Photograph Close to Home
What may look familiar or even mundane to you may well look exotic to others. Here are 6 top reasons why you should spend more time exploring your local area and photograph around your home.
The romance and adventure of travel photography is the dream of many photographers. Travelling to far away places, recording the scenes and stories of the different landscapes or cultures will no doubt inspire, especially when visiting for the first time. Unfortunately, regularly experiencing travel photography is only feasible for some so in this post we will explore the benefits of the more accessible local photography. The familiar or even mundane may not immediately inspire those photographic juices in quite the same way as the new or glamorous locations we all see on social media, but remember, what's normal or mundane to you might well look exotic to those living in other parts of the world, you may just need to work a little harder to see past the familiar and find those subjects that inspire you. This post will run through 6 of the benefits I feel when photographing my local area.
One important point to note from the get-go is that it really doesn't matter what photography style you prefer, any photography enthusiast can read this post and use some, if not all of the information below.
What is local photography?
Let's face it, anywhere you might travel to away from home could technically be classed as travel photography so there is no single rule that determines what location would be classed as local. In the Australian outback, your next door neighbour could be tens of miles away making your local community larger than some small countries, where in New York City, you might consider just a few blocks to be local. There is, of course, no right or wrong answer here so decide what's best for you.
My take on it is that anywhere I can travel to within 35-40 minutes in the car is local. The surrounding towns, villages or countryside within this time are familiar and I know the area quite well.
So lets jump into my 6 reasons to photograph close to home.
Fujifilm X-T10 | XF10-24mm | 15mm | 30 Secs | f/16 | ISO200
The image above is called "End of the West Pier" and was taken in Brighton, East Sussex, UK and is on the limit of what I call "local" with it being a 40-minute drive from my home. This structure was called the West Pier and has suffered fire and storms since closing and just some of the metal structure remains. With the silhouette set against a simple backdrop, the detail in the structure really stands out so for this image only a long exposure would do.
#1 Removes a lot of the pressure
The thing about visiting somewhere new and for a limited time is that you may feel the pressure to capture that portfolio shot during your one and only visit. I know I certainly have. I've visited New York, Paris, Prague and so on and as these locations are exotic to me and have cityscapes and structures recognisable across the world, I could not help myself and attempted to capture the classic shots during my stay. Most of the photos I took were holiday snaps at best and rarely did I get a great shot. The thing is, unless you get really lucky, getting the best shots sometimes means visiting a location time and time again before all the elements come together such as weather, light, timing and so on. When shooting locally, this pressure to get it right on your first attempt is instantly removed as you don't have to get that shot and you can visit again and again until those elements come together for the shot you are trying to capture.
#2 You can find some hidden gems
This point is related somewhat to point one above. When you have the opportunity to visit a location multiple times (removing the pressure) and the portfolio shot is in the bag then the real exploring can begin. You start to see the hidden compositions and capture shots that you may not have seen before, documenting the location in new and innovative ways.
The shot below was taken at a place called Colley Hill in Surrey, UK. and was actually close to where I grew up. Now it is around a 20-minute drive from where I live. It took a number of visits to capture the shot I wanted of the moment the sun created this starburst effect as it dropped behind the hills. Capturing this image did not mean I stopped visiting. Since then I have started to explore the area further, trying to isolate subjects in the area and capture new compositions.
Fujifilm X-T10 | XF10-24mm | 10mm | 1/13th Sec | f/14 | ISO200
#3 It takes up less time
Let's face it, most of us who do not practice photography full time can only dedicate so much time to the craft and the further we travel, the less time we have available for actually taking pictures. Staying local means less travel and more photography. This means I don't have to dedicate an entire day or afternoon to a shoot. I will regularly pop out an hour or so before sunset and still be at the location with 45 minutes to scout the locations and set my shot up.
The benefit of not having to dedicate long periods to a shoot is that it makes the decision to go out a lot easier and I find that I get out more often. The positive side effect (aside from the fact that I am out with my camera, doing what I love) is that I am using my equipment more often. This helps me build up more equipment experience and muscle memory that allow me to focus more on the image and less on using my camera.
#4 You can have a lighter bag
When I travel, I have to think hard about what I take with me. The thought of missing that portfolio shot as I don't have the right equipment normally means I pack as much as I can sensibly carry. Local photography means there are a couple of alternatives to this approach. First, if on foot, how about just taking a camera and one or two lenses. With the pressure reduced and opportunities to return I can take less equipment with me which not only lightens the load but has the added benefit of allowing me to occasionally restrict myself to just the one lens during a shoot. It is widely known in the photography world that creating artificial restrictions can help a lot with the creative process as you learn to overcome these restrictions with different compositions or take images you might not have seen using another lens. Alternatively, shooting local for me usually means I have my car nearby so without fully committing to taking just the one lens I can leave some of my gear in the car, so it is nearby at least.
Fujifilm X-T10 | XF10-24mm | 10mm | 0.9 Secs | f/10 | ISO200
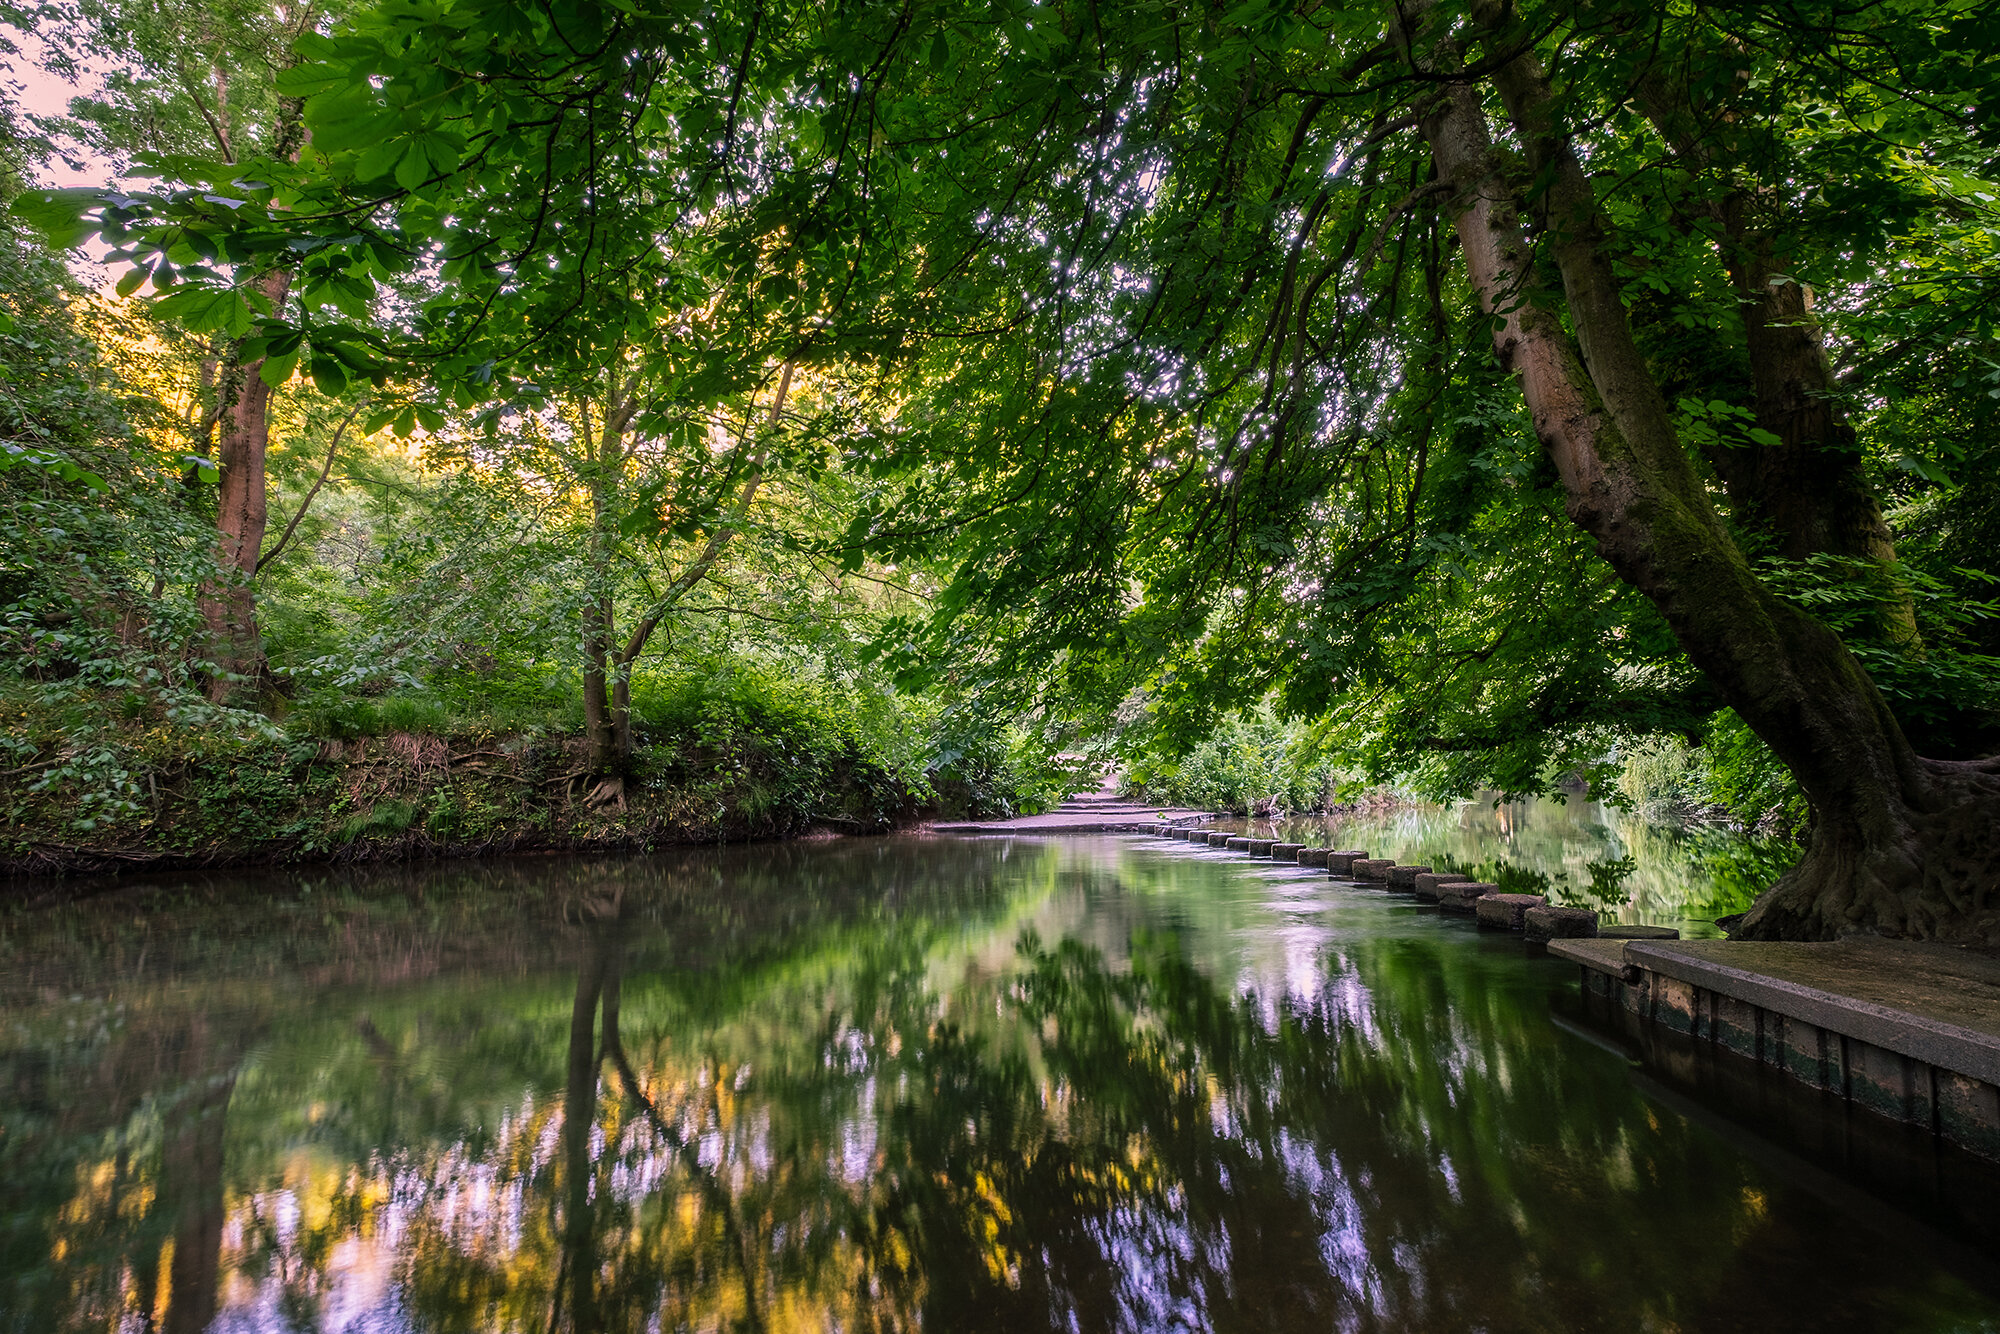
Taken on an early summer's evening, the shot above is about 25 minutes in the car from my home. This river runs along the base of Box Hill and these stepping stones cross the River Mole.
#5 You can explore and exploit your local area
There is something I enjoy about finding new places that I didn't know existed close to where I live. Although close to London, my immediate area isn't particularly well documented photographically so that leaves plenty of places to go and discover myself.
Bonus benefit alert! For those looking to make a bit of money from their photography, exploring and taking images of your local area can actually generate a revenue stream. You can look to attend local art and craft fares and sell mounted prints to local residents or sell images to small businesses such as coffee shops and cafes.
#6 It just gets you out there with the camera
Yes, this one seems a bit obvious but as mentioned previously, shooting locally can often mean less travel planning, logistics and time so with hurdles removed, getting out with the camera should come easier an as such something that can be done more often. Having a good hike around the area has it's obvious health benefits as it can get the heart beating and the blood flowing. The health benefits of anything you enjoy doing should be exploited wherever possible.
The picture below was taken only a few minutes from my home. It's just a tree in a field I drive past all the time. It was winter and I was drawn to the strong shape created by the bare tree on the horizon so one evening I just popped out, parked just behind where this image was shot from and spent 30-45 minutes taking the photo and headed back home.
Fujifilm X-T10 | XF18-55mm | 36mm | 1/30th Sec | f/7.1 | ISO200
There are, without doubt, more reasons or benefits to photographing your local area than the six I listed above but these were some of the benefits I think about and are important to me which really help with the motivation, let's face it, we all need some time to get out there and take photos.
Editing Sunset at the South Bank
Join me as I walk you through how I edited one of my favourite photos of 2017, Sunset at the South Bank. Starting with the RAW file and taking you all the way to the final image.
This post is not to open that can of worms amongst photographers about how much editing is too much editing. Everyone will have a different opinion and is why art is so subjective and this is a good thing and to be celebrated. It is clear, there is no right or wrong answer but I think it's apparent where I stand on the subject based on the images I produce but in case you were wondering, this is my take on it. I will edit my photos unapologetically but within limits I impose on myself to stay true to the scene I captured such as working with the shot that was taken and not substituting the sky or removing permanent objects that will significantly alter the scene I saw while on location. I will remove the occasional distracting temporary object such as cranes in a cityscape or a bird in the wrong place etc but this is on an image by image basis. I do blend images when required and the dynamic range is just too big for the camera to work with but anything I blend in was captured at that time and place and not somewhere else.
So now you know my values as a photographer, let me show you the journey of the Sunset at the South Bank image shown below, from the Fuji RAW file to the final image showing some of the steps the image took along the way.
Fujifilm X-T10 | XF18-55mm | 23mm | 58 Secs | f/11 | ISO200
I recently posted an "On Location" blog with the story behind this photo shoot in London which you can read here so I won't go into too much detail. Steps 1 to 5 below were performed in Adobe Lightroom and only the final sharpening step took place in Photoshop.
The raw image
So this is how the image started, taken straight out of the camera. As you can see, there is already a lot of reds and pinks in the sky and across the scene to exploit later in the final image.
A few settings for your information.
Camera: Fuji X-T10 with XF18-55mm lens
Exposure time: 58 seconds (10 stop natural density filter used)
Focal length: 23.3mm (zoom)
Aperture: F11 (the size of the hole that lets the light in)
ISO: 200 (lowest number, less light sensitive)
Step 1 - Levels and Vibrancy
In the image below, I have adjusted the levels (darks and lights) to help boost the image. Additionally I have added a touch of vibrancy to start exploiting those colours. I also slightly levelled the image.
Step 2 - Lights and Darks (Curves) and Vignette
In this image, i worked on the contrast of the shot, making the shadows a bit darker and lights a bit lighter which adds contrast and helps the image pop a bit more. Additionally, I added a bit of vignetting which I think helps frame the shot.
Step 3 - Graduated filter to boost the lower half
Next, I worked on boosting the water in the lower half of the image. I used a graduated filter and brightened up the water and added a touch of magenta to bring out the reflected colours from the sky.
Step 4 - Selecting lightening
Next, I did something I do to a lot of my images and is very subtle but very effective. It is a kind of dodge of burn technique. I will use a radial filter and selectively lighten areas to really make them pop in the image. In this image I added some more light and/or contrast to areas such as the South Bank river wall on the bottom right, the South Bank Centre to the left and the Festival Pier in the water. I also further lightened the water in the foreground.
Step 5 - Shadow colour and more selective lightening
In the penultimate image, I have added a subtle blue in the highlight and a touch of magenta in the shadows to really boost the colours in the image. I lightened areas of the water a bit more to help give it that smooth luxurious look.
Final Step - Sharpening and removing a few cranes
In the final image, I opened the image in Adobe Photoshop (all previous steps were in Adobe Lightroom). Beforehand, I had removed the default sharpening Lightroom applies and once in Photoshop, I used the high pass filter to apply some selective sharpening to the image. Finally, I cloned out a few cranes from the top of the buildings in the distance and the image creation process was complete.
Fujifilm X-T10 | XF18-55mm | 23mm | 58 Secs | f/11 | ISO200
I hope you found that somewhat useful. As I mentioned at the beginning of the post, I don't try to hide the fact that the post-processing is equally as important to me as the taking of the shot as I want the final image to look how I envisaged in my minds eye when at the location behind the camera absorbing the scene in front of me.
On Location from Tate Modern to Waterloo
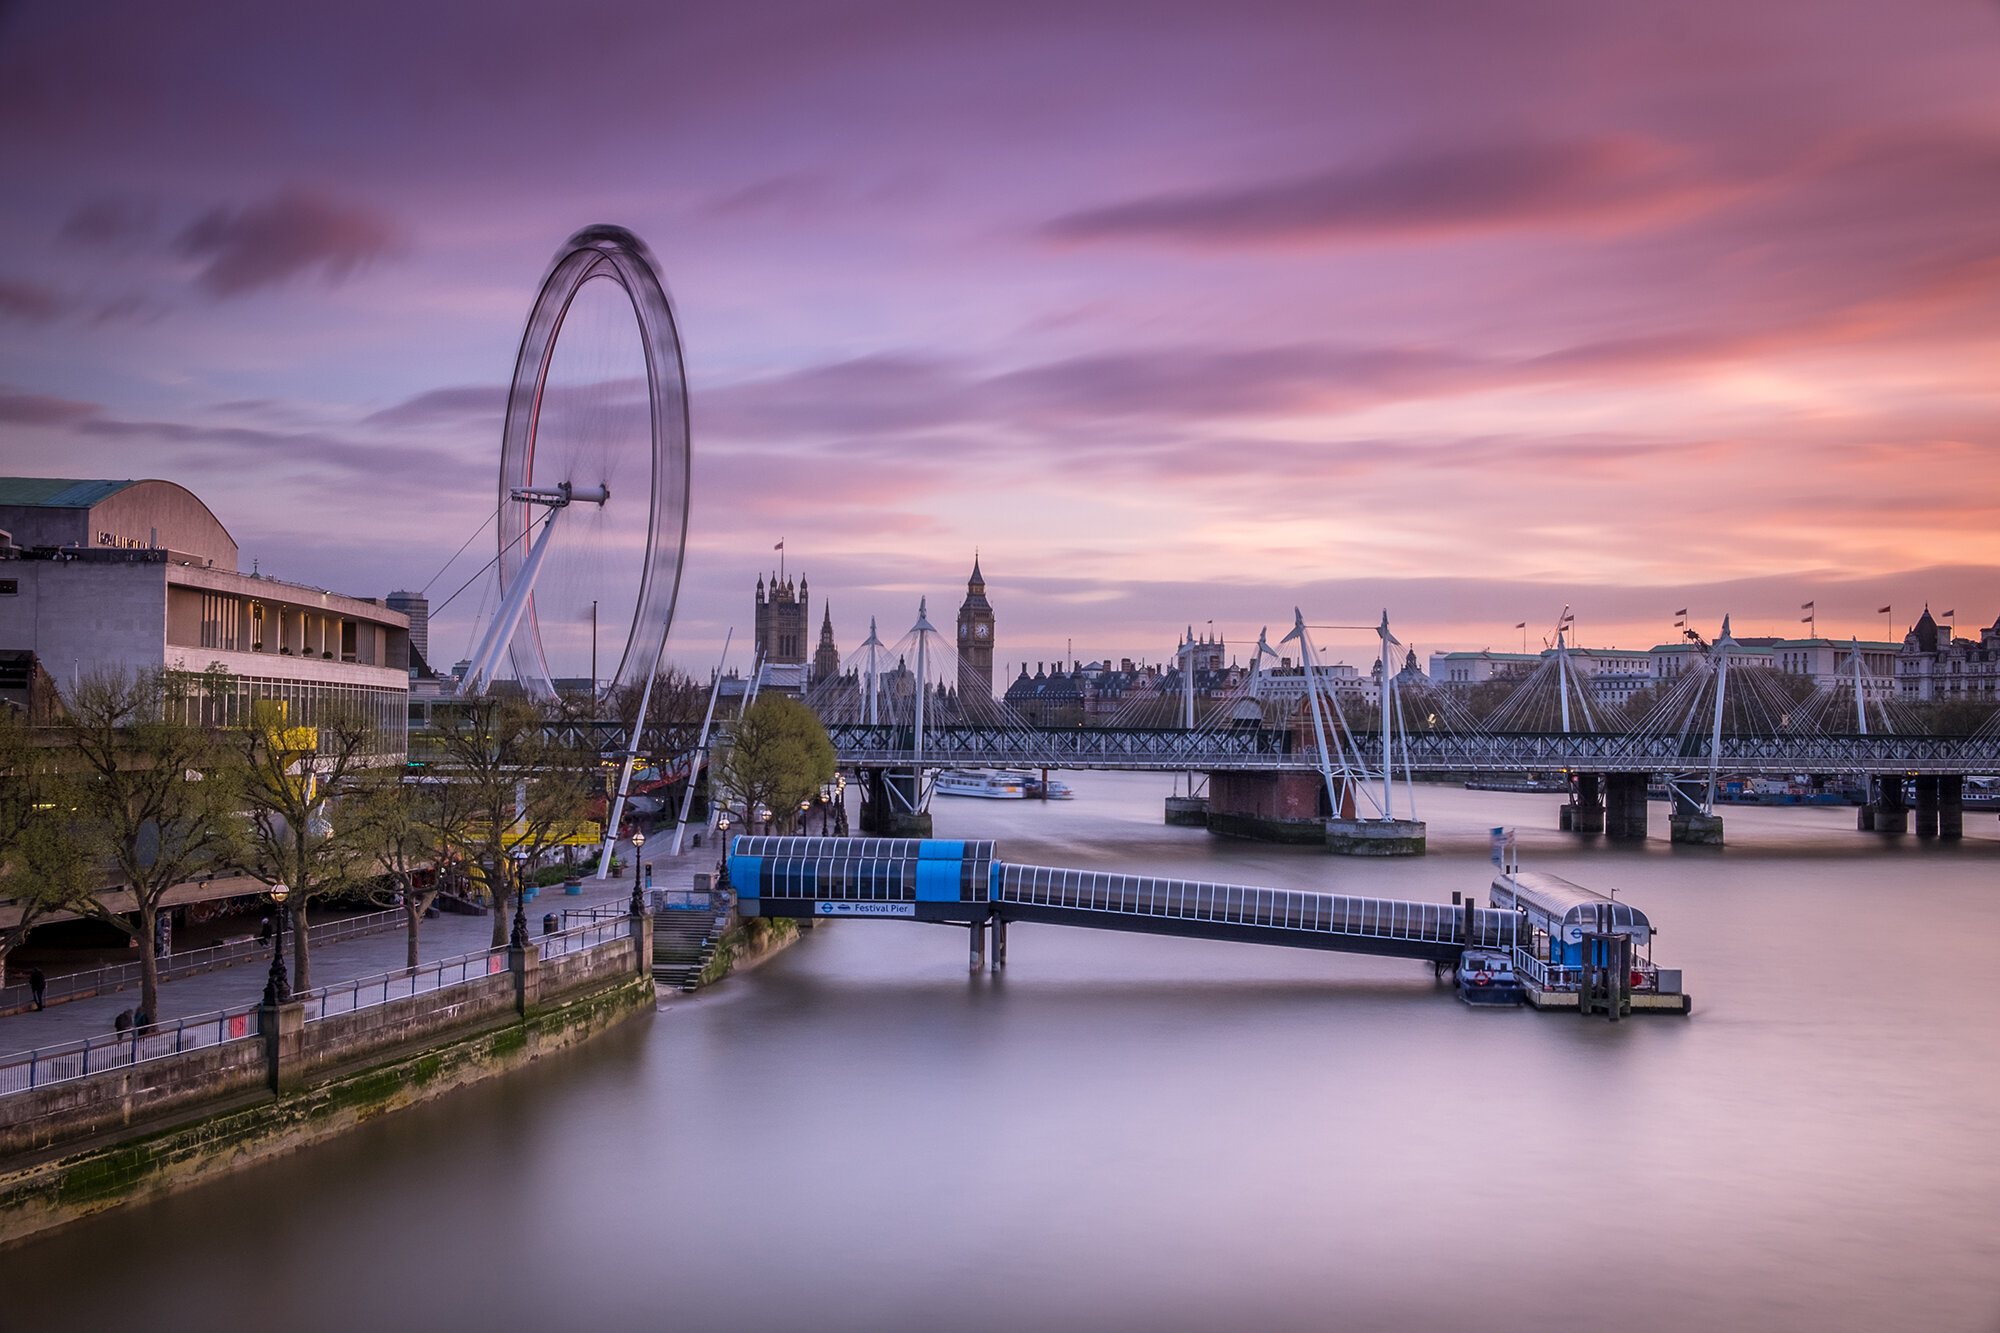
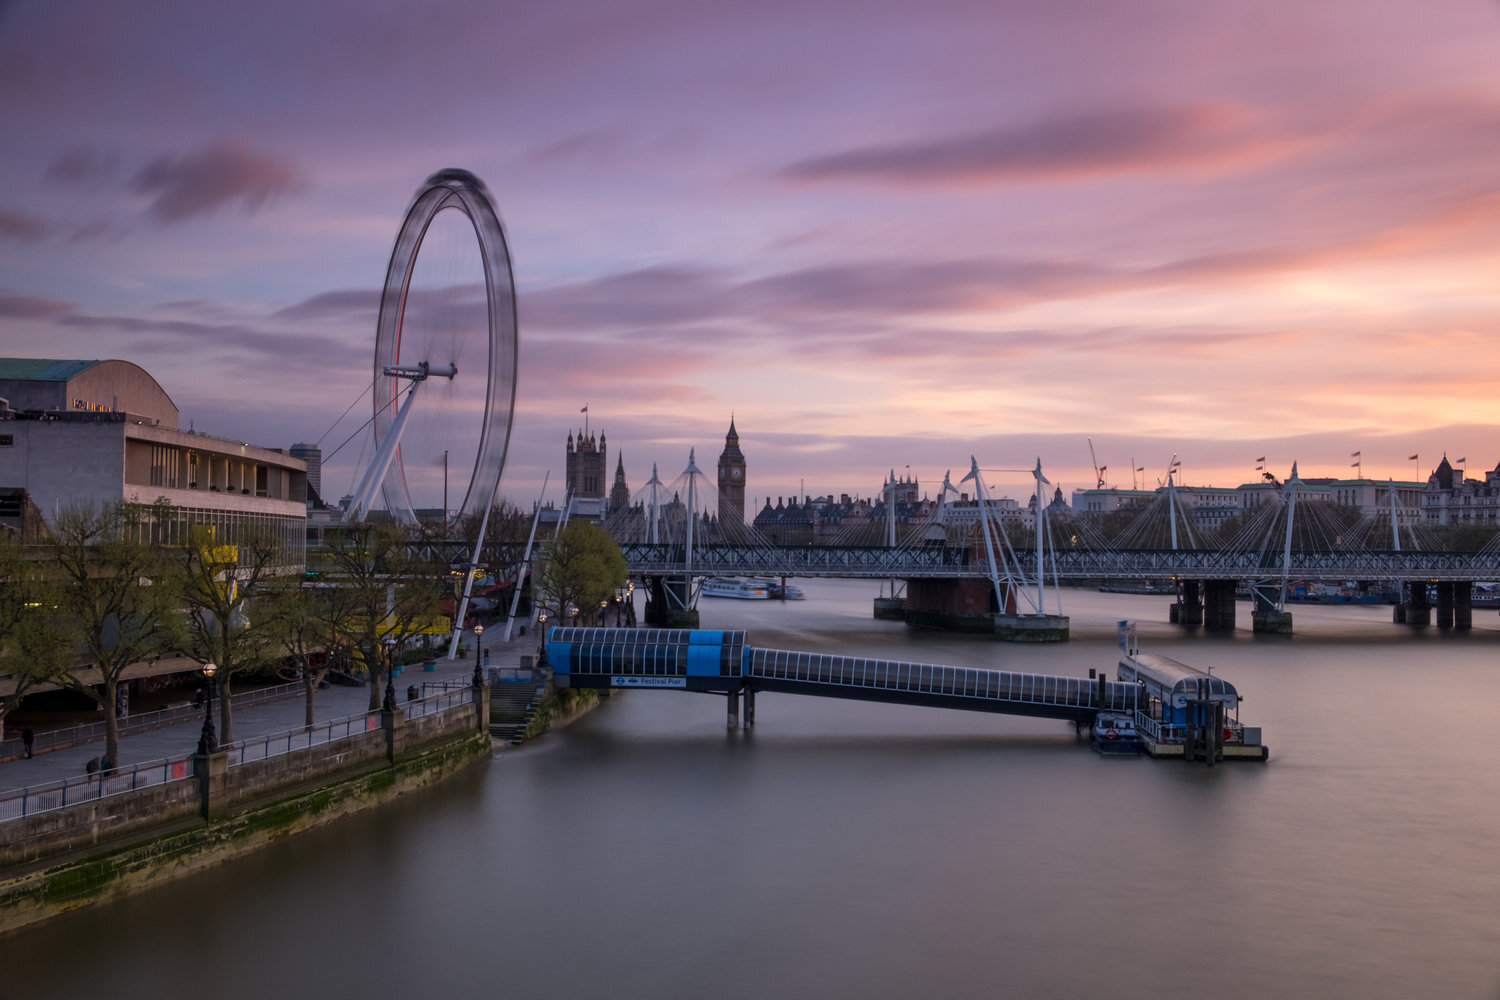
During this On Location session in London, I spent some time around Waterloo Bridge. I wanted to capture the classic scene looking south-east towards the London Eye during the sunset hour and I was not disappointed. Check out the post to read how I got on and see the images from this evening session.
I wanted to capture an image I have previously taken at night from the Waterloo Bridge looking towards the Hungerford Bridge and London Eye. You get so much in this composition such as Big Ben, the Golden Jubilee Bridges without the image being too cluttered. As you may already know from previous posts, it is important to me that the cityscape images I take, although will include plenty of structures, are not too messy and distracting. See more about long exposure composition here.
To help visualise the route I took, below are the three locations I stopped during the evening shoot.
Location 1: Blackfriars Bridge
A composition I have taken before. I had an hour or so to kill before heading to Waterloo Bridge so armed with my Fuji X-T10 camera I started close by on the Blackfriars Pier. Three popular landmarks for the price of one being Tate Modern, the Millennium Bridge and The Shard further back.
Fujifilm X-T10 | XF18-55mm | 18mm | 40 Secs | f/11 | ISO200
Location 2: Oxo Tower, South Bank
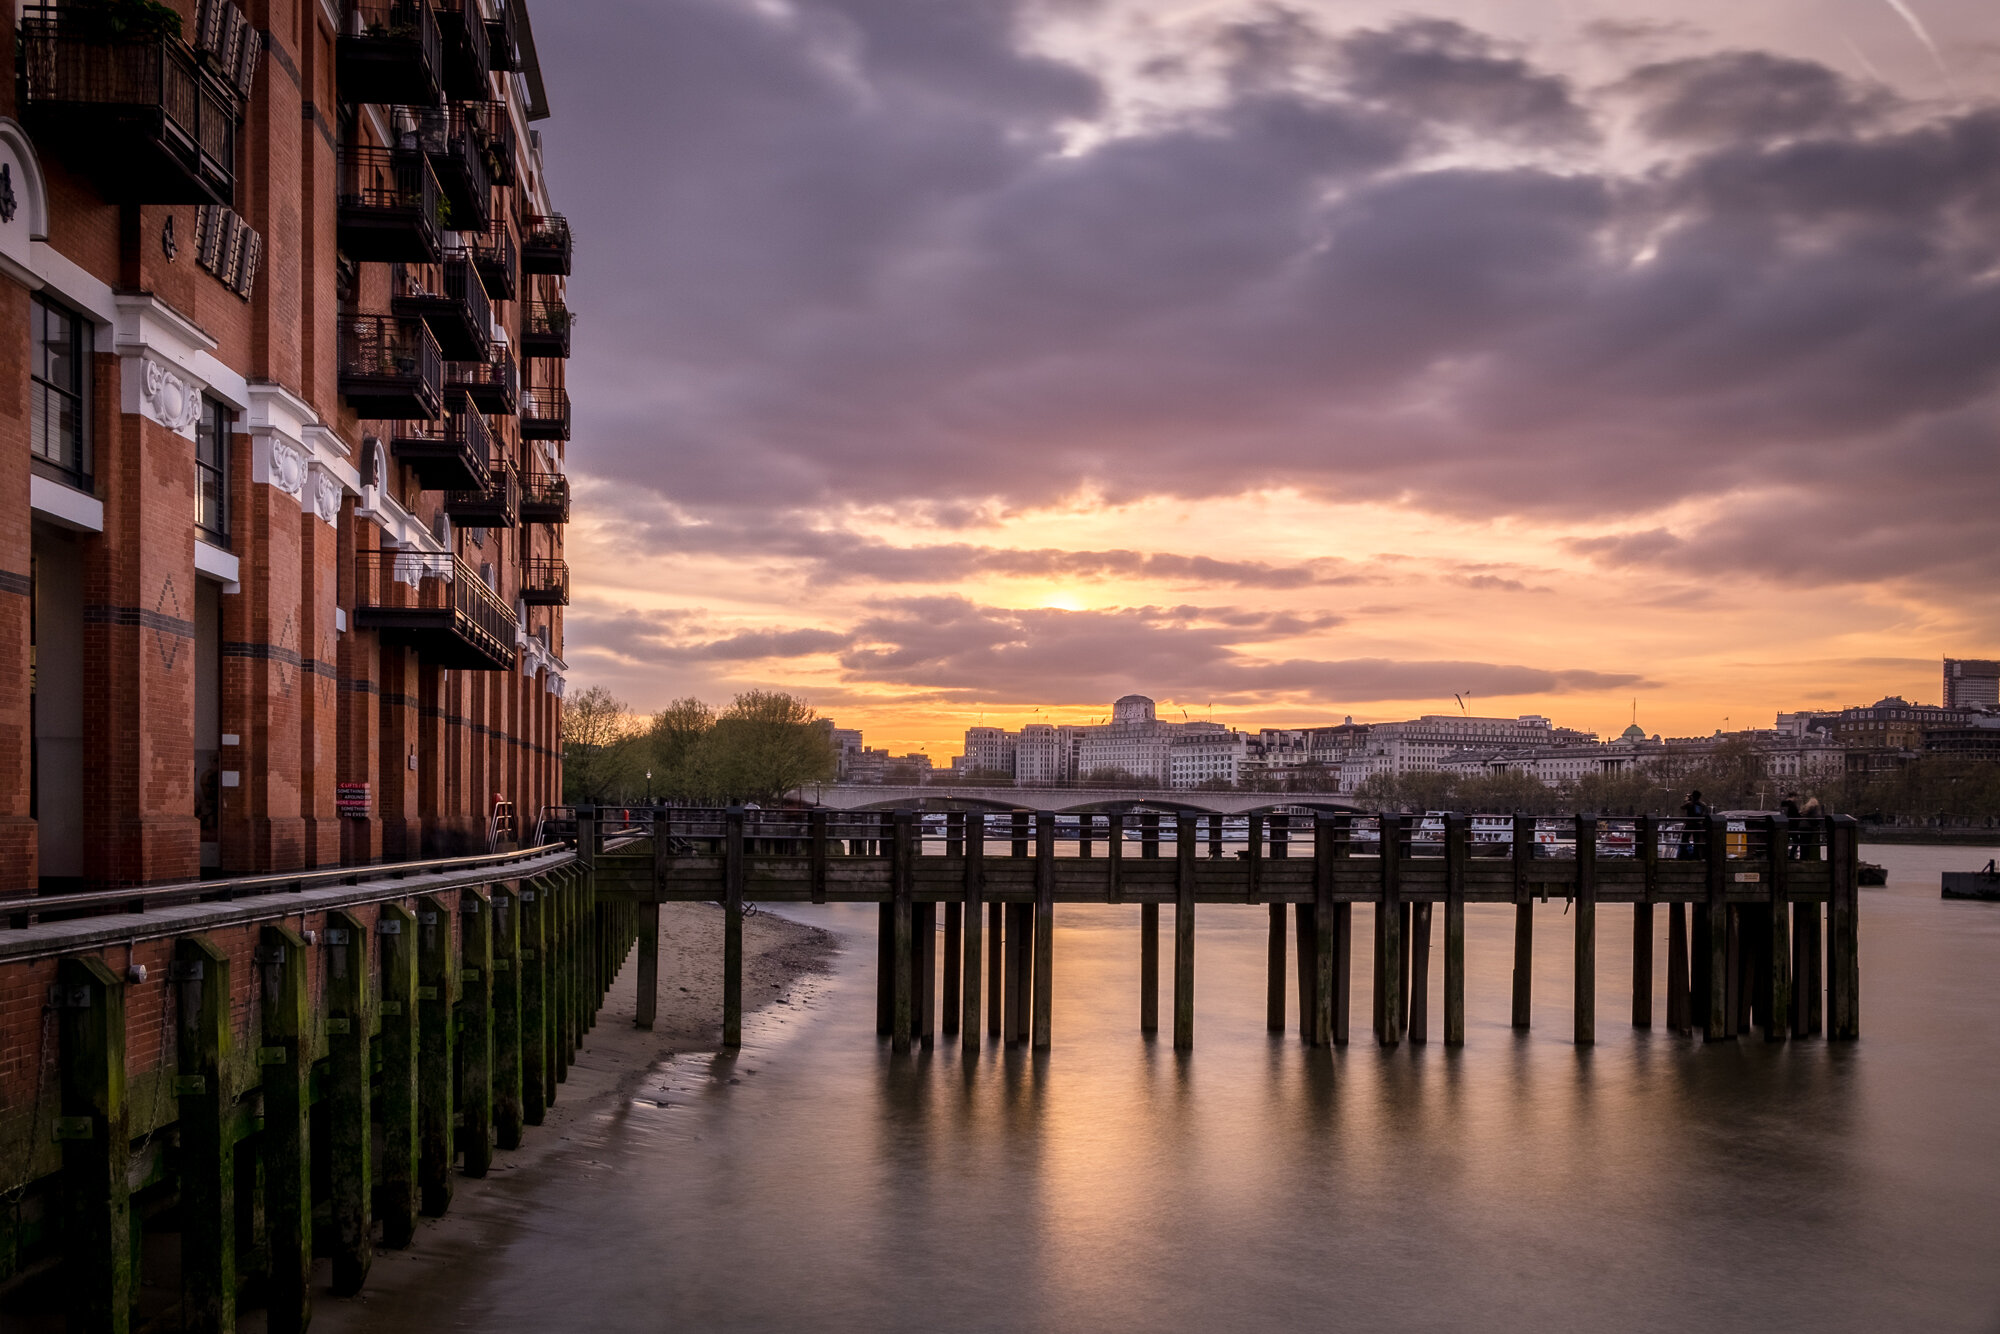
A quick stop as the sun is setting across the Thames. Just down the river in the background is Waterloo Bridge and with the sun setting, I didn't have a huge amount of time. The building on the left is the base of the Oxo Tower. Yet another former power station along the Thames as was the Tate Modern (according to Wikipedia) in the previous picture. The Oxo Tower was acquired in the 1920's by the makers of the Oxo beef stock cubes. You can't miss it with the big sign on the tower. See another image of the tower taken from the end of the jetty here in a previous post.
Fujifilm X-T10 | XF18-55mm | 21mm | 3 Secs | f/11 | ISO200
Location 3: Waterloo Bridge
So on to the third and final location of the evening. This is one of my favourite views of the South Bank and London Eye. As mentioned at the beginning of the post there is so much to see from this viewpoint. I wanted to capture this view at sunset and knowing the sun will be off camera to the right at this time of year, it was an ideal time to revisit.
I certainly got lucky on this particular evening. The sun played its part in the performance perfectly. On went the trusty 10 stop ND filter to provide those smooth waters and slightly bury clouds leading the eye ever so subtly in towards the London Eye and Big Ben.
Fujifilm X-T10 | XF18-55mm | 23mm | 58 Secs | f/11 | ISO200
As that majestic sunset continued and once I had the shot I really wanted, I started to hunt for other compositions. I turned my camera a little right, towards the sun and snapped Charing Cross Station at the end of the Hungerford Bridge. The dynamic range in this shot was through the roof. The bridge and station building were very dark in the original raw file. I was amazed by how much detail I could bring out of the shadows in the Fuji raw. Very impressive indeed.
Fujifilm X-T10 | XF18-55mm | 26mm | 90 Secs | f/11 | ISO200
It's not often for the colours of sunset to remain in the sky as long as this. I normally find a composition and focus on it rather than trying too many different shots as the reds, pinks and oranges seldom remain for too long but on this occasion, I even had time to change my lens and try a few wider shots with the 10-24mm attached.
Fujifilm X-T10 | XF10-24mm | 26mm | 2 Secs | f/11 | ISO200
To finish off a pretty successful evening and while I was taking photos, I also had my other camera (Fuji X70) taking a shot every 3 seconds for me for the 35-40 minutes I was there to create a time-lapse video later which you can see here.
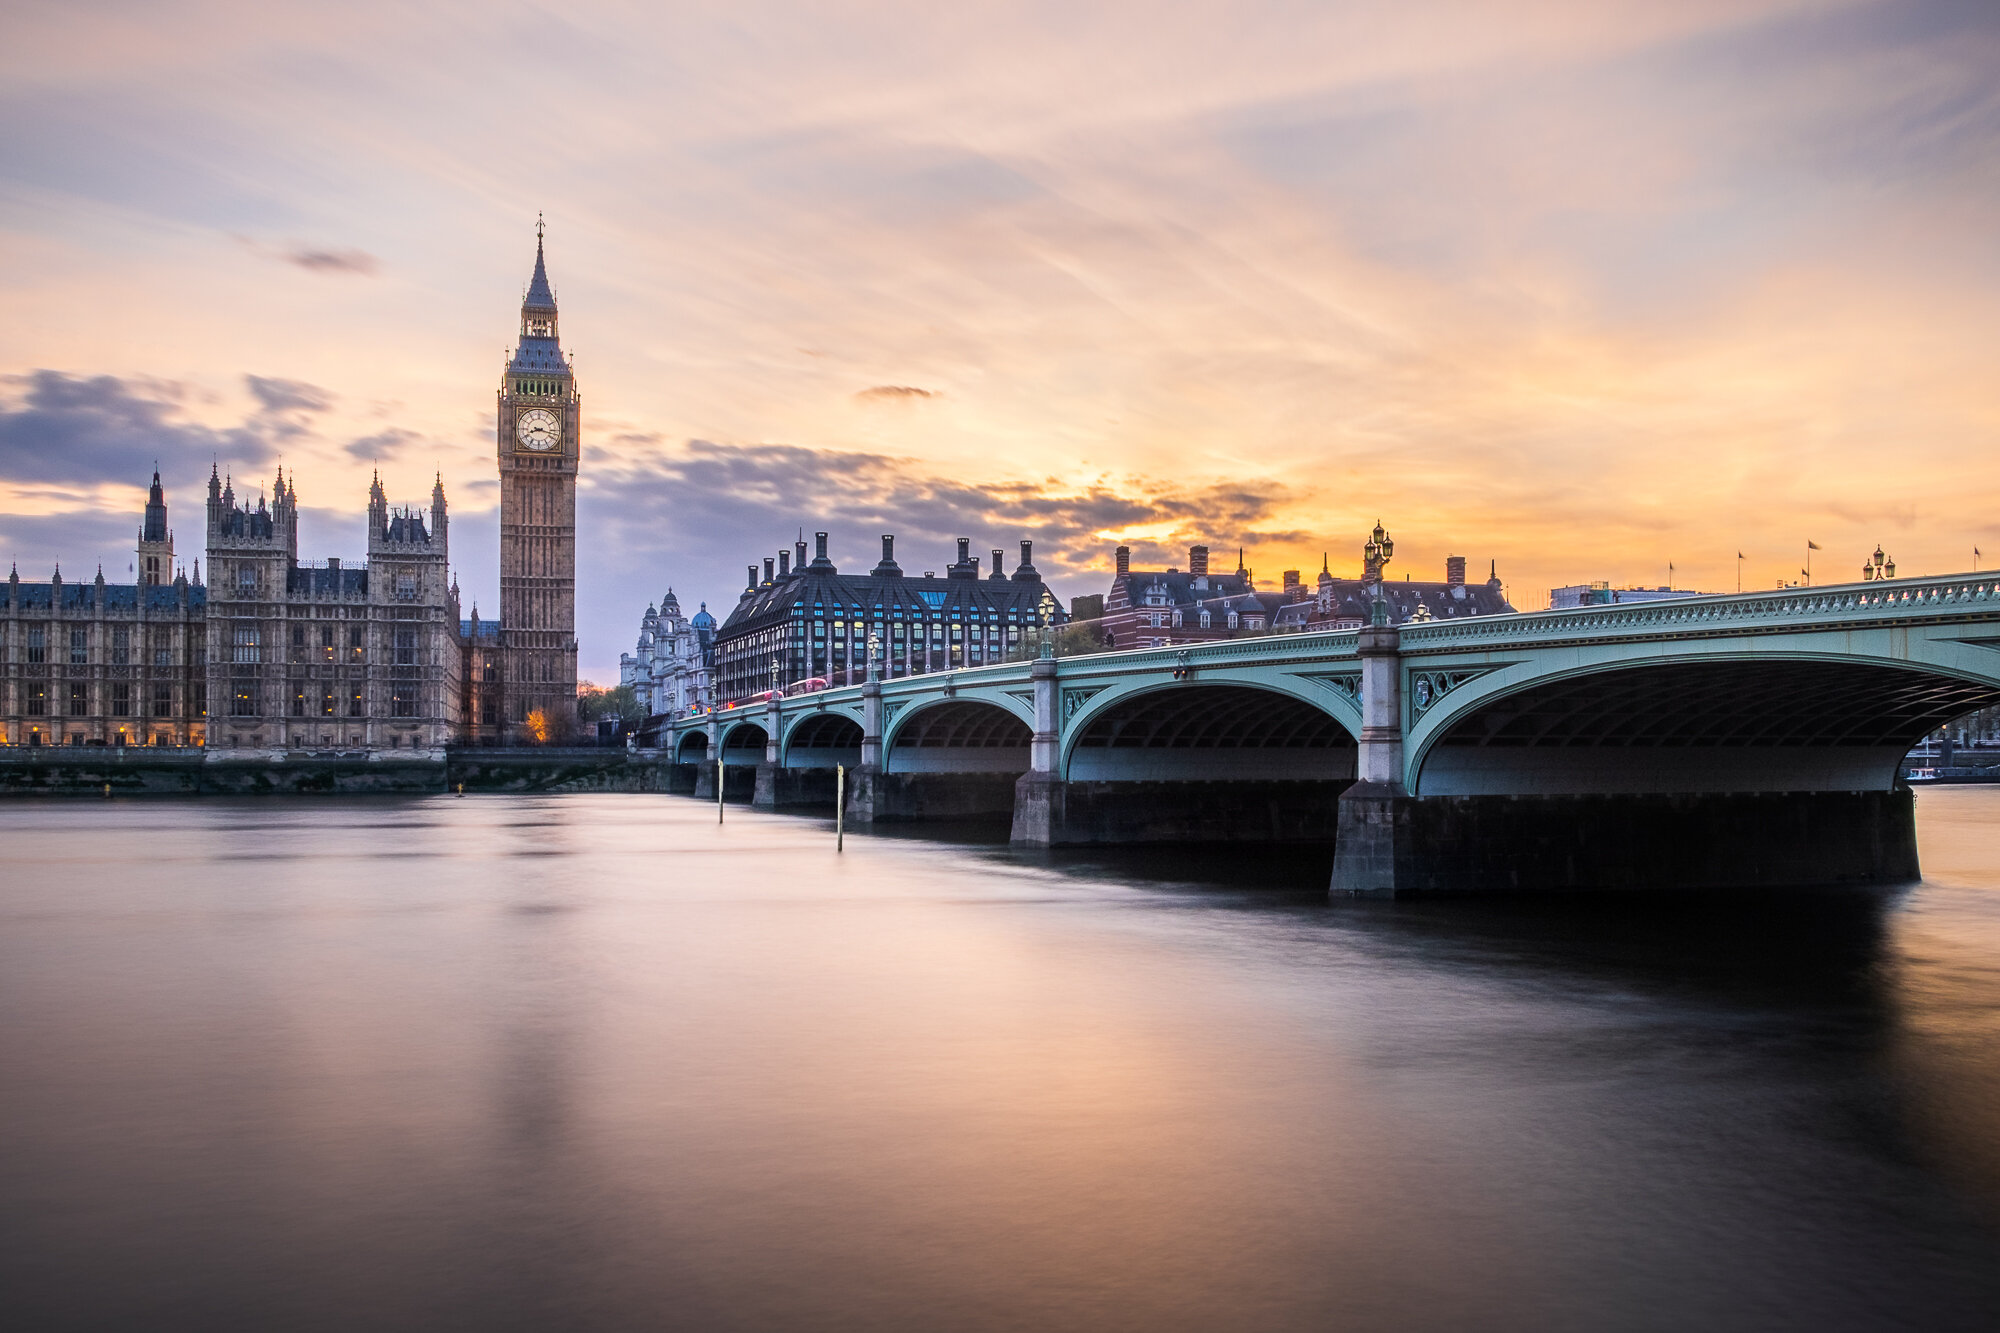
Photographing the Emotional Golden Hour
I often wonder what it is that draws us landscape photographers to the golden hour. What is it about the light at this time that makes us almost worship that great ball of fire in the sky. In this article, I discuss if there is something deeper than just contrasty scenes and pretty light.
Every day without fail, that golden, celestial ball of fire rises above the distant easterly horizon to bask the planet in warm, life-giving light and as the day's end draws closer, it will lower itself back towards the west, intensity reducing until it disappears behind the horizon at which point day gives way to the night. In the photographic world, in particular, these two events are commonly known as the golden hour.
Emotion in photography is as subjective as photography itself. One image can trigger different emotions from different people and the emotion I feel when capturing the image, cannot be assumed to be the same emotive response triggered by others that view my images. However, one thing is for sure, there is no landscape photo more likely to capture one's attention than one captured during the golden hour.
As a landscape photographer, I feel I am automatically wired to try and capture those beautiful red, orange and pink tones and is why I will patiently (and sometimes impatiently) stand, camera composed at the ready and wait for the sun's finest act to take place. The softer more pleasing light and longer shadows seem to enhance the image exponentially.
Fujifilm X-T10 | XF18-55mm | 18mm | 26 Secs | f/10 | ISO200
Why does the golden hour spark such emotions in us?
The sun (particularly during the golden hour) will likely evoke a primitive, positive feeling for most people which is why all over the world, the sun continues to be revered and worshipped in different ways, be it the summer solstice at Stone Henge or like below on sunset strip in Ibiza where I took this image of the sun-seekers daily celebration of the sun going down at which point the music is turned up. As the sun drops towards the horizon, there is a quiet calm along the rocky beach, onlookers are relaxed, gazing out to sea, almost mesmerised by the view and all experiencing their own unique emotions triggered by this celestial event. As the last of the sun disappears below the horizon there are cheers and clapping as they all celebrate this daily event.
Fujifilm X-T10 | XF18-55mm | 39mm | 1/60th Sec | f/3.6 | ISO200
As mentioned above, I will sometimes get to a location in plenty of time, weather checked and camera at the ready and wait for the scene to develop to something I had visualised in my mind's eye and the vast majority of times, I leave with less than I'd hoped due to too much or too little cloud to create those dramatic and emotive scenes. That's not to say there is no image to capture in cloudy or clear conditions as these will conjure their own albeit different emotional reactions but when there is a good chance of a sunset, for me, nothing else will do.
That moment when it all comes together
On the rare occasion, when the planning has paid off (or I get lucky which can also happen) and I know I am walking away from the location with a golden hour keeper, there is no better feeling as a photographer. It makes those hours of preparation, scouting and waiting around worth it.
Fujifilm X-T10 | XF18-55mm | 20mm | 30 Secs | f/9 | ISO200
On Location in Southwark from Dawn to Dark
In this On Location post, I spend some time with my new wide-angle lens capturing images around the Millennium Bridge at both sunrise and after dark with interesting compositions and some quite stunning light.
A long day along the Thames with my Fuji X-T10 camera started with capturing the sunrise at the Millennium Bridge and ended with a few night shots along Bankside.
On a cold February morning, I started my day on the north bank at around 7am. The sun was starting to appear providing the warmer colours to the east of the city and I spotted this composition as I approached the Millennium Bridge so I grabbed my 10-24mm wide angle lens and set up. Apart from the obvious lead-in line the bridge provides and the famous Tate Modern power station, there were two other reasons why I chose to take this shot. First, as I approached the bridge, the Shard started to be unveiled underneath leaving it and the rising sun nicely framed. Secondly, as the sun was only just rising, the shot appears to be in two halves. Dawn on the left and night on the right which I thought added another dimension to the final image.
Fujifilm X-T10 | XF10-24mm | 10mm | 0.9 Secs | f/13 | ISO200
I then walked west along the Thames towards Blackfriars. Looking over my shoulder I noticed how the clouds were pulling the eye back towards the sunrise creating an interesting composition, so with a quick set up framing the image with the lamp to add a bit of foreground interest, I grabbed this shot. Not a portfolio shot but interesting all the same.
Fujifilm X-T10 | XF10-24mm | 10mm | 1/3rd Sec | f/13 | ISO200
I then arrived at the location I had originally intended that morning. From the newly built Blackfriars Pier, I had seen this composition before while scouting the area. As you study the image your eye will likely be lead to the Shard but down in the right-hand side of the image is the understated but arguably equal star of the show. Shakespeare's Globe Theatre.
Although a reconstruction of the Elizabethan playhouse, the Globe Theatre is considered a close interpretation of the original. I love the idea that over 400 years ago that pretty little theatre would have held some 3000 theatregoers (yes, 3000 in that modestly sized building!) entertained by one of the most famous playwrights in history.
As with many of my London cityscapes, I used the 10 stop ND filter allowing the longer exposure to smooth out the clouds and water to allow the area of contrast and main focus to be the architecture along the Bankside. I particularly like the way the rising sun is reflecting off the building's glass facades creating other areas of light within the image.
Fujifilm X-T10 | XF10-24mm | 20mm | 28 Secs | f/8 | ISO200
Now fast forward 10 or so hours (with a bit of the day job in between) it is now after dark and I am back at the Millennium Bridge but this time looking back the other way towards St Paul's Cathedral and boy does the city look different at night. With the wide angle lens back on the camera, the dark triangle on the bridge and the lights along the edge lead the eye towards St Paul's Dome perfectly. Additionally, the long exposure allows the moving clouds to compliment this symmetrical composition nicely.
Fujifilm X-T10 | XF10-24mm | 10mm | 20 Secs | f/14 | ISO200
While I was heading to my final location of the night I grabbed this classic composition of the bridge and cathedral across the river. Well it's popular for a reason, right? Again, not a portfolio shot but certainly blog-worthy.
Fujifilm X-T10 | XF10-24mm | 18mm | 15 Secs | f/11 | ISO200
With a general lack of interest in the sky and city lights sometimes causing too much clutter in the scene I do tend to get closer to the subjects on cloudy night time shoots.
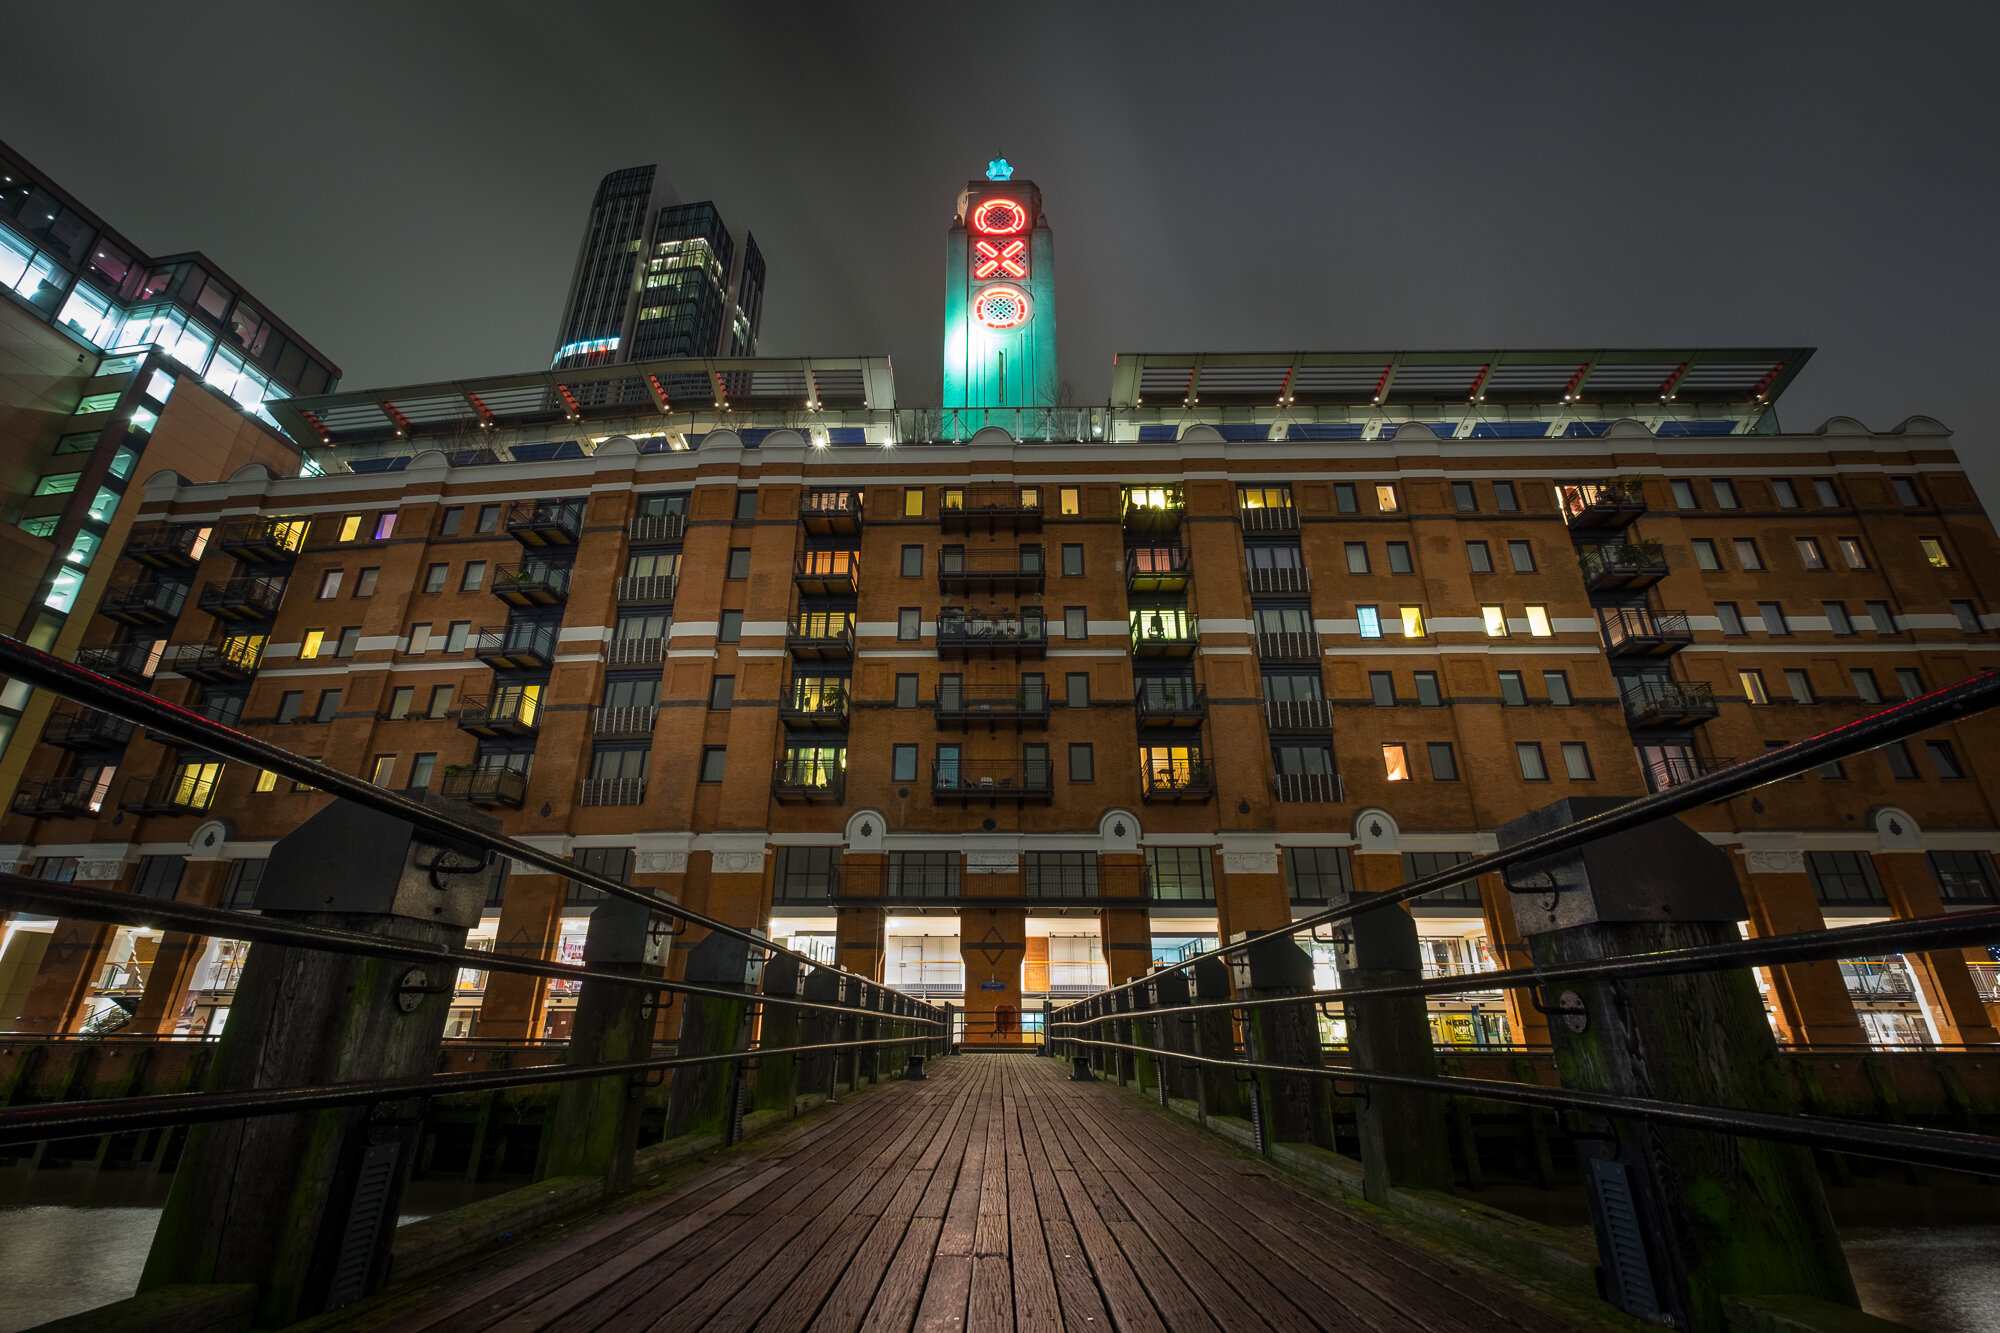
So, this is where I finished the night. The OXO Tower. When I purchased my wide angle lens, I already had this shot in mind to try so with only a short walk from the Millennium Bridge I wandered over. Another central composition, I am stood at the end of a jetty over the River Thames with the wooden walkway and side railings leading the eye into the image.
Fujifilm X-T10 | XF10-24mm | 10mm | 10 Secs | f/7.1 | ISO200
So, after a long day of both work and photography, I captured a few good shots of London's Southwark area along the Thames and had a good play with the new 10-24mm wide angle lens along the way.
Slowing Time | Why The long Exposure?
I started to use the long exposure technique to add a new creative dimension to my photography in London and this article is about what I think it brings to both the colour and composition of the image.
I started to use the long exposure technique to add a new creative dimension to my photography and this post is about what I think it brings to both the colour and composition of the image.
Now, in case you were wondering, a long exposure photo is when the camera's shutter remains open capturing one image over a relatively longer time than normal. To quote Wikipedia on the subject, "Long-exposure, time-exposure, or slow-shutter photography involves using a long-duration shutter speed to sharply capture the stationary elements of images while blurring, smearing, or obscuring the moving elements." More info can be found here on Wikipedia.
To achieve the long exposure effect you need to trick the camera into thinking the scene you are capturing is darker than what it is in reality and to compensate, the camera will open the shutter for longer in an attempt to let in more light. This is normally achieved by using a filter (a natural density filter) and placing it in front of the camera lens blocking some of the light from hitting the sensor. See my about page for details of the filters I use.
A Compositional Tool
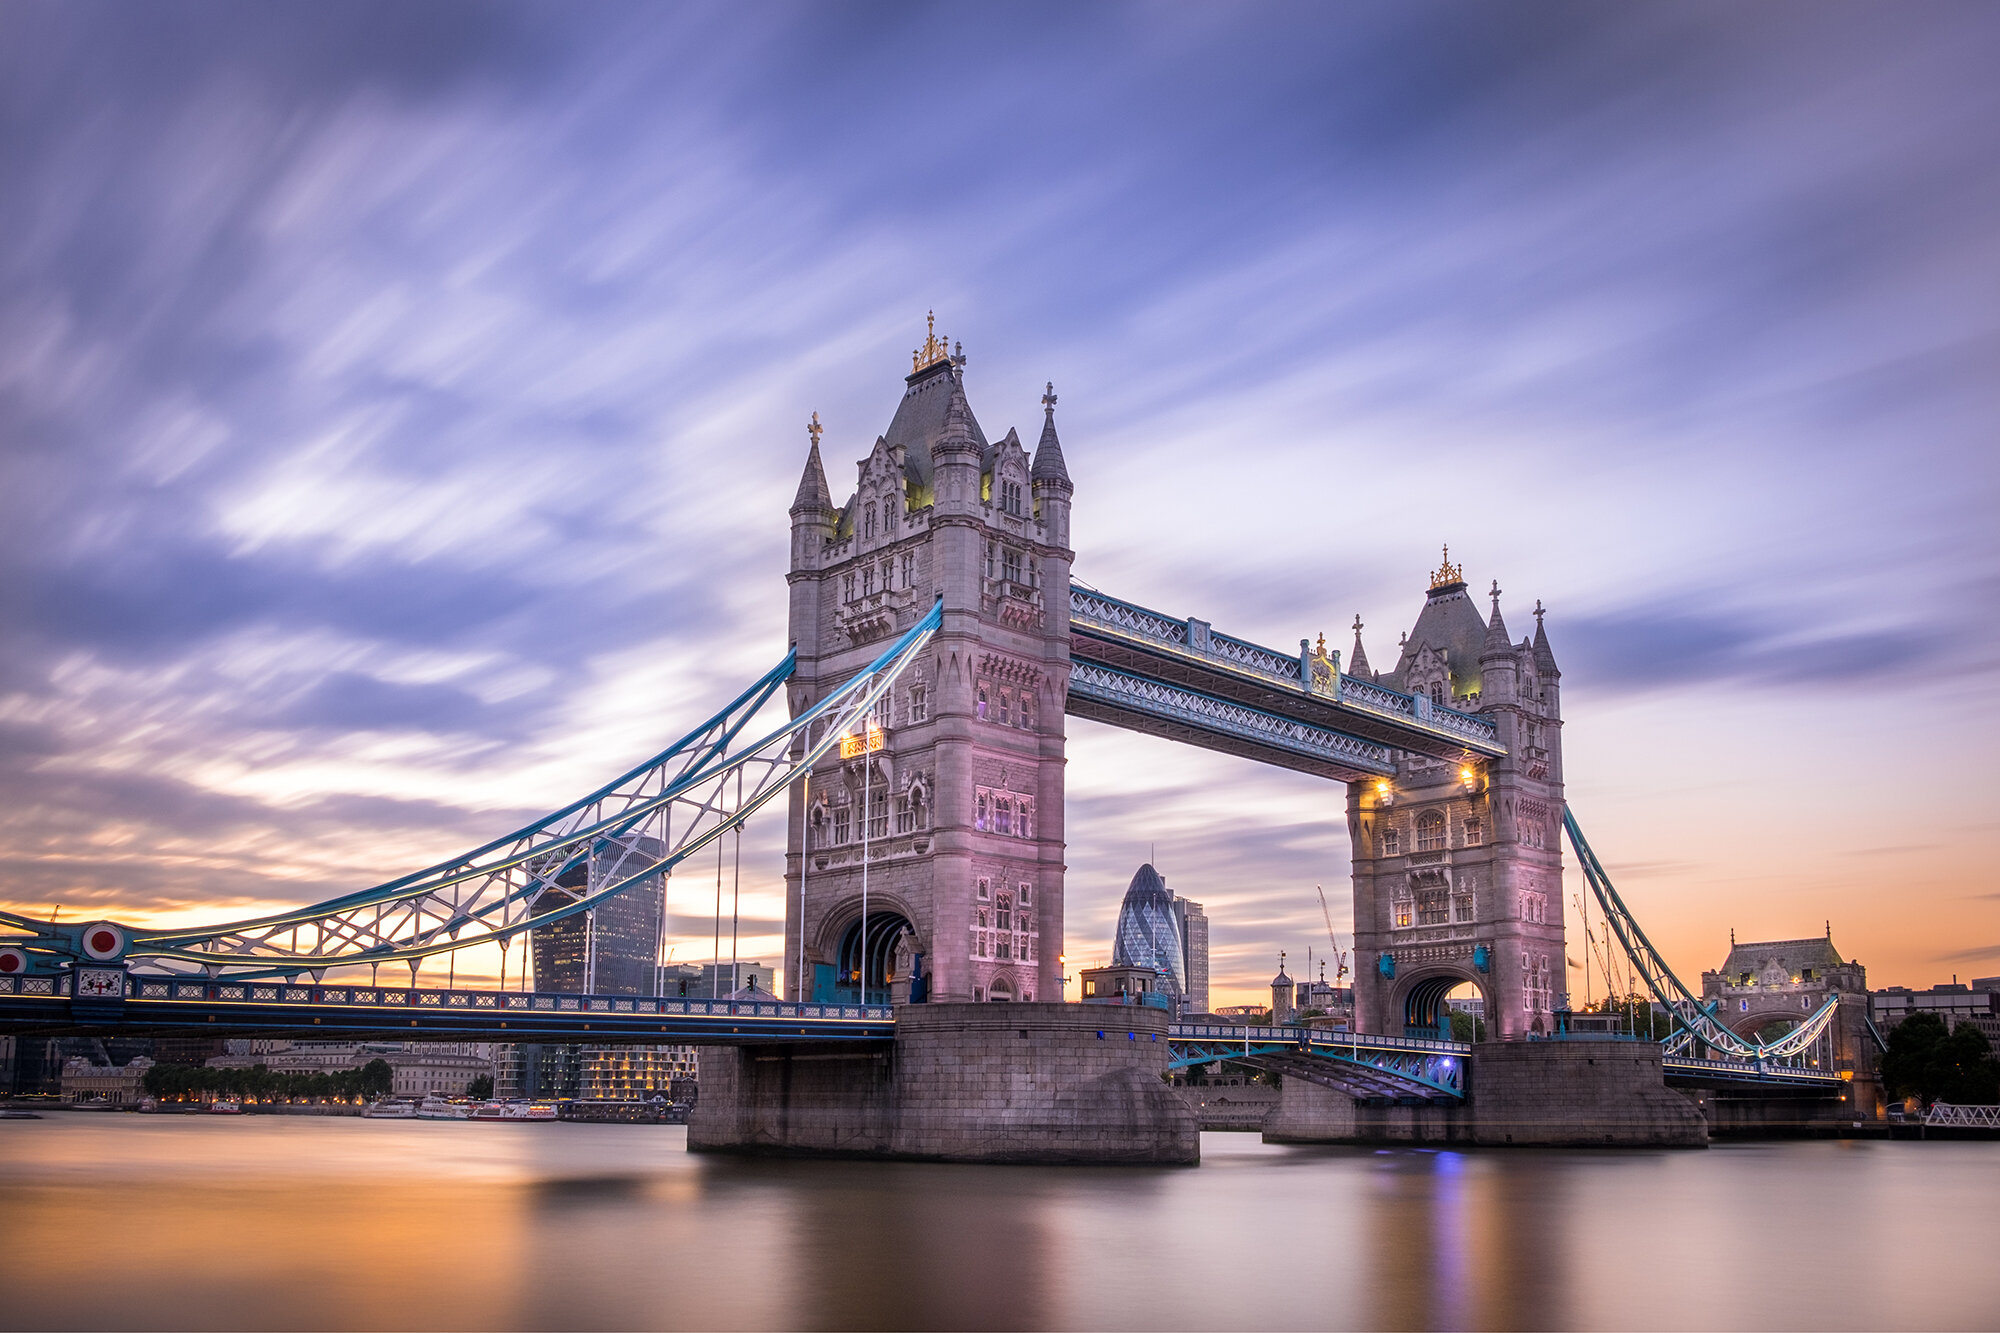
Although London is one of the best (in my slightly biased opinion) and architecturally iconic places on earth, visually the city has a lot going on and it can be hard for the subject to stand out amongst all of the other competing shapes and contrast happening in the scene. Now, although long exposure images do nothing for static objects, such as buildings and statues. If there are moving objects such as water, people or clouds then this is where the technique can make all the difference. By blurring or even removing any moving objects in the image I am able to isolate the main subject making it stand out by removing distractions that will be contending for the viewer's attention. I will also use long exposures to add compositional elements, for example, blurring clouds that are moving towards or away from me can create some awesome lead in lines as in the photo of Tower Bridge later in this post.
Blending the Colours of the Light
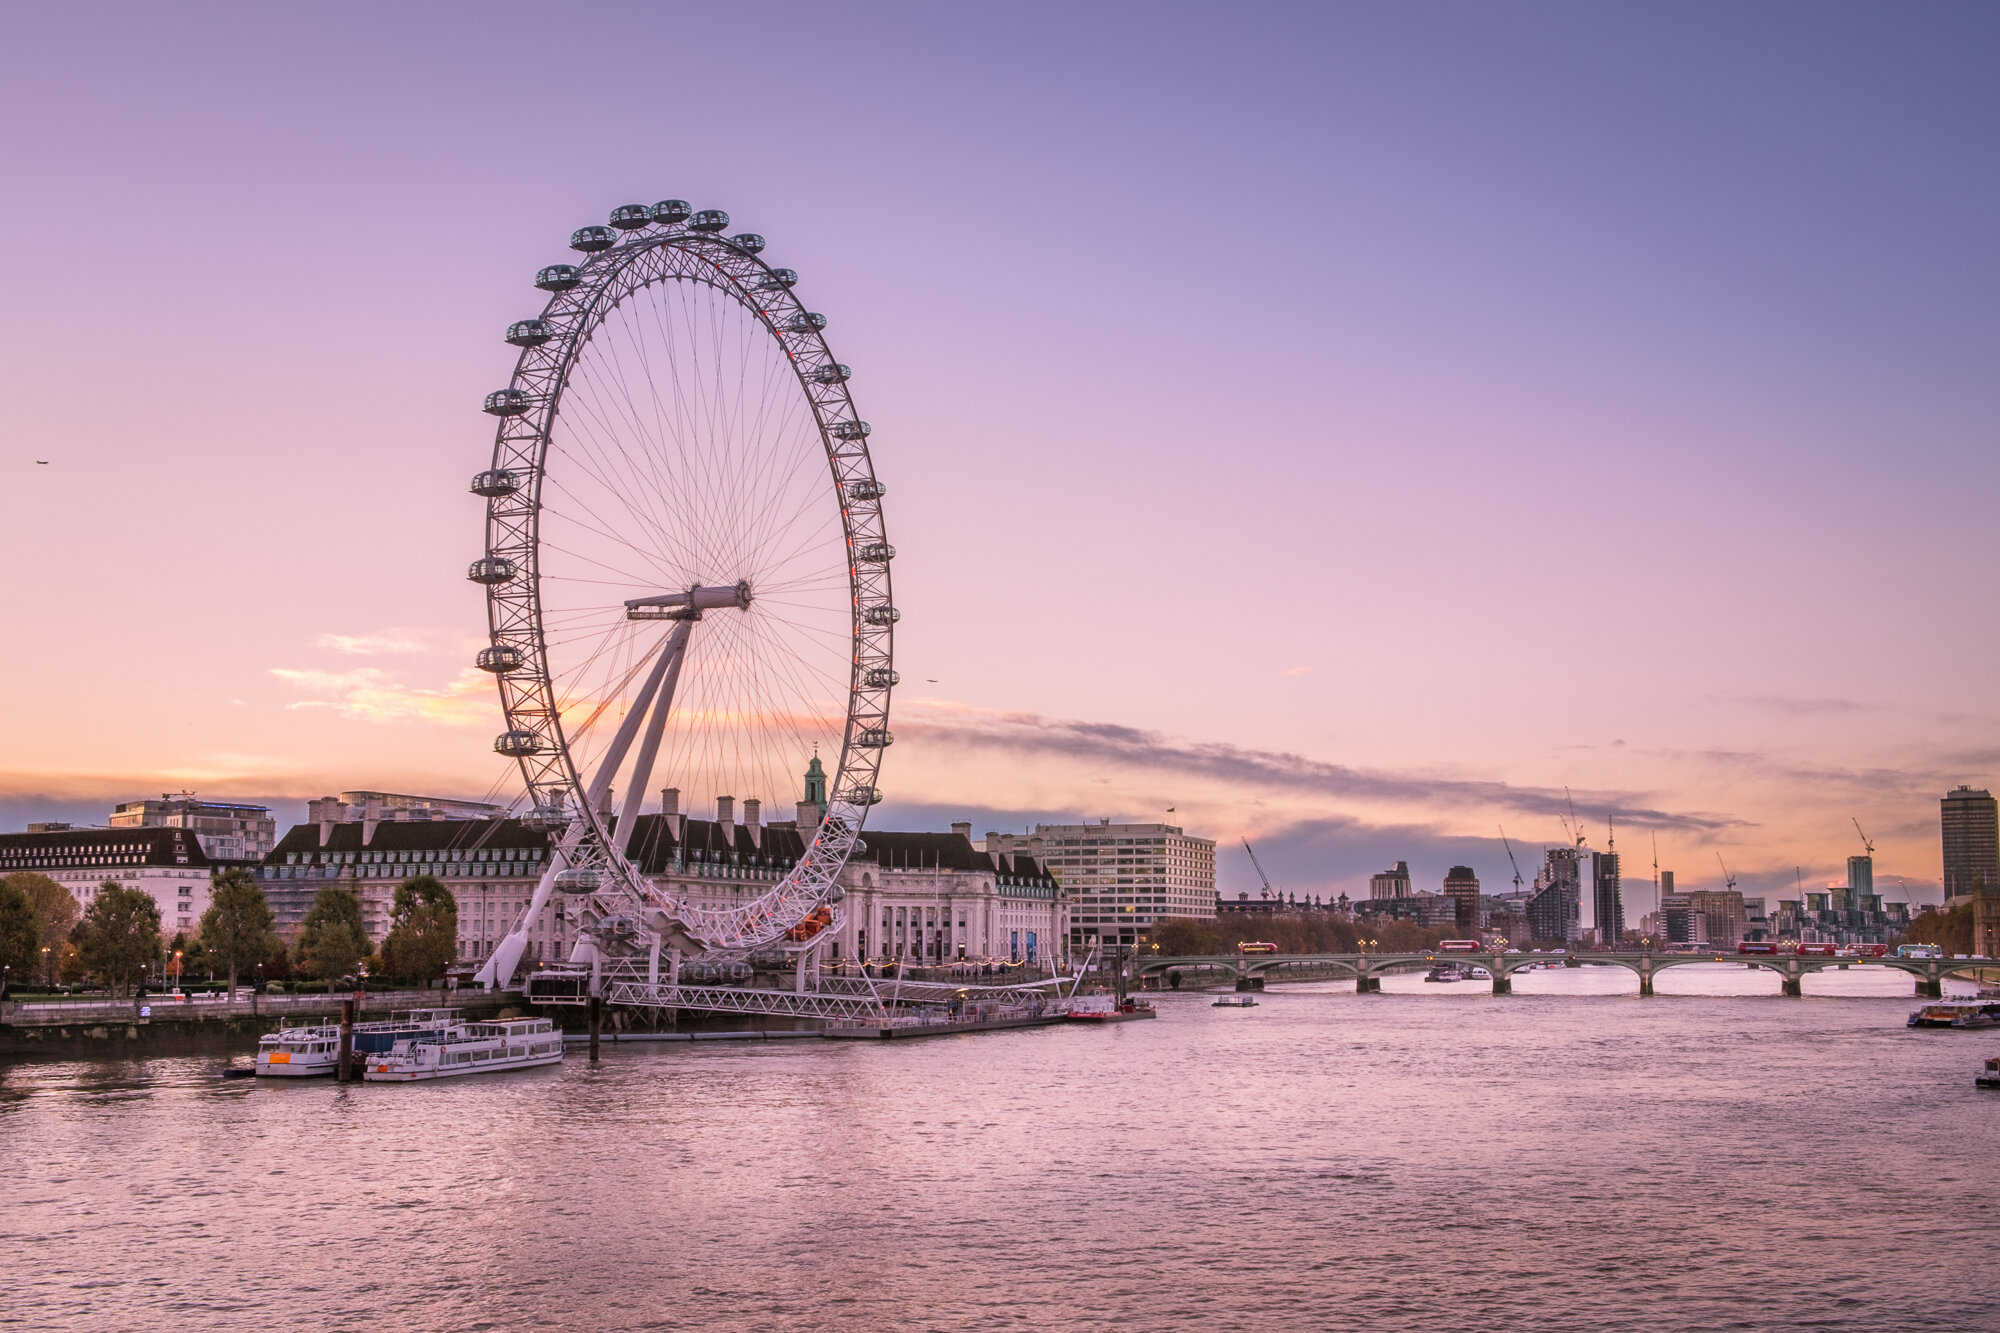
A traditional photo captures the colours of the light in a split second and is a true representation of that particular moment in time. However, a long exposure photo will capture the colours as they change over time and blend the tones together which can have some quite beautiful and emotive results that might not normally be captured. Below are two images I took only a minute or so apart with identical post-processing. I shot the first image at 1/20th of a second and on its own a pleasant enough photo.
Fujifilm X-T10 | XF18-55mm | 21mm | 1/20th Sec | f/10 | ISO200
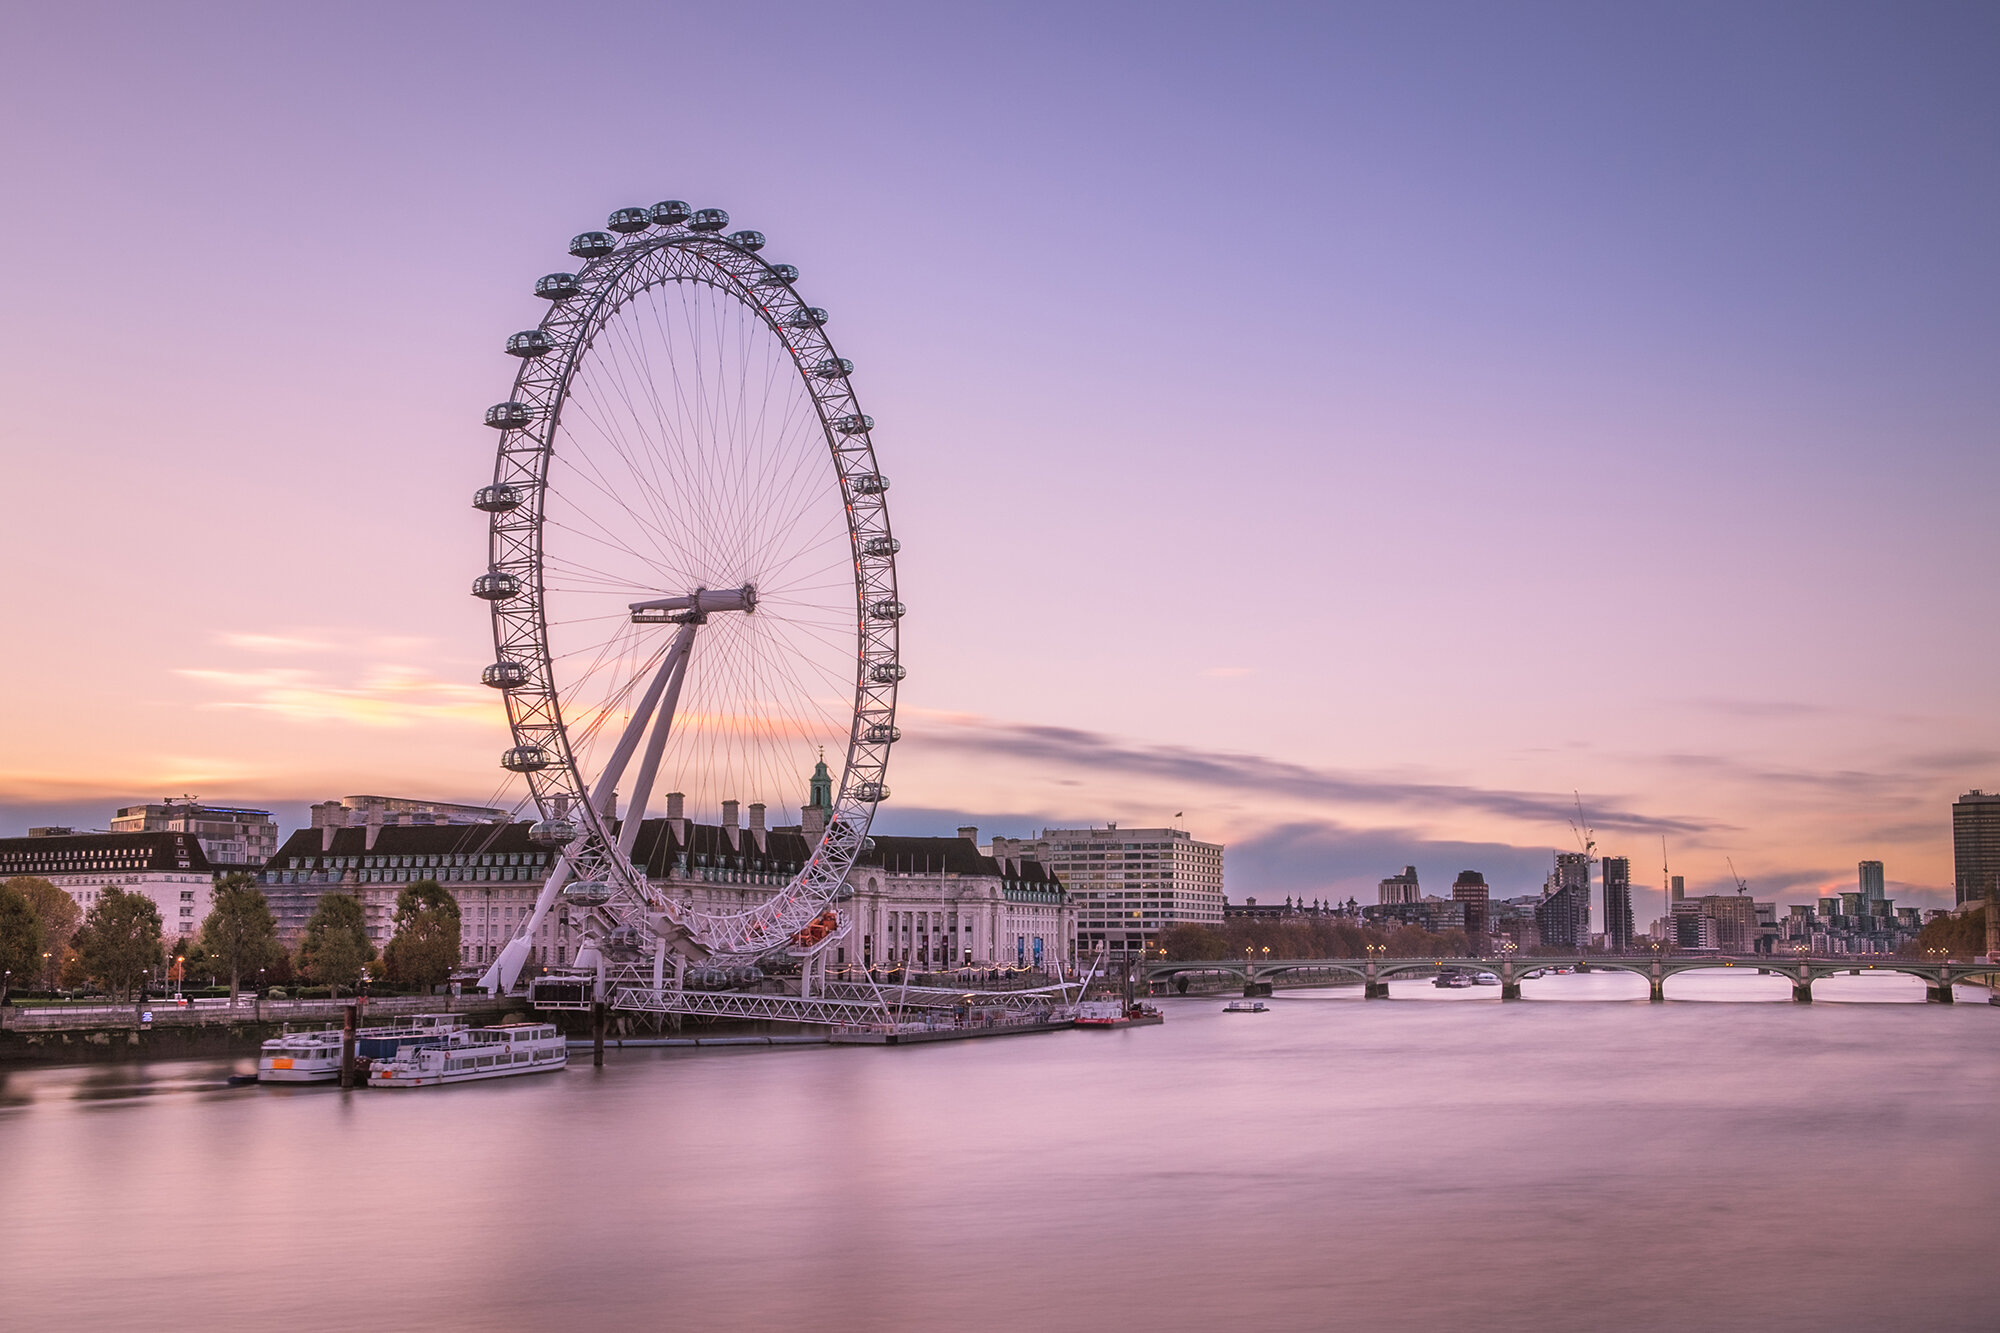
Next is the longer exposure, I took over 28 seconds. Straight away you will notice a less cluttered, simpler composition due to the river being smoothed out complementing the clear sky.
Fujifilm X-T10 | XF18-55mm | 21mm | 28 Secs | f/10 | ISO200
What might be less apparent are the subtly different tones in the image. The colours from the first image are still there but appear slightly more muted in the second, specifically the warmer orange. Also, although not many clouds, in the first image they appear to contend with the London Eye and fight for the same space whereas the softer look of the clouds in this image allows the structure to be more prominent in the scene.
It's not just colour images that benefit
If it is minimalistic architectural cityscapes you want then you can take it one step further and remove the colour altogether. Below is a similar shot of the London Eye taken on a dull, foggy morning when the light was less than ideal.
Fujifilm X-T10 | XF18-55mm | 21mm | 280 Secs | f/9 | ISO200
This image (above) is a 4 minute, 40 seconds exposure, resulting in the River Thames looking even smoother giving it an almost luxurious soft sheen and with the lower, diffused light, this black and white conversion allows the contrast in the London Eye and surrounding architecture to be prominent in an otherwise minimalistic cityscape.
So that's it, a few reasons why I use and enjoy the long exposure in my London cityscapes. To finish, below are a couple more examples of long exposures images I have taken since beginning this slow shutter journey.
Fujifilm X-T10 | XF18-55mm | 18mm | 140 Secs | f/9 | ISO200
Fujifilm X-T10 | XF18-55mm | 18mm | 30 Secs | f/4.5 | ISO200
On Location from One Wharf To Another
Sometimes, as a photographer (and in life) you have to just get out there and see what happens. In this post, I start my day at St George’s Wharf and end up capturing a sunset with my new Fujifilm XF10-24 lens at Canary Wharf.
When I set out to a location, I normally have one of two approaches in mind. More often than not I will have a particular place I want to shoot and will focus all planning to give that shot the best chances of success, ensuring I am ready in the right place at the right time equipment at the ready. On the odd occasion, I set out on a photo walk with a start and/or finish in mind but the rest is a bit more of a "go with the flow" approach.
On this particular day, I had the endgame in mind which we will cover off a little later in the post. I started out on the train into London checking the weather and conditions on my favourite apps MeteoEarth and Suncalc. The first gives me information such as wind direction/strength and cloud cover and the second allows me to see where and when the sun will set based on my location. I plan to write about how I research a location and prepare for a shoot in more detail in a later post.
On this day, while the light was particularly harsh (not the best conditions) and I was just leaving the station, I decided to start my day with a shot of St George Wharf which I have been meaning to try for some time. Located in Vauxhall, this modern structure housing both residential and commercial properties is a popular subject for London cityscape photographers. Knowing the light wouldn't flatter a colour image, I set up with a black and white image in mind looking for the contrast as the sun (coming in from the right) hit the building. As with a lot of my shots taken by the Thames, I went straight for the natural density filter to give me a longer exposure and smooth out the water allowing the detailed architecture to contrast nicely against the reflective, uncluttered water in the foreground. I had to crop quite tightly to avoid some cranes and other buildings. I would have liked more wind to also smooth out the clouds a bit more but you rarely get all the boxes ticked in photography. After some processing in Adobe Lightroom this was the result and my favourite shot for the day.
Fujifilm X-T10 | XF18-55mm | 18mm | 3 Secs | f/8 | ISO200
Knowing I still had plenty of time to get to the final location I crossed the Vauxhall Bridge and decided to walk the south bank to Westminster and scout for future shots. I finished at Westminster Bridge and grabbed a quick shot just as the sun was getting lower in the sky and casting a slightly warmer light across the scene.
Fujifilm X-T10 | XF18-55mm | 20mm | 10 Secs | f/18 | ISO200
I jumped on the underground and headed to Canary Wharf which is where I intended to capture a few shots with the newly acquired Fuji XF10-24mm wide angle lens and also capture a time-lapse of the skyscrapers at sunset with the second camera (My trusty Fuji X70). I had visited this location once before but without the wide angle, I had to use photo stitching to capture the entire scene.
You can read more about my time-lapse on my blog post here: Behind the Lens: My First Time-lapse. Here I wrote about how I took the shot, what I learned and the finished video.
Ok, back to the shot. For a long time as the sun was lowering behind the buildings there was very little wind and the sky was clear and lacked drama which for the landscape photographer is rarely what we want. As the time-lapse was underway on the second camera, the sun dipped behind the horizon lighting up some small clouds that had slowly crept into the scene. Not all was lost thankfully so off I went snapping away with the 10-24mm lens attached at it's widest. The water in the foreground is called the Blackwall Basin and being so still provides some nice foreground reflections in the water.
Fujifilm X-T10 | XF10-24mm | 10mm | 7 Secs | f/9 | ISO200
Once the sun had disappeared, the light faded fast so before I wrapped it up for the day I captured the buildings as the lights were being turned on which gave the scene a totally different look as you can see below.
Fujifilm X-T10 | XF10-24mm | 10mm | 0.5 Secs | f/14 | ISO200
It is quite a leap of faith to head out without the shoot totally planned out so I am pleased to come away with a couple of keepers although it could have been very different. A time-lapse in the bag, my new lens tested and some new locations scouted for another time. Overall, a successful day.
Goodbye Sunrises, Hello Sunsets
In this article, I talk about the transition to summer and the opportunities coming up to photograph more sunsets in London. I also talk about some projects I plan to start and 5 benefits of starting photography-related projects.
Being partial to a sunset or two, I look forward to the days getting longer as we head towards the spring and summer months in London. As the sun rises earlier, it becomes more difficult for me to travel into the city in time to catch those softer more muted warm colours at dawn.
Not all is lost! As the sun sets later, that much sought after golden hour provides those richer warm colours for longer allowing me more time to capture those amazing sunsets in the city.
I took this photo in the summer of 2016 as the sun was disappearing and the dominant summer daylight was giving way to just a few hours of twilight.
Fujifilm X-T10 | XF18-55mm | 18mm | 140 Secs | f/9 | ISO200
Time for a project or two
It seems a bit late to talk about my projects for 2017 and there is a very good reason for this being I originally had no plans to do one. I recently attended some talks at The Photography Show 2017 and was inspired by some of the photographers that gave talks about their own photographic journeys and after seeing the value personal projects provided them, only then did I give it some serious thought.
Why start a photography project?
The thing about projects is that should be both defined and finite. A start and a finish with a pre-conceptualised or measurable outcome.
This is certainly not an exhaustive list of benefits that a photography project provides but they are what I believe some of the most important ones.
Diversify your creative work and trying something new
Experiment outside your comfort zone
Motivation to get out and take photos when stuck in a rut
Opportunity to hone your photographic skills
An opportunity to share the work and engage with people
Project One: Well, you're reading it.
That's right, blogging can be a project too. Now I won't go into too much detail about why I started to blog here. Maybe I'll save that for another post. What I will say is that blogging is new for me and the only way I will ever realise my goals which are to improve my creative writing and put myself out there is to make sure I stick at it and ensure regular literary output that I hope someone will enjoy reading too. The theory being, the more I write, the easier it will become.
So, the plan is straight-forward enough. As I write this in late March, I want to target 3 to 4 posts per month or around one per week. With 9 more months of 2017, I feel a target of 30 more posts this year is a good target to aspire too. This may not sound a lot but along with a day job, family, being out and about taking photos, this seems to me like a reasonable target.
Project two - Create a time-lapse compilation
It's not been long since I had a try at my first short time-lapse which you can read about here: Behind the Lens: My First Time-lapse
So, I have decided to set myself a goal to create a time-lapse compilation of London cityscapes capturing different views, conditions and light. For the remainder of 2017 I plan to look into shooting/post-production techniques, tools to help to capture the images and to finish a matching soundtrack to suit the video.
My projects are about trying something new, sharing my work and experimenting outside my comfort zone with different formats. How they will go, we will have to wait and see but I will post updates throughout the year as to how I'm getting on.
My First Time-lapse
I wanted to try my hand at creating a time-lapse video so I chose a spot on the Isle of Dogs to capture Canary Wharf as the sun was going down to give it a try. Check out this article to read how I created my first time-lapse from capturing the images to editing the final video and the lessons I learned along the way.
On the Isle Of Dogs in London is the home of the financial powerhouses in London and the skyscrapers provide an ideal subject for some dramatic cityscape images. In 2016 I stumbled on a quiet residential corner of the island providing an ideal composition of some of the most recognisable buildings in London. I didn't have a wide-angle lens with me at the time so I decided to take a panoramic image.
Fujifilm X-T10 | XF18-55mm | 18mm | 3 Secs | f/8 | ISO200
I decided to return to this location for two reasons. First to test my new Fuji 10-24mm wide-angle lens and secondly, to use my second camera to take a series of images that I could merge to create a time-lapse video later. Below is a map of the location as it can be a little tricky to find.
Taking the Shot
As I was using my main camera and tripod for testing the new lens I set my second camera up on my travel tripod. My Fuji camera has an interval timer function built-in so I can take a maximum of 999 images separated by seconds, minutes or hours. As there was very little movement in the sky which is a must for landscape time-lapses I set the interval to 3 seconds. After realising my memory card would fit only 500 images (first lesson learned) I had to do some rough calculations and concluded I would have around 20 seconds of footage at the end. This would have to do for my first attempt.
Next, I focused the camera and then changed the mode to manual to ensure no refocusing as the images were taken. At this point, I should have taken a few test shots as this would have shown me the images were ever so slightly out of focus (second lesson learned). With my camera set to aperture priority to allow the camera to adjust to the light conditions changing I was ready to go. I waited for the sun to disappear below the horizon and set the camera off taking the images until the card was full while I took some wide-angle shots with my other camera.
Once complete and at home, I imported the images into Adobe Lightroom and set about editing the shots. Here is an example of what I started with:
Fujifilm X70 | 55mm | 1/160th Sec | f/2.8 | ISO200
And after some basic editing, some tonal changes to enhance the colours and 16:9 crop ideal for the video I was ready with the final image.
The issue was I had another 499 other images to edit. or did I? The great thing about this software is that I can edit one image and then copy all edits to the remaining 500 shots to both save time and ensure a consistent looking shot throughout the final video.
I exported all images and using Adobe's Premiere Pro I imported all images as individual frames. Premiere Pro has a neat feature for this which saved a lot of time. I added the titles at the beginning and end of the video and out popped my first time-lapse video in all of its 4k beauty.
Well, what did I learn?
As above, I should have brought a bigger memory card. This would have allowed me to take the full 999 images and allowed me to shoot over a 50 minute period capturing a more significant change in the light.
Next, I needed to be more careful with the focus. Once you start, you cannot check and recompose the image. Being more diligent would have resulted in sharper images and improved results.
Overall, I'm happy with this first attempt but I did learn lots and I'm confident going forward they will get better and better.
On Location Photographing Westminster
On a cold, fresh February morning I had a walk around Westminster to capture a couple of the iconic structures that sit beside the River Thames. I captured The London Eye, the Revolving Torsion fountain with The Houses of Parliament and finally Big Ben from underneath Westminster Bridge. Jump into the post to find out more and see the final images.
There is nothing quite like London in the early morning. Yes, the light during sunset is more dramatic but the fresh morning air, the warm more subtle light and pre-rush hour tranquillity is quite something to experience. They say London is a city that never sleeps but I know that before everyone gets up to start their day as the sun is rising on a clear Tuesday morning in February, it most certainly does.
I decided to have an early morning stroll around Westminster Bridge and try to capture some of the icons of London in this area. I seem to gravitate towards the River Thames when taking sunrise and sunset images. I think about this sometimes and might elaborate more in another post as to why I enjoy being by the river but with regards my photography, London can be a difficult place to take the kind of uncluttered cityscape images I like to capture and with the space the river provides I get to include the water and sky in my images and really focus on the subject and image I am trying to create.
On this particular morning, the sky was clear and the air was fresh and although a clear sky is not one of the usual recipes for capturing dramatic landscape photos, the sun played its part to ensure there was a nice amount of colour in the final images.
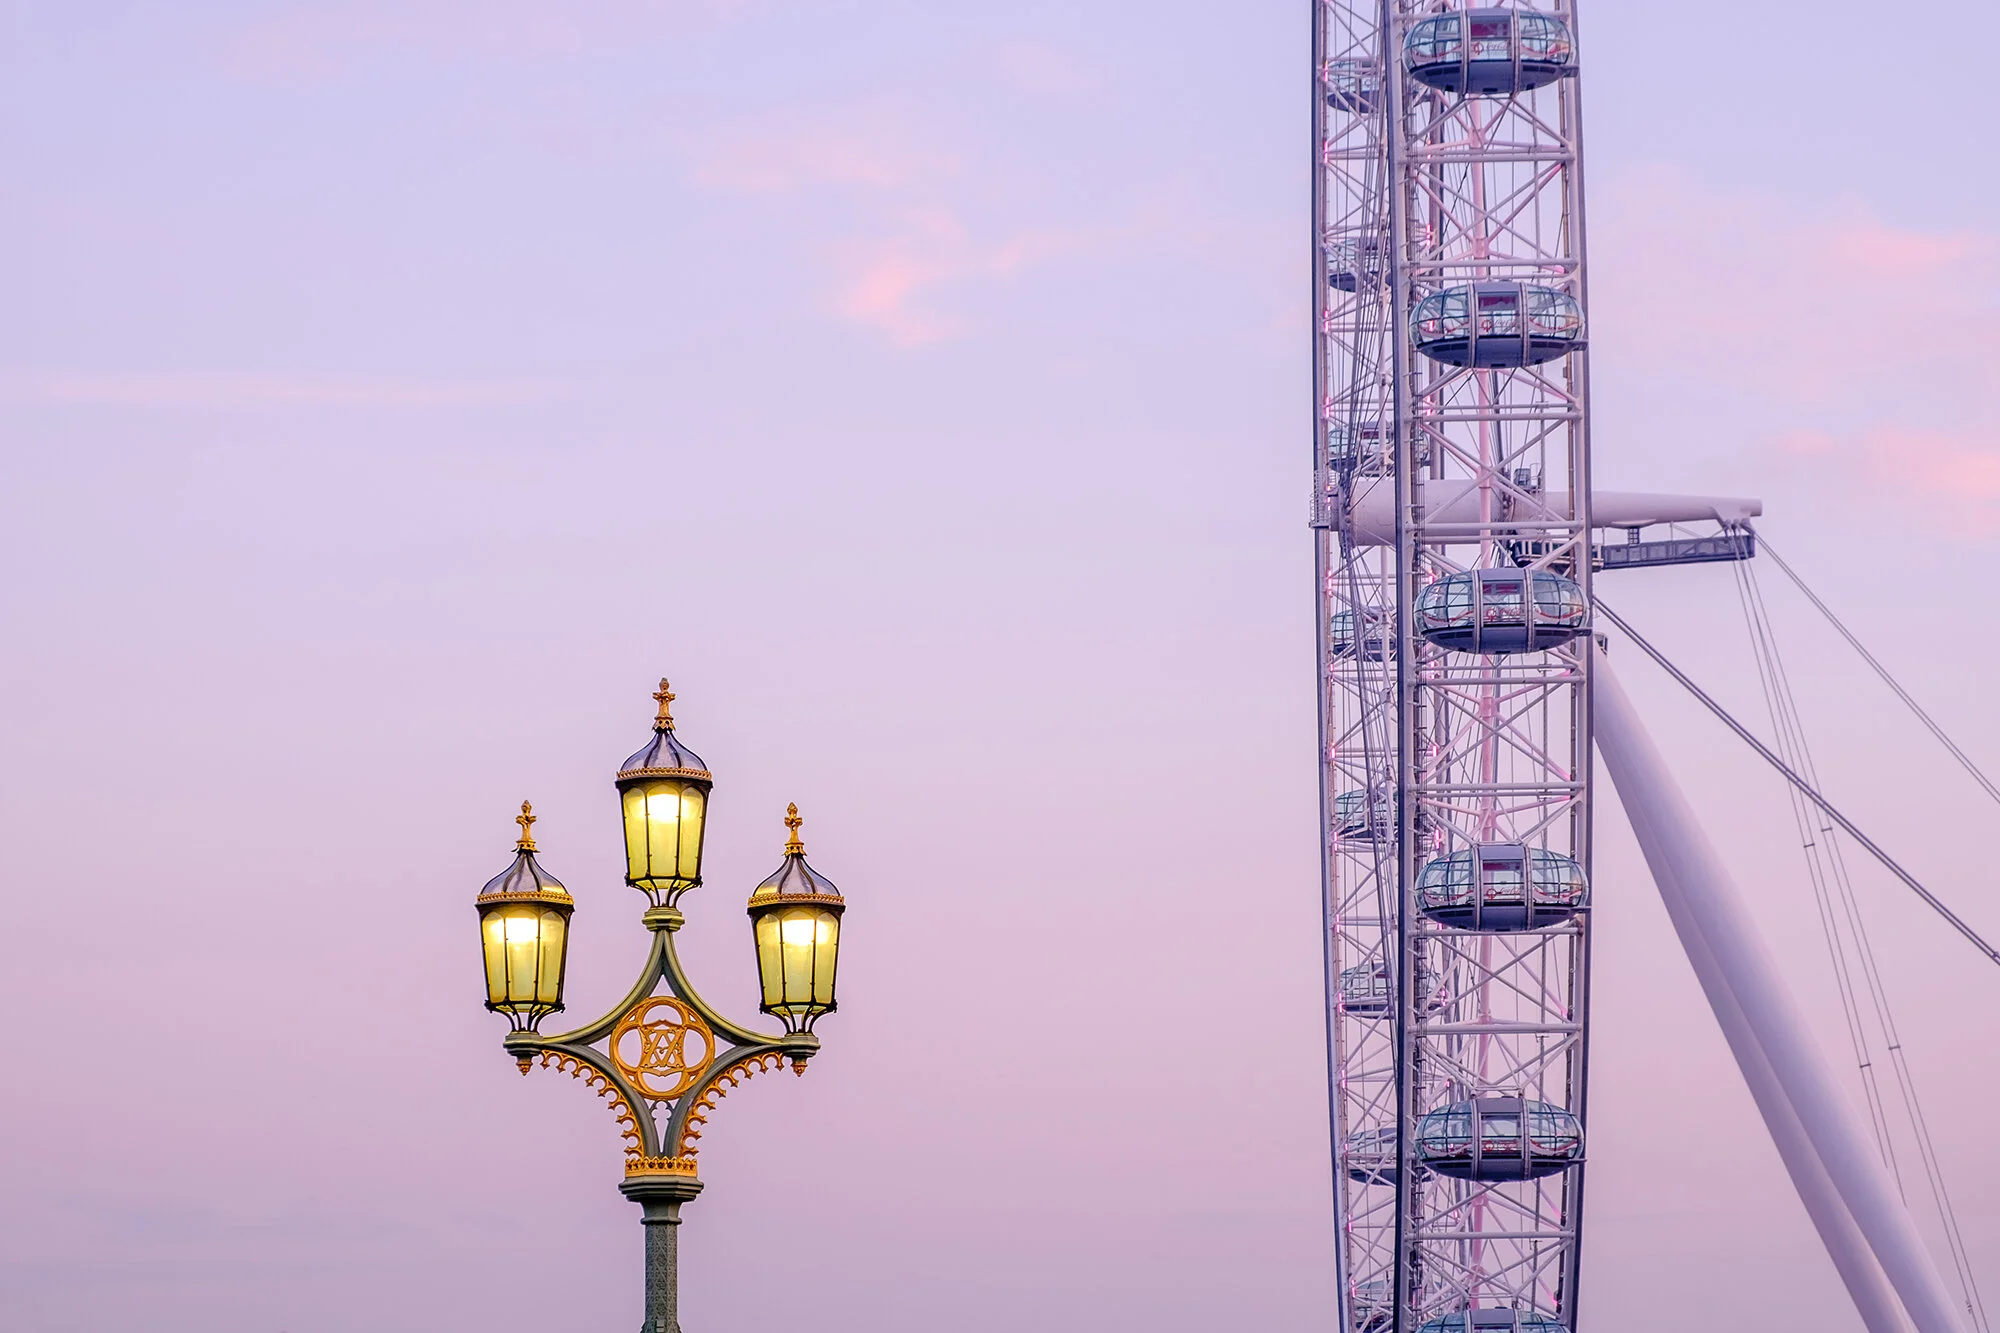
So after exiting Westminster Underground Station, I headed to the bridge to find a composition. The sun had yet to make an appearance but the pre-sunrise magenta was in the sky. I composed a more abstract image of the London Eye with one of the ornate bridge lamp posts in the foreground. This was probably my favourite image of the morning.
Fujifilm X-T10 | XF18-55mm | 55mm | 1/8th Sec | f/8 | ISO200
Directly opposite the Palace of Westminster on the opposite side of the river is St. Thomas' Hospital. In the gardens, there is metallic fountain sculpted in 1973 by Russian artist Naum Gabo called Revolving Torsion. To declutter the image a little, I took a long exposure to get the silky smooth water as it enters the pool.
Fujifilm X-T10 | XF18-55mm | 25mm | 30 Secs | f/8 | ISO200
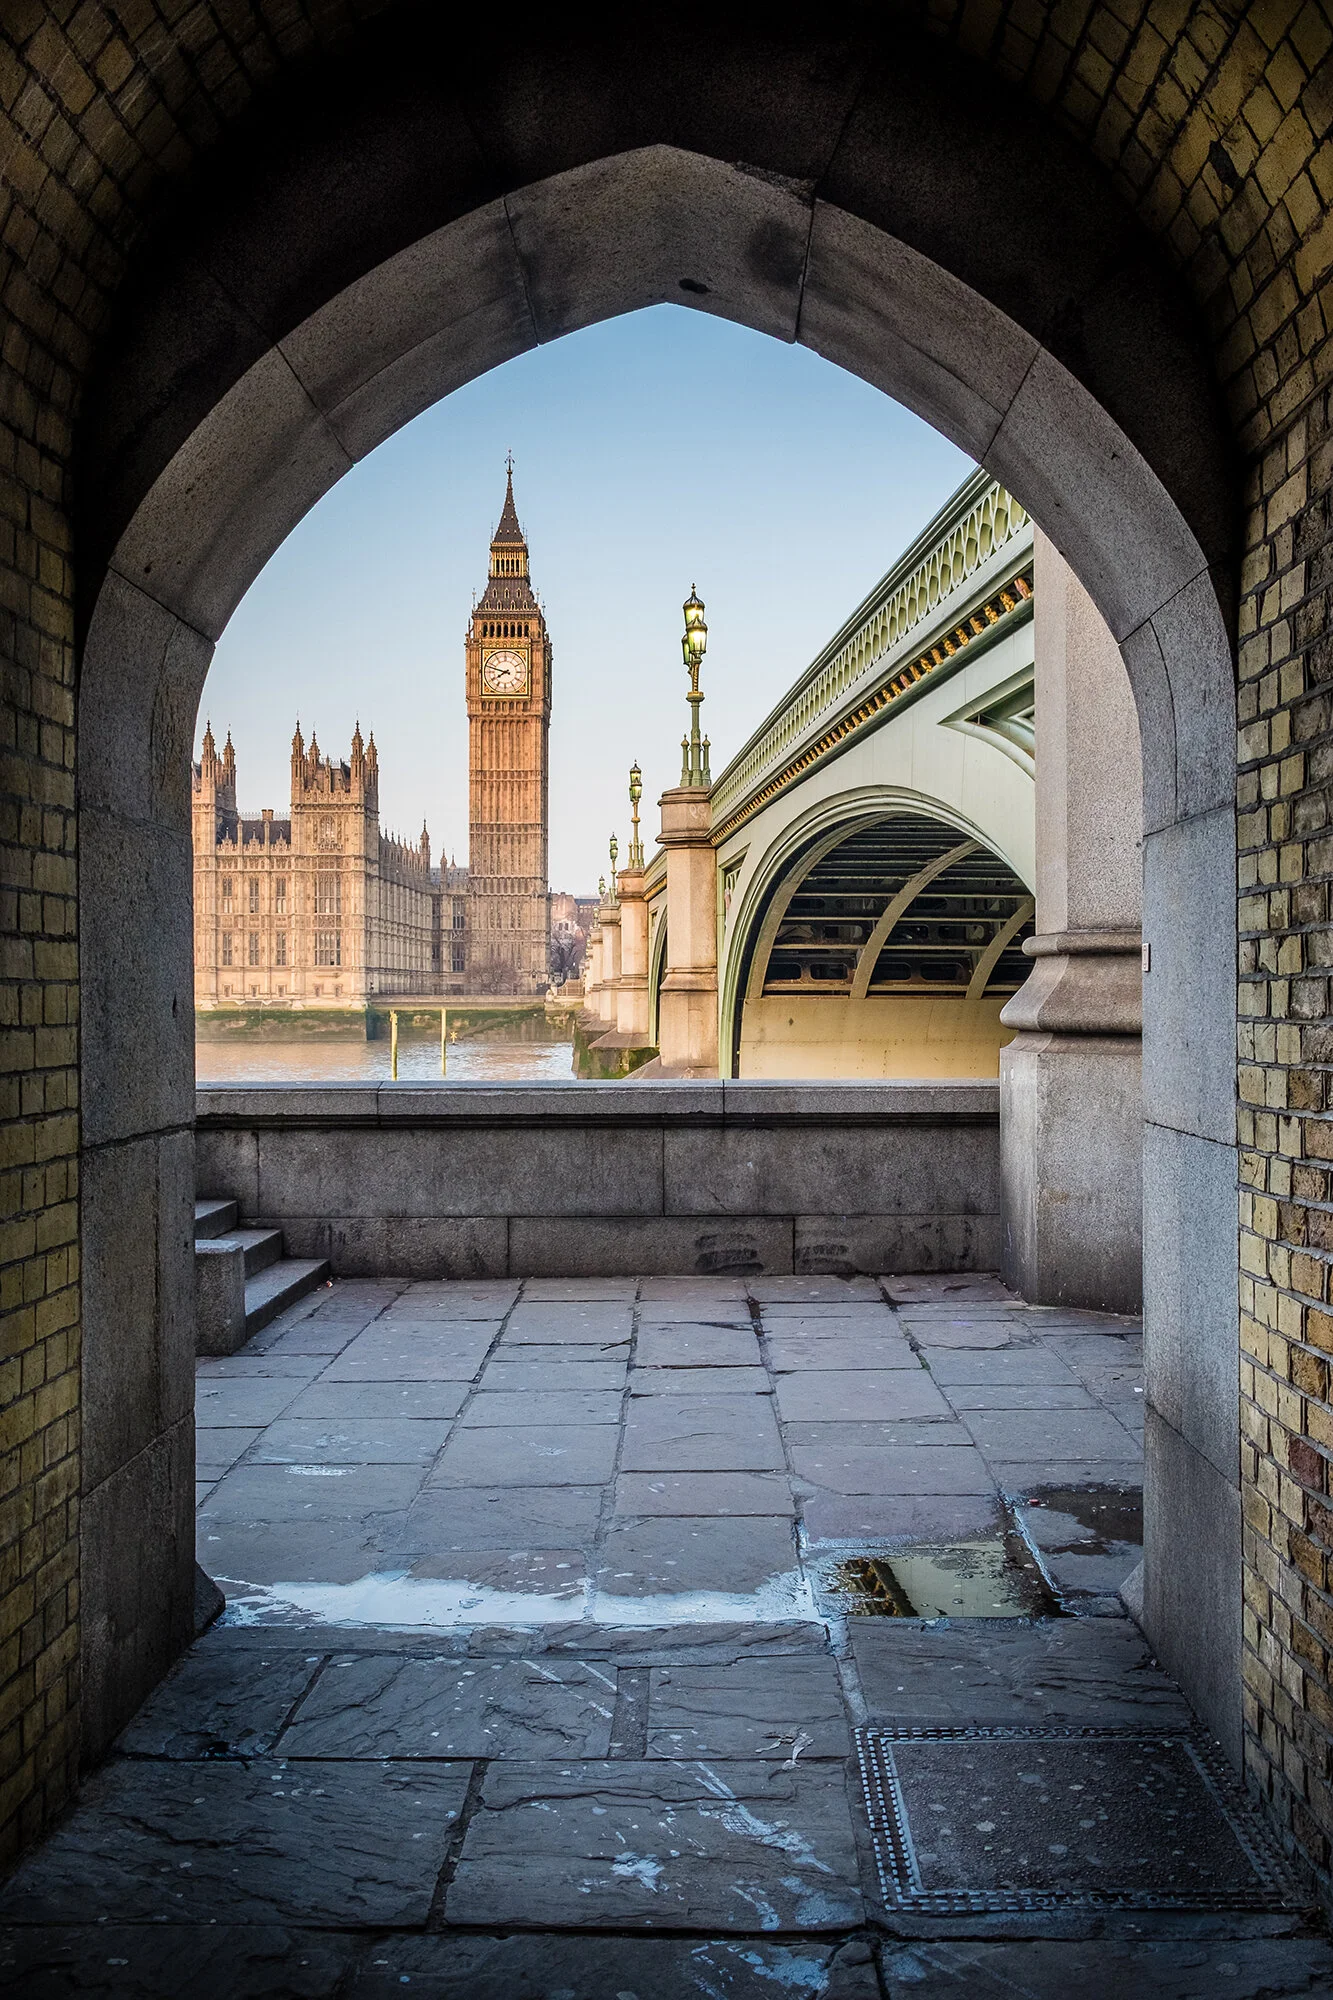
I popped down underneath the bridge to the underpass where I wanted to recapture a classic composition of Elizabeth Tower (one of many names given to the tower). What makes this shot so popular is the brickwork framing the archway provides.
Fujifilm X-T10 | XF18-55mm | 20mm | 1/80th Sec | f/8 | ISO200
Although with a more dramatic, cloudy sky, these images would be quite different although on reflection the simplicity and uncluttered look of these shots makes them fit nicely with the feeling I get wondering around London while it is resting before the start of another busy day.
My First Blog Post!
So I started a blog. I have been photographing London and wider afield for quite a while and one thing I have wanted to do for some time is start writing about the pictures I take, some post-processing techniques and every now and then, dive a little bit deeper into the art of photography. Jump into the post to hear a little bit more and what I have planned.
So, I finally did it. I finally started my first blog to share my photography thoughts, experiences and some behind the scenes tips and tricks I use while out and about with my camera.
I have to admit, I'm not the writing type and I have never done anything like this before so part of the reason is also to challenge myself to create this journal of photography related topics. On this blogging journey, I will make mistakes I'm sure but I have to start somewhere, right?
So here it goes!!
I am a 30 something man that got the photography bug around 10 or so years ago. I have a technical day job and found photography gave me an opportunity to do something visually creative. Up until around a year ago my photography craft was a bit stop-start due to many things from inspiration, motivation and probably most importantly having a young family and a full-time job and just finding the free time was hard enough.
I'm sure it is no coincidence that in 2016 I moved from being a Nikon shooter to using Fujifilm cameras and since then I have been spending all the free time I can find photographing London and the South East of England and my motivation has never been stronger. Now, I'm not just all about the gear and won't be spending lots of my time writing about equipment but what I will say is that I have never been happier with the Fuji kit I now use and being happy with the equipment you use in any craft will have a positive effect on your work. That's true for me anyhow. To see an up to date list of kit I use, pop over to my about page here for a breakdown
What kind of photographer am I?
I enjoy taking photos of landscapes but I particularly love a cityscape and this is really where I caught the photography bug. Living so near London I have a great subject right on my doorstep. I do like an image which has a great subject and stunning colour. This sort of thing...
Well, what's next?
Up next, I plan to write about my photographic and blogging journey, be it London, around the UK or from any trips I take wider afield. There will be background stories from images I take titled "Behind the Lens", tips and tricks I want to write about and much more so do stay tuned.

